Life around my kitchen table usually smells like buttered biscuits and slow-simmered laughter, and these Smores Bars are one more little memory waiting to happen. They’re childhood summers rolled into a pan — sticky, sweet, and just a touch toasty. Pull up a chair, and let’s make something everyone will ask for again.
Why make this recipe
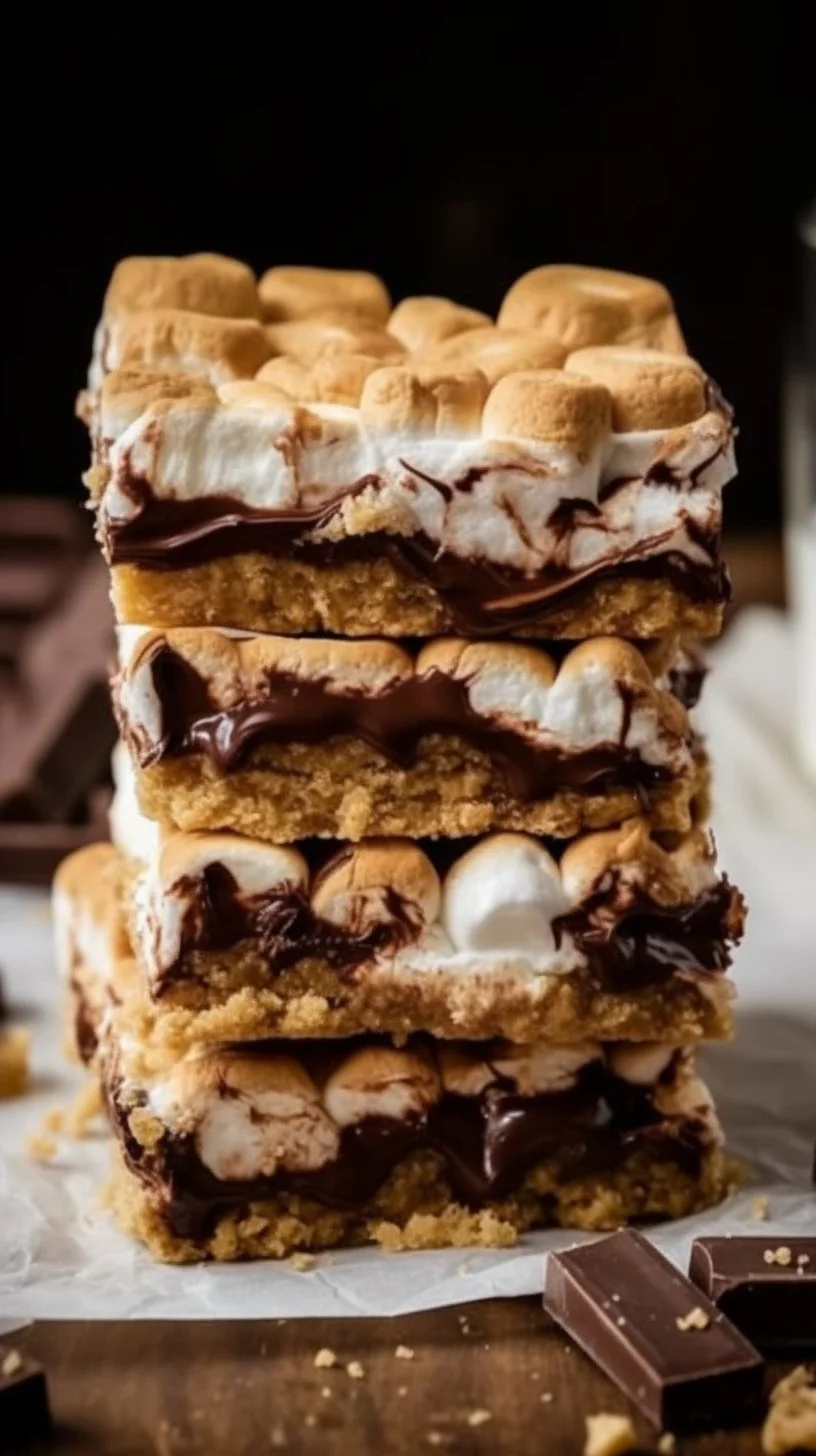
Because sometimes you want campfire memories without leaving the house. These bars give you the crunchy graham, melty chocolate, and toasted marshmallow top in a simple pan — perfect for family nights, potlucks, or a slow, sugar-sweet Sunday afternoon. They’re quick, forgiving, and carry that warm, nostalgic bite we all crave.
How to make Smores Bars
Ingredients:
- 2 Cups graham cracker crumbs
- 8–12 Tablespoons butter, melted
- 1/2 Cup powdered sugar
- 4 Hershey Chocolate Bars (4.4 ounce bars)
- 1 package mini marshmallows
Directions:
- Preheat oven to 350 degrees.
- Grease a 9×13 pan with non-stick butter spray.
- In a medium bowl, mix graham cracker crumbs, powdered sugar, and melted butter, adding the butter slowly until the mixture is moist but not wet.
- Press the mixture firmly into the bottom and sides of the pan.
- Bake for 5–8 minutes until the edges are golden brown; let cool.
- Lay the Hershey bars on top of the graham cracker crust, covering it completely.
- Bake for about 3 minutes until chocolate begins to melt.
- Let cool for 1–2 minutes, then pack the mini marshmallows tightly on top.
- Turn the oven to broil and watch closely, broiling for about 2 minutes until the marshmallows start to brown.
- Let cool completely; refrigerate to set further if desired.
- Cut and serve using a warm knife.
How to serve Smores Bars
Serve these while everyone’s still gathered around the table — a warm pan, a generous napkin, and a tall glass of milk or a mug of hot cocoa. Cut into squares and hand them out with a little grin; they’re best when still a touch gooey, the chocolate just soft enough to stretch.
How to store Smores Bars
Cover the pan tightly with plastic wrap or transfer squares to an airtight container. They’ll keep at room temperature for a day or two, but I like to refrigerate them if it’s warm — the chill helps the chocolate set and makes neat slices. Warm briefly before serving if you’d like that fresh-from-the-oven softness.
Tips to make Smores Bars
- Don’t skimp on pressing the crust; a firm base keeps the bars from falling apart.
- Add the marshmallows after the chocolate starts to melt so they stick without losing their fluff.
- If your broiler runs hot, keep the oven door cracked and watch closely — marshmallows toast fast.
- Run a knife under hot water and dry it before slicing for cleaner cuts.
Variations (if any)
- Sprinkle chopped peanuts or toasted pecans over the chocolate for a Southern crunch.
- Swap milk chocolate for semi-sweet if you prefer a less sweet bite.
- For a campfire twist, use large marshmallows cut in half and torch them briefly with a kitchen blowtorch instead of broiling.
FAQs
Q: Can I make these ahead of time?
A: Yes — bake and broil as directed, cool, and refrigerate. For best texture, bring them to room temperature or warm briefly before serving so the chocolate reads soft and the marshmallow is slightly sticky.
Q: Can I use chocolate chips instead of Hershey bars?
A: You can, but the bars give that classic s’mores look and melt in a satisfying, even layer. If using chips, sprinkle them over the hot crust and give them a little more time to soften before adding marshmallows.
Q: How do I prevent the marshmallows from burning under the broiler?
A: Watch them like a hawk. Broilers vary — two minutes can be too much in some ovens. Keep the oven door slightly open if needed and be ready to pull them as soon as they turn golden.
Q: Can I make a gluten-free version?
A: Absolutely. Use gluten-free graham crumbs or crushed gluten-free cookies and follow the same steps.
Conclusion
If you love a chewy, nostalgic twist on the classic campfire treat, you might enjoy the S’mores Cookie Bars recipe and video from Sally’s Baking Addiction for inspiration. S’mores Cookie Bars (Recipe + Video) — Sally’s Baking Addiction
Or, if you’re curious about a no-bake approach to the same cozy flavors, take a look at this No Bake S’more Bars idea from The Life Jolie. No Bake S’more Bars — The Life Jolie
I hope these bars bring you a little sunshine and a lot of sticky-fingered smiles — because the best memories are the ones made around a warm pan and a crowded kitchen table. Pull up a chair, and let’s do it again sometime.

Smores Bars
Ingredients
Method
- Preheat oven to 350 degrees.
- Grease a 9x13 pan with non-stick butter spray.
- In a medium bowl, mix graham cracker crumbs, powdered sugar, and melted butter, adding the butter slowly until the mixture is moist but not wet.
- Press the mixture firmly into the bottom and sides of the pan.
- Bake for 5–8 minutes until the edges are golden brown; let cool.
- Lay the Hershey bars on top of the graham cracker crust, covering it completely.
- Bake for about 3 minutes until chocolate begins to melt.
- Let cool for 1–2 minutes, then pack the mini marshmallows tightly on top.
- Turn the oven to broil and watch closely, broiling for about 2 minutes until the marshmallows start to brown.
- Let cool completely; refrigerate to set further if desired.
- Cut and serve using a warm knife.