There’s a soft hush in my kitchen when I pull out a bowl and a pan — the kind of hush that remembers Sunday suppers, little sticky fingers, and laughter around the table. This Rice Krispy Treat No Bake Cheesecake feels like that: warm, sweet, and made for passing around with a smile.
Why make this recipe
Because sometimes the best desserts are the simplest ones — no oven fuss, just pantry comforts and a dessert that tastes like childhood and a hug all at once. It’s an easy crowd-pleaser for potlucks, porch visits, and lazy afternoons with coffee and good company.
How to make Rice Krispy Treat No Bake Cheesecake
Ingredients:
- 6 cups Rice Krispies cereal
- 1/4 cup salted butter
- 1 10 ounce bag miniature marshmallows
- 1 8 ounce block cream cheese, softened
- 1/2 cup granulated sugar
- 1 tsp pure vanilla extract
- 1 7 ounce jar marshmallow creme
- 1 8 ounce tub Cool Whip, thawed
- Whipped cream (optional for garnish)
- Cubed store bought or homemade Rice Krispy Treats (optional for garnish)
Directions:
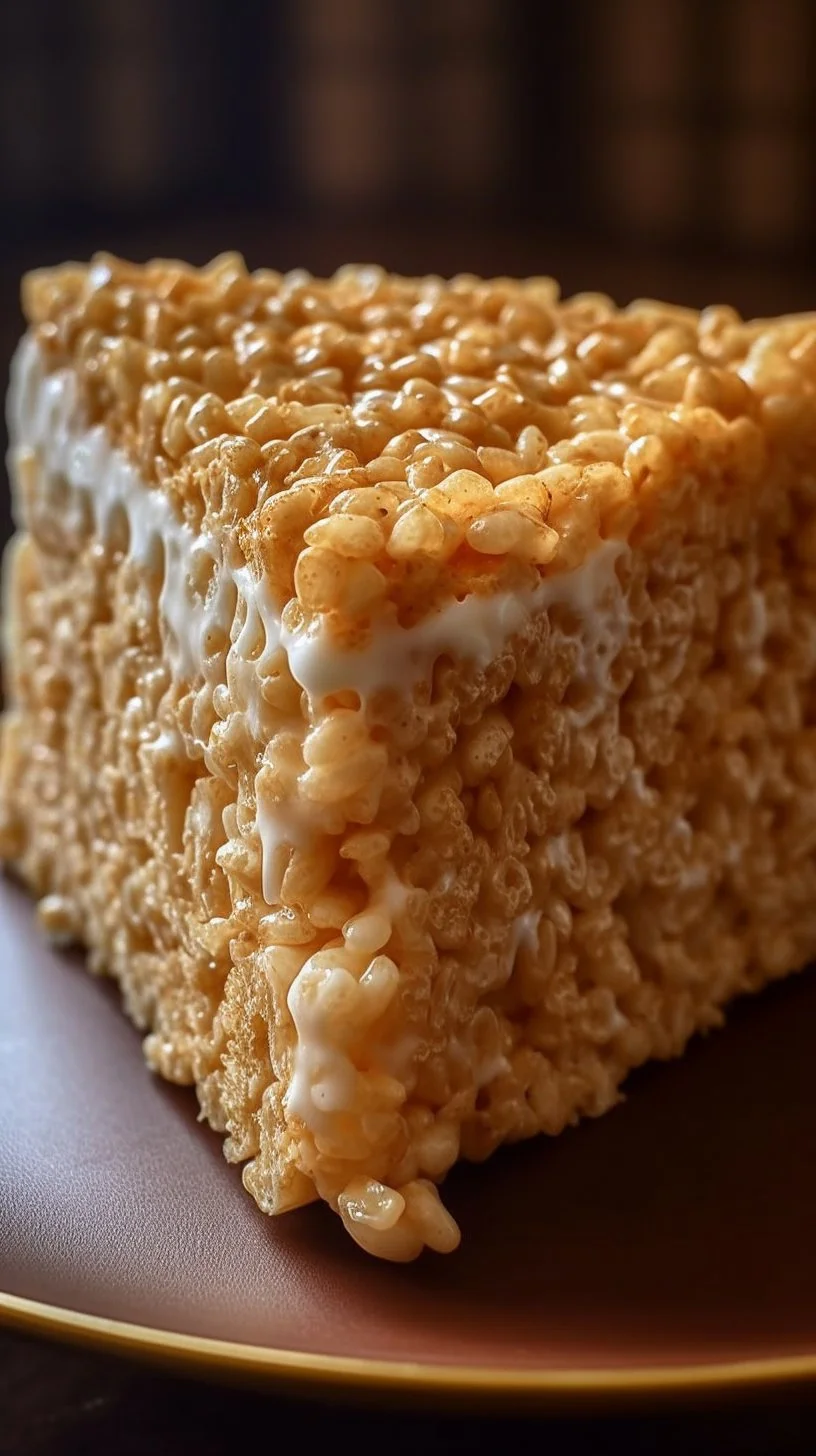
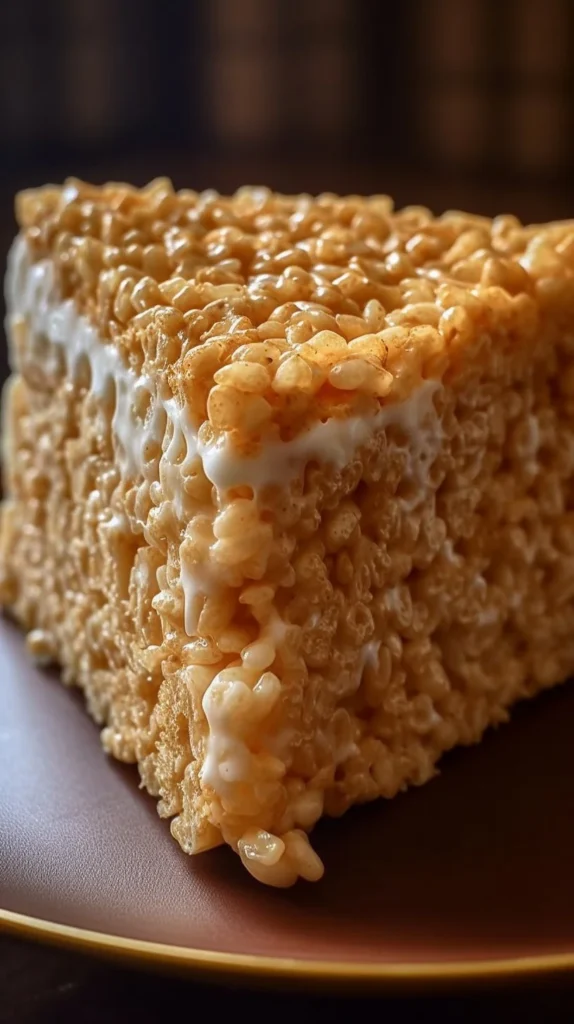
- Generously grease a 9 or 10 inch springform pan with nonstick spray and set aside.
- In a large bowl, add the Rice Krispies cereal. In a medium saucepan over low heat, melt the butter and marshmallows together, stirring constantly until smooth and fully combined.
- Immediately pour this mixture over the cereal and stir until evenly coated.
- Transfer the sticky cereal mixture into the prepared springform pan. Using a greased glass or spatula, firmly press it into the bottom and slightly up the sides to create a sturdy crust. Let it set at room temperature for 15 to 20 minutes.
- In a stand mixer or large bowl, beat the softened cream cheese, sugar, and vanilla until smooth and creamy, about 1 minute.
- Add the marshmallow creme and mix until fully incorporated.
- Gently fold in the Cool Whip by hand using a spatula to preserve its airy texture.
- Pour the filling into the set crust and smooth the top with an offset spatula or the back of a spoon.
- Refrigerate for at least 2 hours, or until the filling is firm and holds its shape when sliced.
- Before serving, pipe or dollop whipped cream around the edge and top with cubed Rice Krispy Treats for a playful finish.
- Carefully release the springform collar and slice with a warm knife for clean cuts.
How to serve Rice Krispy Treat No Bake Cheesecake
Serve chilled on a pretty dessert plate with a dollop of extra whipped cream and a few little Rice Krispy cubes scattered on top. This dessert is lovely with a hot cup of coffee or a cold glass of milk — perfect for sharing on the back porch or bringing to a family picnic.
How to store Rice Krispy Treat No Bake Cheesecake
Keep it covered in the refrigerator for up to 3–4 days. If you’ve already sliced it, store slices in an airtight container with parchment between layers to keep the edges neat. This cheesecake doesn’t like the freezer much — the texture shifts with freezing and thawing — so refrigeration is best.
Tips to make Rice Krispy Treat No Bake Cheesecake
- Press the crust firmly and evenly into the pan so it holds up when you slice. A greased glass gives a nice smooth finish.
- Use room-temperature cream cheese for the smoothest filling — no lumps and less mixing time.
- Fold the Cool Whip gently to keep that light, airy texture; aggressive mixing will deflate it.
- Warm your knife under hot water and wipe it dry between slices for picture-perfect pieces.
Variations (if any)
- Chocolate Drizzle: Warm a few tablespoons of chocolate chips with a teaspoon of butter and drizzle over the top before adding Rice Krispy cubes.
- Peanut Butter Swirl: Fold a couple tablespoons of creamy peanut butter into the filling for a Southern twist that sings with nostalgia.
- Marshmallow-Free Filling: Substitute extra Cool Whip and a touch more sugar if you prefer a simpler creamy filling without marshmallow creme.
FAQs
Q: Can I make this in a regular pie pan instead of a springform?
A: Yes, you can use a pie pan or a loose-bottom tart pan. Just be mindful that unmolding may be trickier — serve straight from the pan if needed.
Q: Can I make the crust ahead of time?
A: Absolutely. Make the Rice Krispy crust a day ahead, cover it well, and fill the next day. Just press it again lightly before adding the filling if it’s lost a bit of shape.
Q: Is there a gluten-free option?
A: Rice Krispies are not certified gluten-free in some countries. Look for a certified gluten-free puffed rice cereal as a direct swap for a gluten-free crust.
Q: Can I use homemade Marshmallow Creme?
A: Yes — if you have a homemade marshmallow creme you love, it will work beautifully here and add a sweet, homemade touch.
Q: How firm will the filling be after chilling?
A: It sets to a light, mousse-like firmness — enough to slice cleanly when chilled well, but still tender and creamy when you bite into it.
Conclusion
If you’d like to see a similar take with photos and serving ideas, the original inspiration is lovely on Rice Krispy Treat No Bake Cheesecake | The Domestic Rebel. For another no-bake variation and helpful tips, I also like the recipe notes over at No-Bake Rice Krispies Cheesecake – Delish.
Pull this one out for your next get-together and watch the smiles grow — there’s a little bit of Sunday in every bite. Come back and tell me who you shared it with; I love hearing about full tables and full hearts.
Rice Krispy Treat No Bake Cheesecake
Ingredients
Method
- Grease a 9 or 10 inch springform pan with nonstick spray and set aside.
- In a large bowl, add the Rice Krispies cereal.
- In a medium saucepan over low heat, melt the butter and marshmallows together, stirring constantly until smooth.
- Pour the melted mixture over the cereal and stir until evenly coated.
- Transfer the mixture into the springform pan and press it into the bottom and up the sides.
- Let it set at room temperature for 15 to 20 minutes.
- In a stand mixer, beat the softened cream cheese, sugar, and vanilla until smooth.
- Add the marshmallow creme and mix until fully incorporated.
- Fold in the Cool Whip gently using a spatula.
- Pour the filling into the crust and smooth the top.
- Refrigerate for at least 2 hours, or until firm.
- Before serving, top with whipped cream and cubed Rice Krispy Treats.