
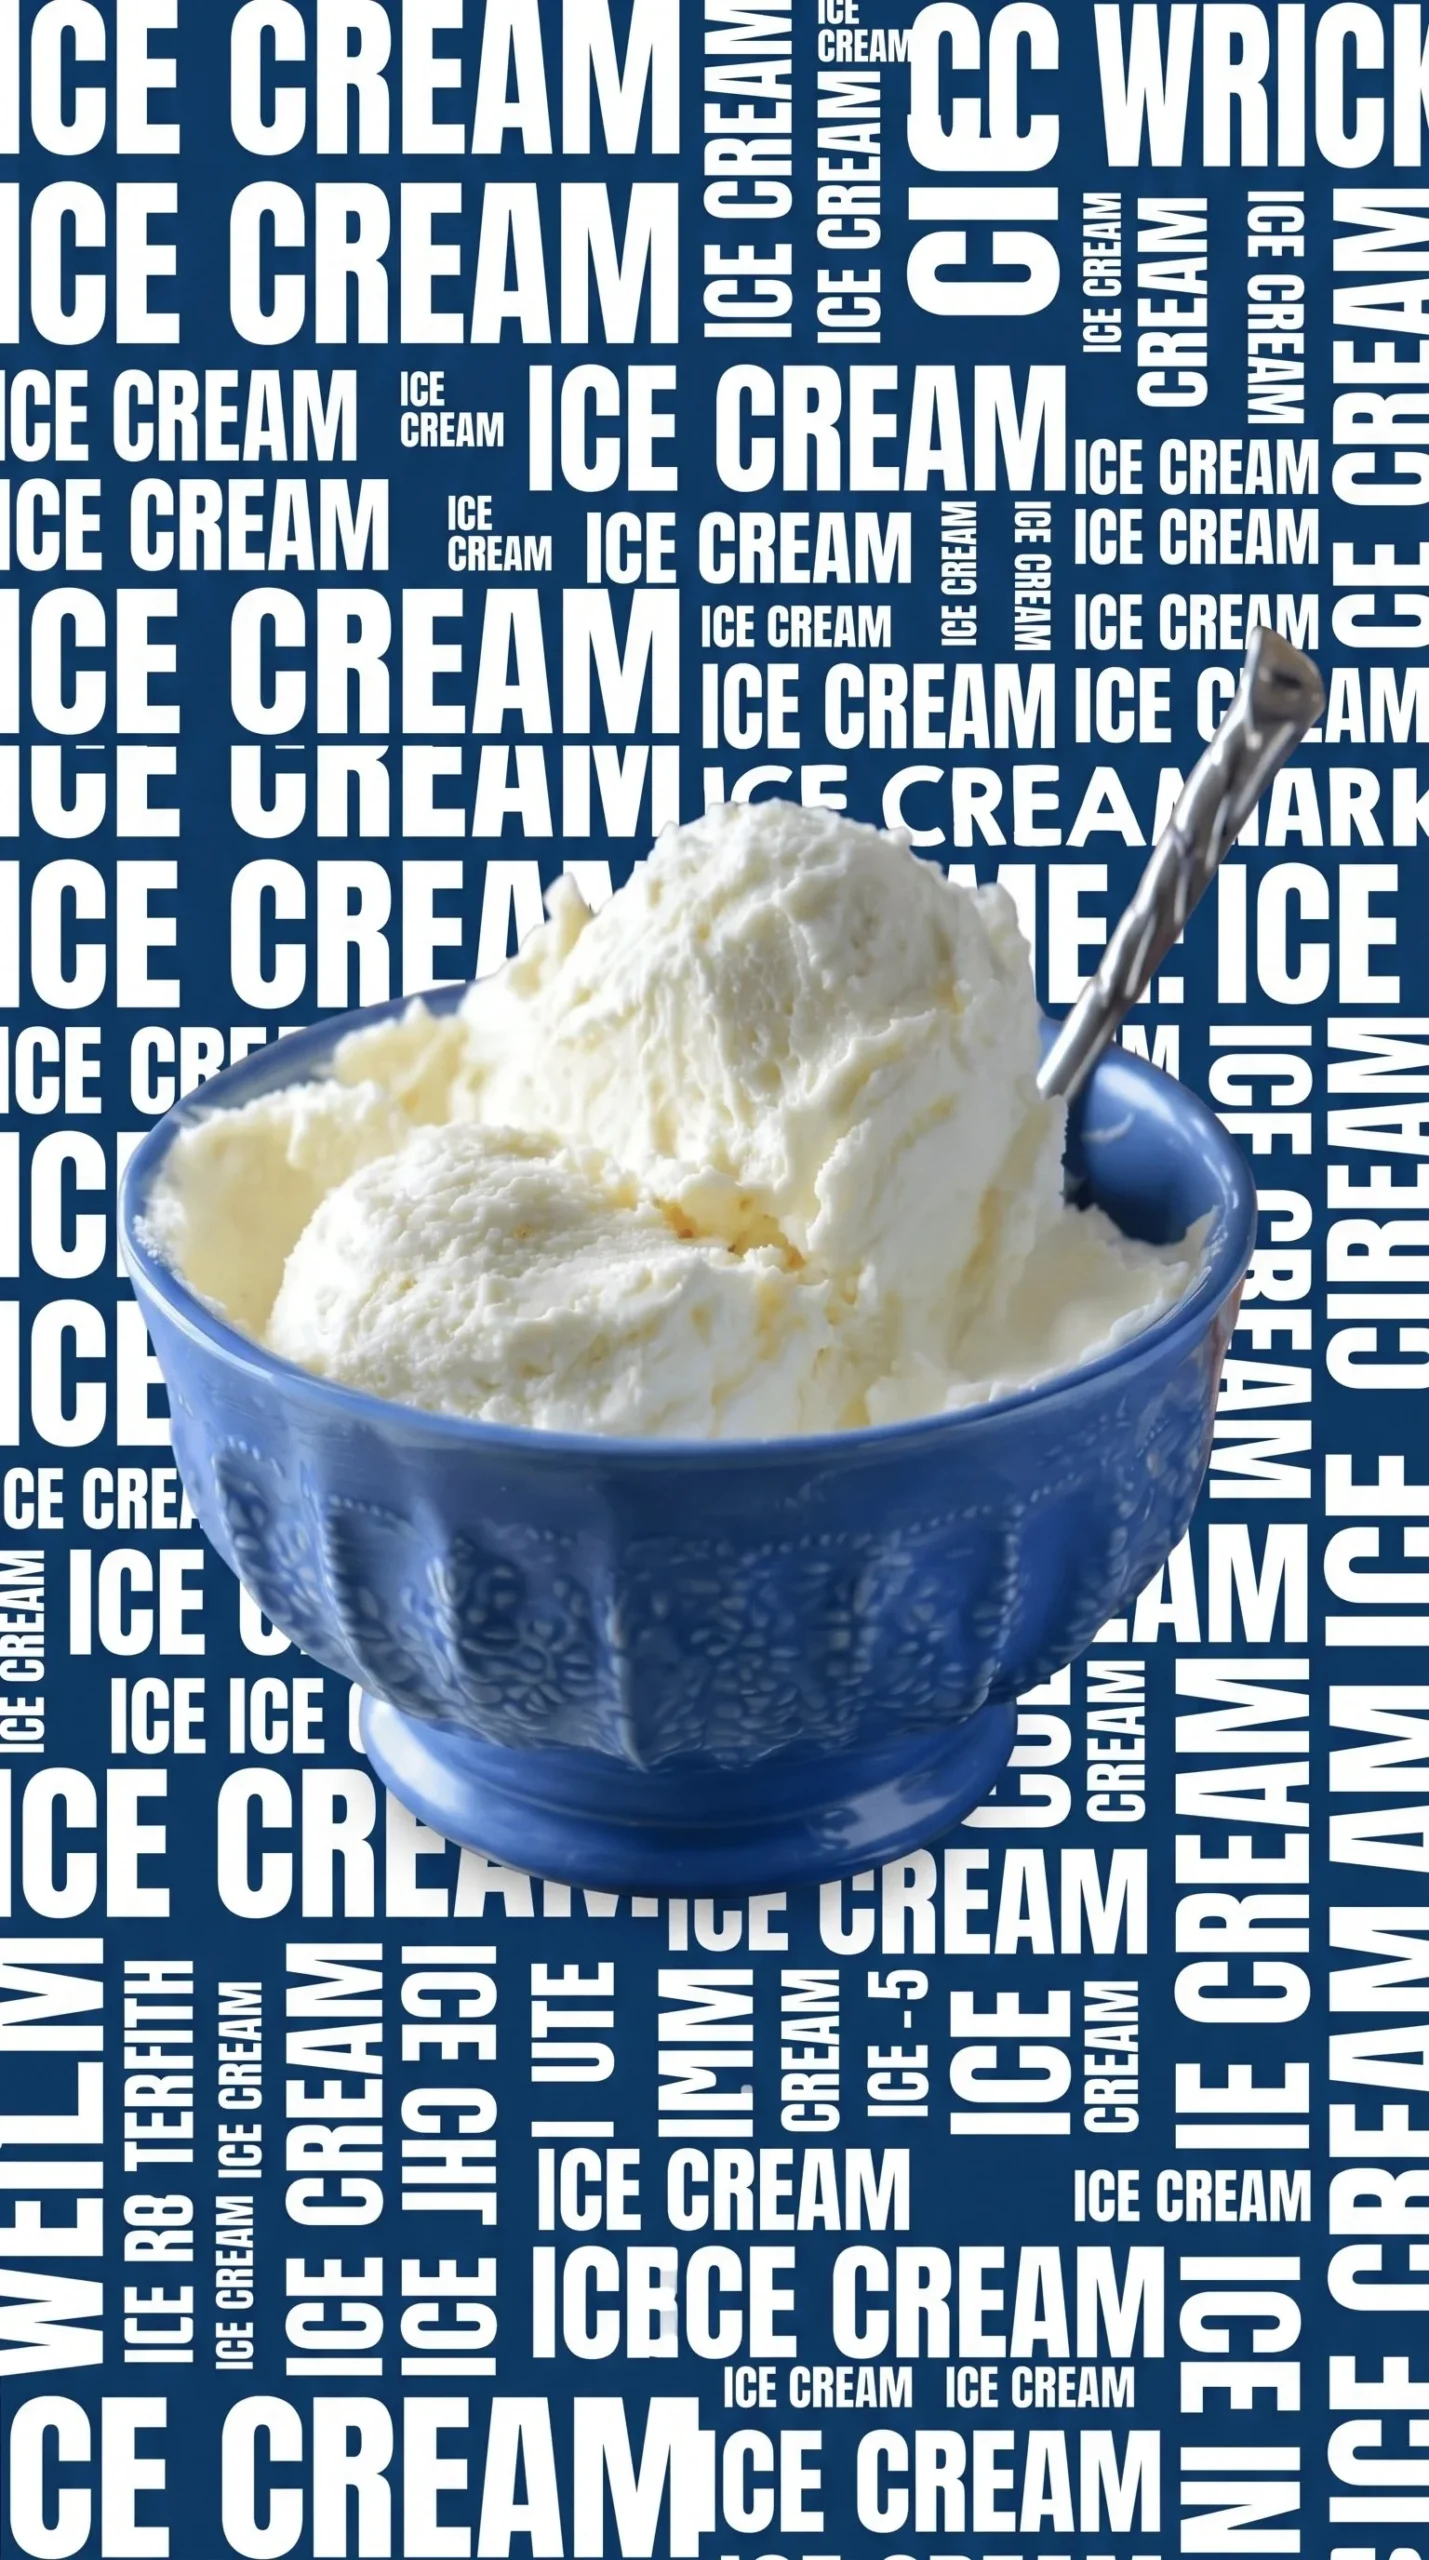
There’s something truly magical about homemade ice cream—the way it transforms simple ingredients into a creamy, dreamy delight. It’s that perfect treat for a warm day, warmly welcoming friends and family to gather around and indulge in a little sweetness. This recipe for homemade ice cream without a machine is as easy as it is rewarding, creating endless opportunities for experimentation with flavors and textures. You may also find Bakewell Slices useful.
Why make this recipe? The joy of crafting ice cream at home is unmatched. It allows you to control not only the ingredients but also the flavors. Plus, it’s a wonderful way to bond with loved ones as you chill out together, sharing scoop after scoop of deliciousness. Once you master the basic formula, the world of flavors opens up—like the tangy delight of raspberry and cream or the warmth of cinnamon in a cake mix classic.
How to make Homemade Ice Cream Without a Machine
Ingredients:
- 1 ½ cups milk
- 1 ½ cups heavy cream
- ⅔ cup sugar
- 1 tablespoon vanilla extract
- ⅛ teaspoon kosher salt
Directions:
- In a mixing bowl, combine the milk, heavy cream, sugar, vanilla extract, and kosher salt. Stir until the sugar is completely dissolved and the mixture is well combined.
- Pour the ice cream mixture into an 8-10 inch square baking pan, spreading it out evenly. Place the pan in the freezer for 90 minutes to initiate the freezing process.
- After 90 minutes, remove the pan from the freezer and vigorously whisk the mixture, breaking up any frozen chunks and scraping the sides of the pan. Repeat this process every 45 minutes for the next couple of hours, ensuring a smooth and creamy consistency.
- After 3-4 hours of freezing and whisking, your homemade ice cream should reach a soft-serve consistency. Scoop it into bowls or cones, top with your favorite toppings if desired, and savor the rich and creamy flavor of freshly made ice cream!
How to serve Homemade Ice Cream
Serve your ice cream in bowls or cones, and don’t hold back on the toppings! From sprinkles and chocolate chips to fresh fruits and crunchy nuts, the possibilities are infinite. You can even create delightful sandwiches using cookies or brownies.
How to store Homemade Ice Cream
For optimal freshness, store any leftovers in an airtight container. To maintain that perfect creamy texture, take it out of the freezer about 10-15 minutes before serving to soften slightly.
Tips to make Homemade Ice Cream
- Ensure all the ingredients are well-chilled before mixing; this helps in achieving a smoother ice cream.
- The repeated whisking is crucial—don’t skip it! It aerates the mixture, leading to a creamier end product.
Variations
Feel free to get creative! Consider adding crushed cookies, swirls of fudge, or fresh fruit puree to customize your ice cream. You could try a spiced apple variation for a cozy flavor twist.
FAQs
Can I use low-fat milk instead of whole milk?
Using low-fat milk will change the texture and creaminess of your ice cream; for best results, stick to whole or full-fat options.
How long does homemade ice cream last in the freezer?
Homemade ice cream can be stored for about 2 weeks in the freezer, but it’s best eaten fresh.
Can I make dairy-free ice cream?
Yes! Substitute dairy milk with your choice of almond, coconut, or soy milk along with coconut cream for richness.
Conclusion
Crafting homemade ice cream without a machine is not only simple but also a delightful experience that brings joy to those who create and consume it. For more detailed guidance on this delicious venture, check out how to make ice cream without a machine and explore various techniques with tips from David Lebovitz. So grab your ingredients, gather your loved ones, and enjoy the sweet rewards of your kitchen adventures!
Homemade Ice Cream
Ingredients
Method
- In a mixing bowl, combine the milk, heavy cream, sugar, vanilla extract, and kosher salt. Stir until the sugar is completely dissolved and the mixture is well combined.
- Pour the ice cream mixture into an 8-10 inch square baking pan, spreading it out evenly.
- Place the pan in the freezer for 90 minutes to initiate the freezing process.
- After 90 minutes, remove the pan from the freezer and vigorously whisk the mixture, breaking up any frozen chunks and scraping the sides of the pan.
- Repeat this process every 45 minutes for the next couple of hours, ensuring a smooth and creamy consistency.
- After 3-4 hours of freezing and whisking, your homemade ice cream should reach a soft-serve consistency.
- Scoop it into bowls or cones, top with your favorite toppings if desired, and savor the rich and creamy flavor of freshly made ice cream!