I still remember the first time I tasted a homemade caramel — that soft, velvety goodness melting on my tongue. It was during a family gathering, with laughter swirling around like the delicious aroma filling the kitchen. Those moments of warmy, sticky caramel bliss have inspired me to create my own batch of these sweet little memories. Today, I invite you to turn your kitchen into a cozy haven and whip up a batch of dreamy homemade caramels that are sure to ignite your own beautiful memories.
Why make this recipe
Making homemade caramels isn’t just about satisfying your sweet tooth; it’s a way to connect with tradition, to slow down and enjoy the simple joy of creating something from scratch. Every chewy piece of caramel tells a story, whether it’s enjoyed during a family gathering or given as a sweet gift. Plus, there’s something utterly satisfying about biting into a piece that you’ve crafted with your own hands — buttery, rich, and just the right amount of sweetness.
How to make Homemade Caramels
Let’s get started on this delightful journey of caramel-making! The ingredients are simple, yet together they create magic. Here’s what you’ll need:
Ingredients:
- 1 cup unsalted butter
- 2 1/4 cups dark brown sugar, firmly packed
- 1 cup light corn syrup
- 1 (14-ounce) can sweetened condensed milk
- 2 teaspoons pure vanilla extract
Directions:
- Line a 9×9 inch baking pan with parchment paper and butter it generously. This will help your caramels pop out effortlessly later on!
- In a large, heavy saucepan, melt the butter over medium-low heat, letting the rich aroma fill your kitchen.
- Once melted, add in the dark brown sugar and mix it in until fully incorporated. Then, pour in the corn syrup and stir gently. Cook for about 3 minutes or until the sugar has dissolved, creating a perfectly blended mixture.
- Now it’s time to introduce the sweetened condensed milk. Increase the heat to medium and stir continuously! Keep a vigilant eye on the candy thermometer; you’re aiming for a magic temperature between 238°F and 240°F. This should take about 20-30 minutes, but oh, the anticipation will make this process even sweeter.
- Remove your saucepan from the heat and stir in the luscious vanilla extract. Pour the golden mixture into the prepared pan, letting it settle.
- Allow your caramels to cool to room temperature for about 3-4 hours until they are completely set. Don’t cover them — let those delightful scents permeate your space!
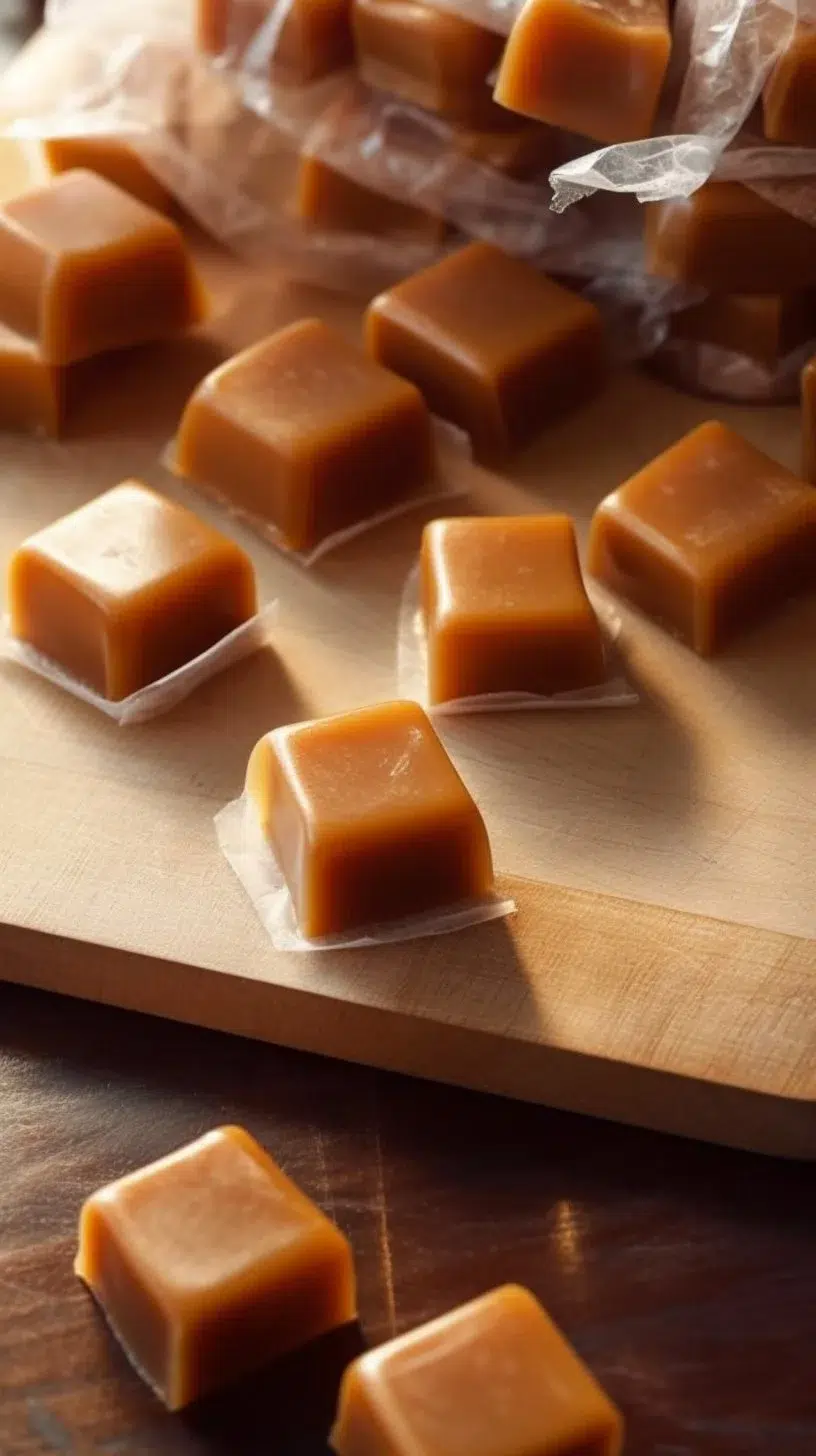
- Once seasoned by patience, use the parchment paper to lift the caramels out of the pan. With a sharp knife, cut them into your desired size and get ready for pure joy. Wrap each piece in waxed paper to keep that lusciousness intact.
How to serve Homemade Caramels
These homemade caramels are truly delightful on their own, but they also make an irresistible topping for ice cream or a sweet addition to your favorite desserts. Slide a few chewy bites into gift boxes for friends or family — trust me, they’ll appreciate this thoughtful treat more than you can imagine!
How to store Homemade Caramels
Your homemade caramels can be stored in an airtight container at room temperature for up to three weeks. Make sure to separate layers with parchment or wax paper to prevent them from sticking together. But let’s be real; they might not last that long!
Tips to make Homemade Caramels
- Stir continuously while cooking to avoid burning and ensure even heating.
- Keep a candy thermometer handy; precision is key for perfect texture.
- Don’t rush the cooling process; allowing it to set properly ensures that wonderfully chewy bite.
Variations
Feeling a bit adventurous? Try adding different flavors: a pinch of sea salt for a tantalizing salted caramel, or maybe a few drops of peppermint extract for a festive twist. You can also coat them in a layer of chocolate for an extra indulgence.
FAQs:
1. Can I use light brown sugar instead of dark brown sugar?
Yes, though dark brown sugar gives you that rich, deep flavor; light brown sugar will yield milder, sweeter caramels.
2. What if I don’t have a candy thermometer?
You can use the “soft ball” test: drop a bit of caramel into cold water; if it forms a soft ball, it’s ready!
3. Can I freeze homemade caramels?
Absolutely! Just ensure they’re wrapped well in wax paper and then placed in an airtight container. They’ll keep in the freezer for up to three months.
As you embark on this sweet adventure, let each step be a reminder of the warmth and love that fills your home. May your caramels be as delightful as the joyful moments shared around the kitchen table! Happy candy-making!

Homemade Caramels
Ingredients
Method
- Line a 9x9 inch baking pan with parchment paper and butter it generously.
- In a large, heavy saucepan, melt the butter over medium-low heat.
- Once melted, add in the dark brown sugar and mix until fully incorporated.
- Pour in the corn syrup and stir gently. Cook for about 3 minutes or until the sugar has dissolved.
- Add the sweetened condensed milk and increase the heat to medium. Stir continuously while monitoring the temperature.
- Cook until the mixture reaches between 238°F and 240°F, which should take about 20-30 minutes.
- Remove from heat and stir in the vanilla extract.
- Pour the mixture into the prepared pan and let it settle.
- Allow caramels to cool to room temperature for about 3-4 hours until fully set.
- Once set, lift them out of the pan using the parchment paper and cut into desired sizes.
- Wrap each caramel piece in waxed paper to maintain freshness.