As I look out the kitchen window, the scene is a winter wonderland, and the smell of warm treats fills the air. There’s something wonderfully nostalgic about hard candy, a sweet and shiny marvel that can transport you right back to childhood. Making hard candy is more than just cooking; it’s about creating little pieces of joy that sparkle like gems, waiting to delight your taste buds and evoke cherished memories shared among family and friends.
Why make this recipe?
There’s a charm in crafting your own hard candy, transforming simple ingredients into dazzling confections that are sure to impress. Whether you’re planning a holiday gift or simply want to indulge in a sweet treat, this recipe is both simple and rewarding. Plus, you can customize it with your favorite flavors and colors, making each batch uniquely yours.
How to make Hard Candy
Gather your ingredients, turn on your favorite tunes, and let’s dive into the delightful world of candy-making!
Ingredients:
- 1 cup granulated sugar
- 1/3 cup water
- 1/3 cup clear corn syrup
- 42 drops food coloring (liquid works best; green 22 drops, red 20 drops)
- Flavoring extract (such as peppermint, vanilla) or flavor oil (such as strawberry, cotton candy)
- Powdered sugar (for coating)
Directions:
- Start by sifting a generous layer of powdered sugar over the bottom of a cookie sheet and setting it aside—this will prevent our candy from sticking later on.
- In a medium saucepan, combine the granulated sugar, water, and corn syrup. Gently stir until everything is dissolved, and watch as the mixture begins to shimmer and come together.
- Bring this sugary blend to a rapid boil over medium heat. Resist the urge to stir. Instead, watch as it bubbles dangerously until the temperature reaches a sizzling 300 degrees F, so be sure to have your trusty candy thermometer close at hand!
- Once it reaches the magical temperature, remove it from the heat and let it cool for just 30 seconds to a minute. Now comes the fun part! Add in the vibrant food coloring and your chosen flavoring. Mix well until the color is beautifully incorporated and the scent bursts forth.
- Carefully pour the mixture onto your prepared cookie sheet, spreading it evenly to create a gorgeous, glossy surface.
- Sift more powdered sugar on top, and let this beauty set for at least 30 minutes until it’s fully hardened. The anticipation is half the fun!
- Once set, brush off any excess powdered sugar and break your candy into bite-sized pieces. Place them in an airtight container, and marvel at your creation!
How to serve Hard Candy
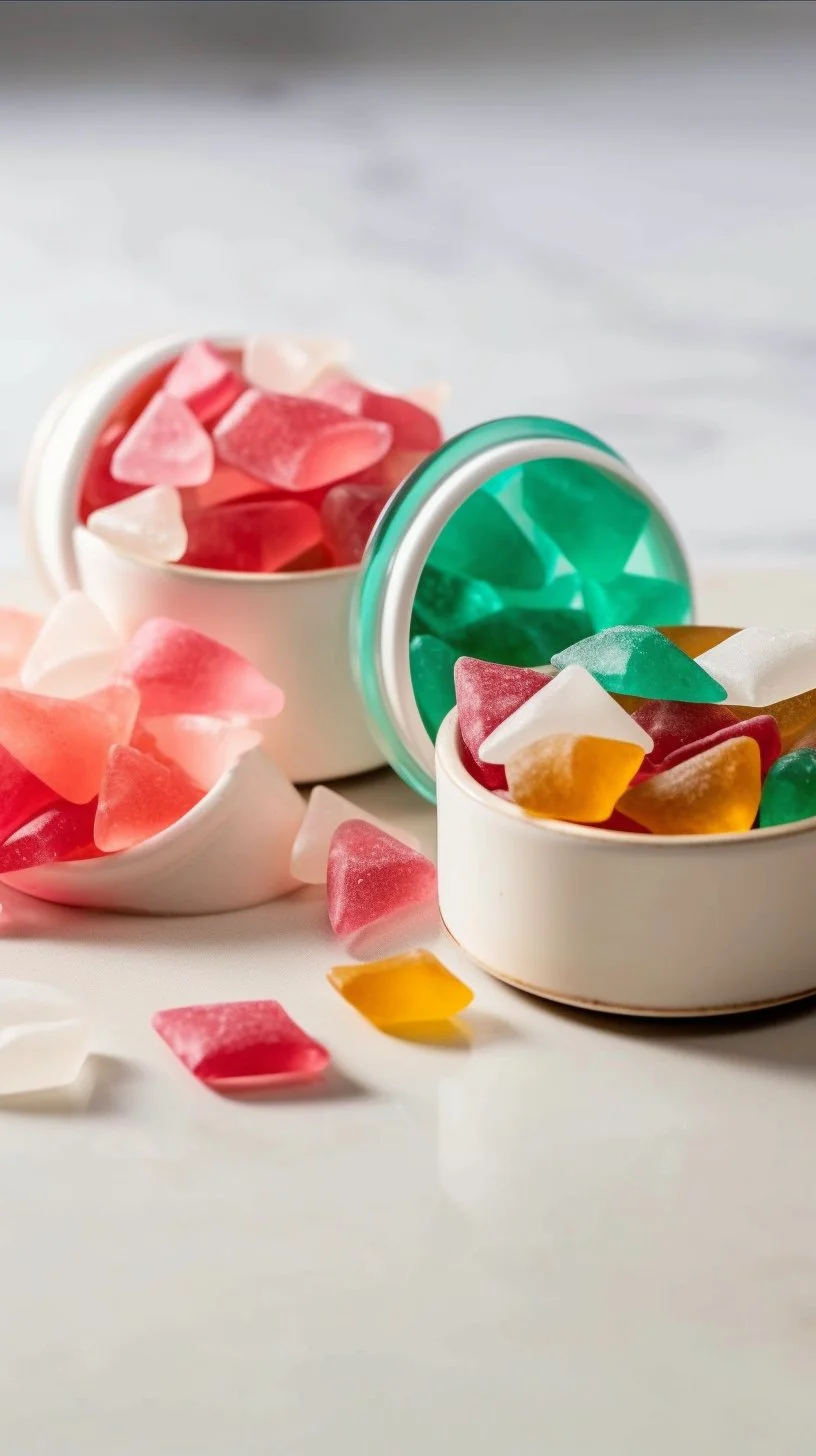
Serve your homemade hard candy in a cute glass jar for a lovely table centerpiece or gift it to friends and family who will appreciate the sweet gesture. Whether enjoyed on their own or used to brighten up a hot cup of cocoa, these glittering gems add a delightful touch to any occasion.
How to store Hard Candy
To keep your hard candy fresh and flavorful, store it in an airtight container away from direct sunlight and humidity. If you have extra powdered sugar left over, sprinkle a bit in the container to help prevent the pieces from sticking together.
Tips to make Hard Candy
- Use a candy thermometer for precise temperature accuracy—this is key for getting that perfect crunch!
- Experiment with different flavoring extracts and colors to create customized batches for every occasion.
- Have fun with the shapes—use cookie cutters or molds for creative designs!
Variations
Feeling adventurous? Try combining different flavors in one batch. Imagine a stunning swirl of peppermint and vanilla or a fruity mix of strawberry and cotton candy!
FAQs
-
Why is my hard candy sticky?
Sticky candy usually indicates that the mixture didn’t reach the right temperature or that it needs more powdered sugar for coating. Make sure to use a reliable thermometer for best results. -
Can I use food coloring gels instead of liquid?
Absolutely! Just be cautious with the amount, as gels are more concentrated. Start with a small amount and mix thoroughly before adding more if needed. -
How long will my hard candy last?
If stored correctly, your hard candy can last for several weeks. The key is to keep it in a cool, dry place and ensure it’s airtight.
Montana sunsets reflect on my candy creations, and with each little nugget of sweetness, I’m reminded of the joy of sharing and creating. So go ahead and make some hard candy—it’s a celebration of simplicity, sweetness, and the little wonders in life that we can create with our own hands. Happy candy-making!
Hard Candy
Ingredients
Method
- Sift a generous layer of powdered sugar over the bottom of a cookie sheet and set it aside.
- In a medium saucepan, combine the granulated sugar, water, and corn syrup. Gently stir until everything is dissolved.
- Bring the mixture to a rapid boil over medium heat without stirring.
- Monitor the temperature with a candy thermometer until it reaches 300 degrees F.
- Once the mixture reaches 300°F, remove it from heat and let it cool for 30 seconds to a minute.
- Add the food coloring and your chosen flavoring. Mix until well incorporated.
- Carefully pour the mixture onto the prepared cookie sheet, spreading it evenly.
- Sift more powdered sugar on top and let it set for at least 30 minutes.
- Once set, brush off any excess powdered sugar and break the candy into bite-sized pieces.
- Store in an airtight container and enjoy your creations!