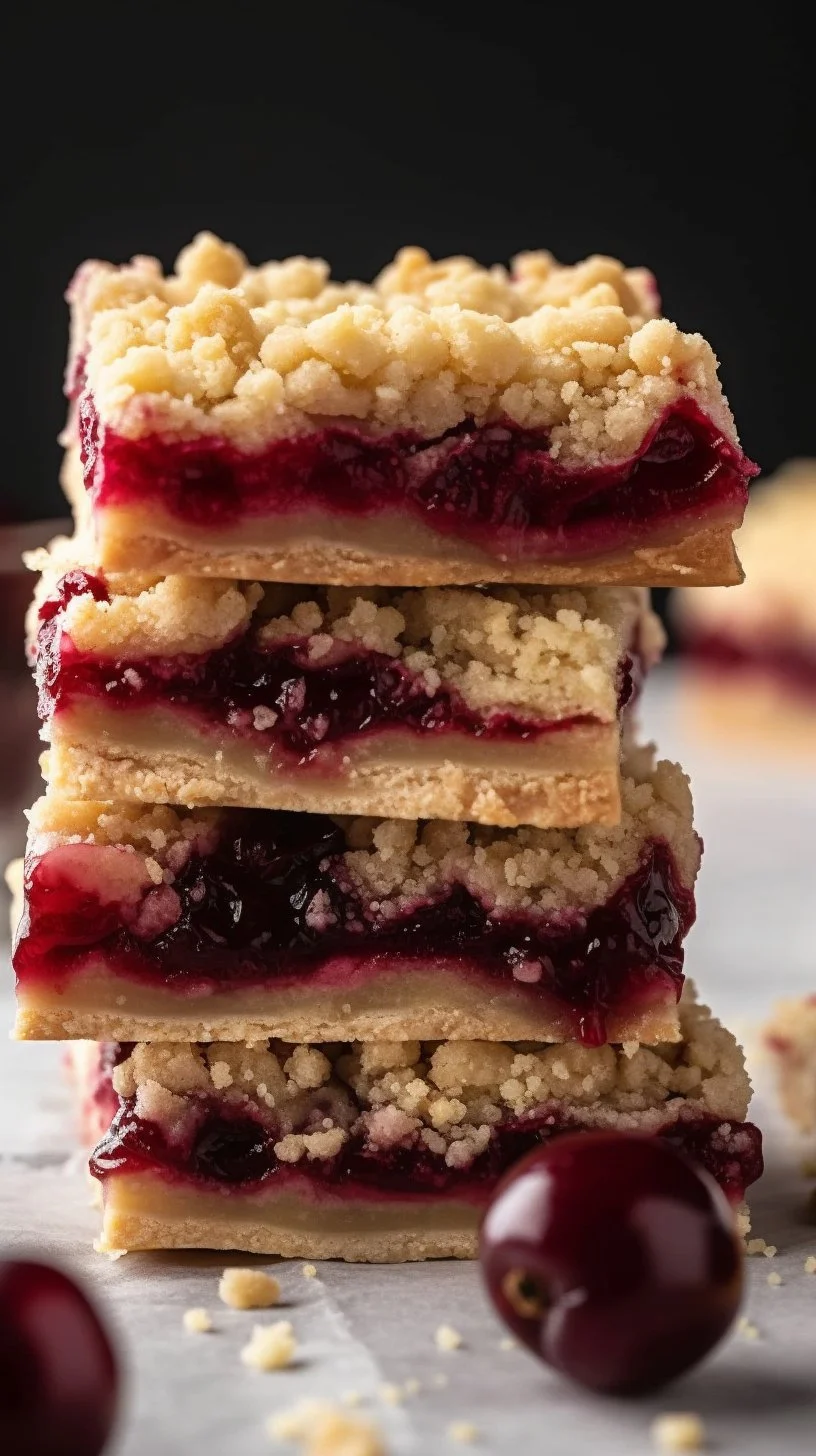
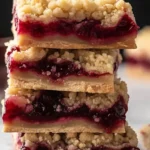
In the heart of a sun-drenched kitchen, where the breeze whispers through open windows and the scent of cherry blossoms dances in the air, Cherry Pie Bars emerge as a delightful way to celebrate the treasures of the orchard. These lush creations weave together a tapestry of sweet and tart, inviting you to lose yourself in their jewel-toned filling and buttery, crumbly topping. Each bite tells a story of warmth, nostalgia, and the simple pleasures of life.
Why make this recipe
There’s a certain grace in baking that transcends time. The Cherry Pie Bars are not just a treat; they are an experience—a testament to the beauty of seasonal fruit and the joy of creating something from scratch. With each bar, you savor the rich essence of cherries enveloped in a tender, crumbly crust. Whether gracing a picnic table or adorning your dessert spread, they are a sweet invitation to gather and create memories.
How to make Cherry Pie Bars
Ingredients:
- 1/2 cup unsalted butter, melted and cooled
- 1/2 cup granulated sugar
- 1 1/2 cups all purpose flour
- 1/2 teaspoon baking soda
- 1/2 teaspoon baking powder
- 1/4 teaspoon kosher salt
- 2 cups cherry pie filling
Directions:
-
Begin this tender creation by preheating your oven to a warm embrace of 375 degrees F. Line an 8×8 inch baking pan with parchment paper, allowing it to rise and cascade over the sides like a delicate shroud.
-
In a spacious mixing bowl, invite the melted butter and granulated sugar to mingle. Stir gently until they weave together in sweet harmony.
-
To this, add the flour, baking soda, baking powder, and kosher salt—an alchemy of dry ingredients. Use a fork to blend them into a crumbly mixture, capturing the essence of a soft breeze rustling through golden wheat.
-
Set aside 3/4 cup of this mélange, for it shall later become the crown upon your cherry filling. With tender hands, press the remaining crumb mixture firmly into the parchment-lined pan, forming a base that cradles the luscious fruit to come.
-
Pour the cherry pie filling over this crust, a cascade of ruby-red delight, and then, with a gentle touch, distribute the reserved crumb mixture evenly atop, as if dusting a fine dessert with powdered dreams.
-
Bake in your preheated oven for 23-25 minutes, until the top takes on a golden hue that glimmers like sunlight breaking through dawn. Let these bars cool, allowing time to bless their transformation before you slice and serve.
How to serve Cherry Pie Bars
Present your Cherry Pie Bars as a loving gesture. Let them emerge from their pan, the warm hues still glowing, and cut them into generous squares. A dusting of powdered sugar brings an ethereal finish, while a dollop of whipped cream or a scoop of vanilla ice cream accentuates the complexity of the cherries. Serve them on a rustic wooden board, inviting your loved ones to gather around, indulging in sweet moments and shared laughter.
How to store Cherry Pie Bars
To preserve the freshness of your Cherry Pie Bars, store them in an airtight container at room temperature for up to three days. Should you wish to extend their life, they also cradle well in the refrigerator, maintaining their delicate texture and flavor for up to a week. For those dreaming of cooler months, freezing these delightful squares is a perfect option; wrap them tightly in plastic wrap and place them in a freezer-safe container, where they can remain for up to three months.
Tips to make Cherry Pie Bars
- For a harmonious balance, consider adding a dash of almond extract to the cherry filling, which enhances the overall flavor profile, singing in perfect union with the tartness of the cherries.
- Experiment with your crumb topping; adding a hint of cinnamon or nutmeg can introduce an additional layer of warmth and comfort to each bite.
- Ensure your butter is cooled to avoid melting your crumb mixture into a soggy mess; gentle hands and patience are your best allies in the art of baking.
Variations
- Substitute the cherry pie filling with your favorite seasonal fruits such as blueberries, raspberries, or apples, creating a symphony of flavors that reflects the bounty of the harvest.
- For a more decadent treat, fold in chocolate chips or caramel pieces into the cherry filling for a lush twist that will delight your senses.
FAQs
Can I use fresh cherries instead of pie filling?
Absolutely! If you choose to use fresh cherries, pit and chop them, then mix with sugar and a touch of cornstarch to create a filling that holds together beautifully.
Can these bars be made gluten-free?
Certainly! Use a 1-to-1 gluten-free baking flour blend in place of all-purpose flour to create a delectable gluten-free version of these Cherry Pie Bars.
What is the best way to cut these bars?
For clean slices, allow the bars to cool completely. Use a sharp knife, run it under hot water for a few seconds, and dry it before making cuts—this method creates perfect squares that look as good as they taste.
Revel in the beauty of these Cherry Pie Bars, a reminder that baking is not merely about the results, but the journey of reflection, creation, and the warmth of home. With every slice you share, nurture patience and embrace the culinary art that connects us all.
Cherry Pie Bars
Ingredients
Method
- Preheat your oven to 375 degrees F. Line an 8x8 inch baking pan with parchment paper.
- In a mixing bowl, combine melted butter and granulated sugar, stirring until well blended.
- Add the flour, baking soda, baking powder, and kosher salt to the mixture. Blend until crumbly, reserving 3/4 cup for the topping.
- Press the remaining crumb mixture firmly into the prepared pan to form the crust.
- Pour the cherry pie filling over the crust, then sprinkle the reserved crumb mixture evenly on top.
- Bake in the preheated oven for 23-25 minutes, or until the top is golden brown.
- Allow to cool before slicing into bars.