Flatbreads have been a beloved staple across many cultures, known for their versatility, simplicity, and rich flavors. From Middle Eastern naan to Indian roti, and Mexican tortillas, flatbreads are a go-to choice for quick meals and elaborate feasts. Among the myriad of flatbread varieties, yogurt-based flatbread holds a special place due to its soft, pillowy texture and tangy undertones.
This type of flatbread is celebrated not only for its taste but also for its simplicity. It requires minimal ingredients, most of which are readily available in any kitchen, and delivers fantastic results without the need for advanced baking skills. Whether you’re whipping up a quick side dish for dinner or crafting the base for a flatbread pizza, this recipe is sure to become a favorite in your culinary repertoire.
Stay tuned as we dive into the ingredients, tools, and detailed steps for making perfect yogurt flatbread at home.
Ingredients for Yogurt Flatbread
Essential Ingredients
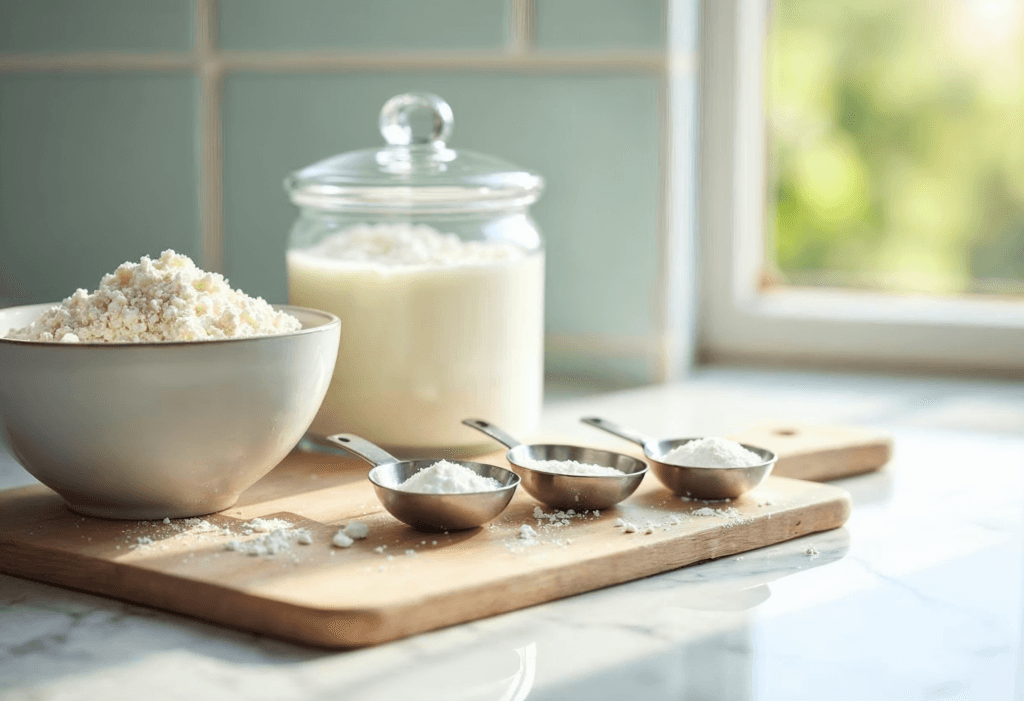
The beauty of yogurt flatbread lies in its simplicity and accessibility, as it requires only a handful of basic ingredients that you likely already have in your kitchen. Here’s a detailed look at what makes this flatbread so special:
- All-Purpose Flour (2 cups):
The base of the recipe, providing structure and elasticity. Want a healthier option? Substitute with whole wheat flour for added nutrition. Learn more about different types of flour and their properties. - Plain Yogurt (1 cup):
The yogurt is what sets this recipe apart from other flatbread types. Its creamy consistency makes the dough soft, while the tanginess adds depth to the flavor. Whether you use Greek yogurt or regular plain yogurt, the results will be delicious. Greek yogurt tends to create a firmer dough because of its thickness, so you may need to adjust the flour slightly. - Baking Powder (1 teaspoon):
This leavening agent helps the flatbread puff up while cooking, creating light, fluffy pockets of air in the dough. It ensures the bread isn’t too dense and maintains an enjoyable chewiness. - Salt (½ teaspoon):
A small amount of salt goes a long way in enhancing the natural flavors of the flatbread. Don’t skip this ingredient—it brings out the subtle tanginess of the yogurt and balances the overall taste.
Optional Additions
While the essential ingredients create a perfectly delicious flatbread, adding a few optional components can elevate the dish and make it more personalized:
- Olive Oil or Butter (1 tablespoon):
Mixing in a bit of fat makes the dough softer and helps achieve a golden, slightly crispy surface during cooking. Additionally, brushing the cooked flatbread with olive oil or melted butter enhances its flavor. - Garlic Powder or Herbs (1 teaspoon):
Incorporate dried herbs like oregano, thyme, or parsley into the dough for a Mediterranean twist. Garlic powder also works wonders in infusing the bread with extra aroma and flavor. - Sesame Seeds or Nigella Seeds:
Sprinkle these seeds on top of the rolled-out flatbreads before cooking. They add a delightful crunch and visual appeal, making your flatbreads look as good as they taste. - Water:
Though not often necessary, water can be added in small amounts if the dough feels too dry or crumbly. Be cautious—too much water can make the dough sticky and difficult to work with.
For more yogurt-based creations, check out this yogurt bread recipe.

Equipment Needed
Basic Tools
To make yogurt flatbread, you don’t need fancy equipment. The tools required are common in most kitchens, ensuring that this recipe is accessible to everyone:
- Mixing Bowl:
A large mixing bowl is essential for combining the ingredients and kneading the dough. Look for a bowl with enough space to accommodate the expansion of the dough as you knead and rest it. - Measuring Cups and Spoons:
Precise measurements are key to achieving the right dough consistency. Use measuring cups and spoons to ensure you’re working with the correct proportions of flour, yogurt, and other ingredients. - Rolling Pin:
A rolling pin helps you achieve an even thickness when shaping the flatbread. If you don’t have one, a clean glass bottle or cylindrical object can serve as a substitute. - Skillet or Griddle:
Cooking the flatbread requires a sturdy skillet or griddle. Non-stick or cast-iron skillets work best, as they distribute heat evenly and prevent the bread from sticking. - Spatula:
A flat, heat-resistant spatula makes it easy to flip the flatbread without tearing it.
Looking for professional tools? Refer to our Zojirushi bread machine recipes guide for more advanced baking options.
Optional Tools
For a more streamlined process, consider using these optional tools:
- Stand Mixer with Dough Hook:
If kneading dough by hand feels tedious, a stand mixer with a dough hook attachment can save time and effort. It’s especially useful for making larger batches of flatbread. - Pastry Brush:
A pastry brush is handy for applying olive oil, butter, or herb mixtures to the flatbreads, either before or after cooking. This small touch can greatly enhance the flavor and presentation.
Step-by-Step Instructions
Preparing the Dough
- Combine the Dry Ingredients:
Begin by sifting the all-purpose flour, baking powder, and salt into a large mixing bowl. This step ensures there are no lumps and that the ingredients are evenly distributed. Whisking these dry ingredients together helps to create a uniform dough texture. - Incorporate the Yogurt:
Gradually add the plain yogurt to the dry ingredients. Start with about three-quarters of the yogurt and mix with a spatula or wooden spoon. As the dough begins to form, evaluate its consistency. If the dough feels too dry and crumbly, add more yogurt a little at a time until it holds together. Avoid overhydrating, as a sticky dough is harder to work with. - Knead the Dough:
Transfer the mixture to a lightly floured surface. Use your hands to knead the dough for about 5–7 minutes, pressing and folding it repeatedly. Kneading helps develop gluten, which gives the flatbread its signature chewiness. The dough should feel soft, smooth, and slightly elastic by the end of this process. - Rest the Dough:
Once kneaded, shape the dough into a ball and place it back into the mixing bowl. Cover the bowl with a clean kitchen towel or plastic wrap to prevent the dough from drying out. Allow it to rest for 20–30 minutes. This resting period is crucial as it relaxes the gluten, making the dough easier to roll out and improving the overall texture of the flatbread.
Shaping the Flatbreads
- Divide the Dough:
After resting, remove the dough from the bowl and place it on a floured surface. Use a sharp knife or a bench scraper to divide the dough into equal portions. For smaller flatbreads, aim for 8 pieces; for larger ones, divide it into 6 portions. Roll each portion into a ball. - Roll Out Each Portion:
Take one ball of dough and flatten it slightly with your hand. Using a rolling pin, roll the dough into a circle or oval shape about ¼ inch thick. If the dough sticks to the surface or the rolling pin, sprinkle a little flour to prevent sticking. Don’t worry about achieving perfect shapes—rustic, uneven edges add charm to homemade flatbread. - Prepare for Cooking:
Place the rolled-out flatbreads on a lightly floured tray or parchment paper to prevent them from sticking together. Cover them with a towel to keep them from drying out while you finish rolling the rest.
Cooking the Flatbreads
- Heat the Skillet:
Place a skillet or griddle over medium-high heat. Allow it to heat up for a few minutes. To test if it’s ready, sprinkle a few drops of water onto the surface; if the water sizzles and evaporates immediately, the skillet is hot enough. - Cook the First Side:
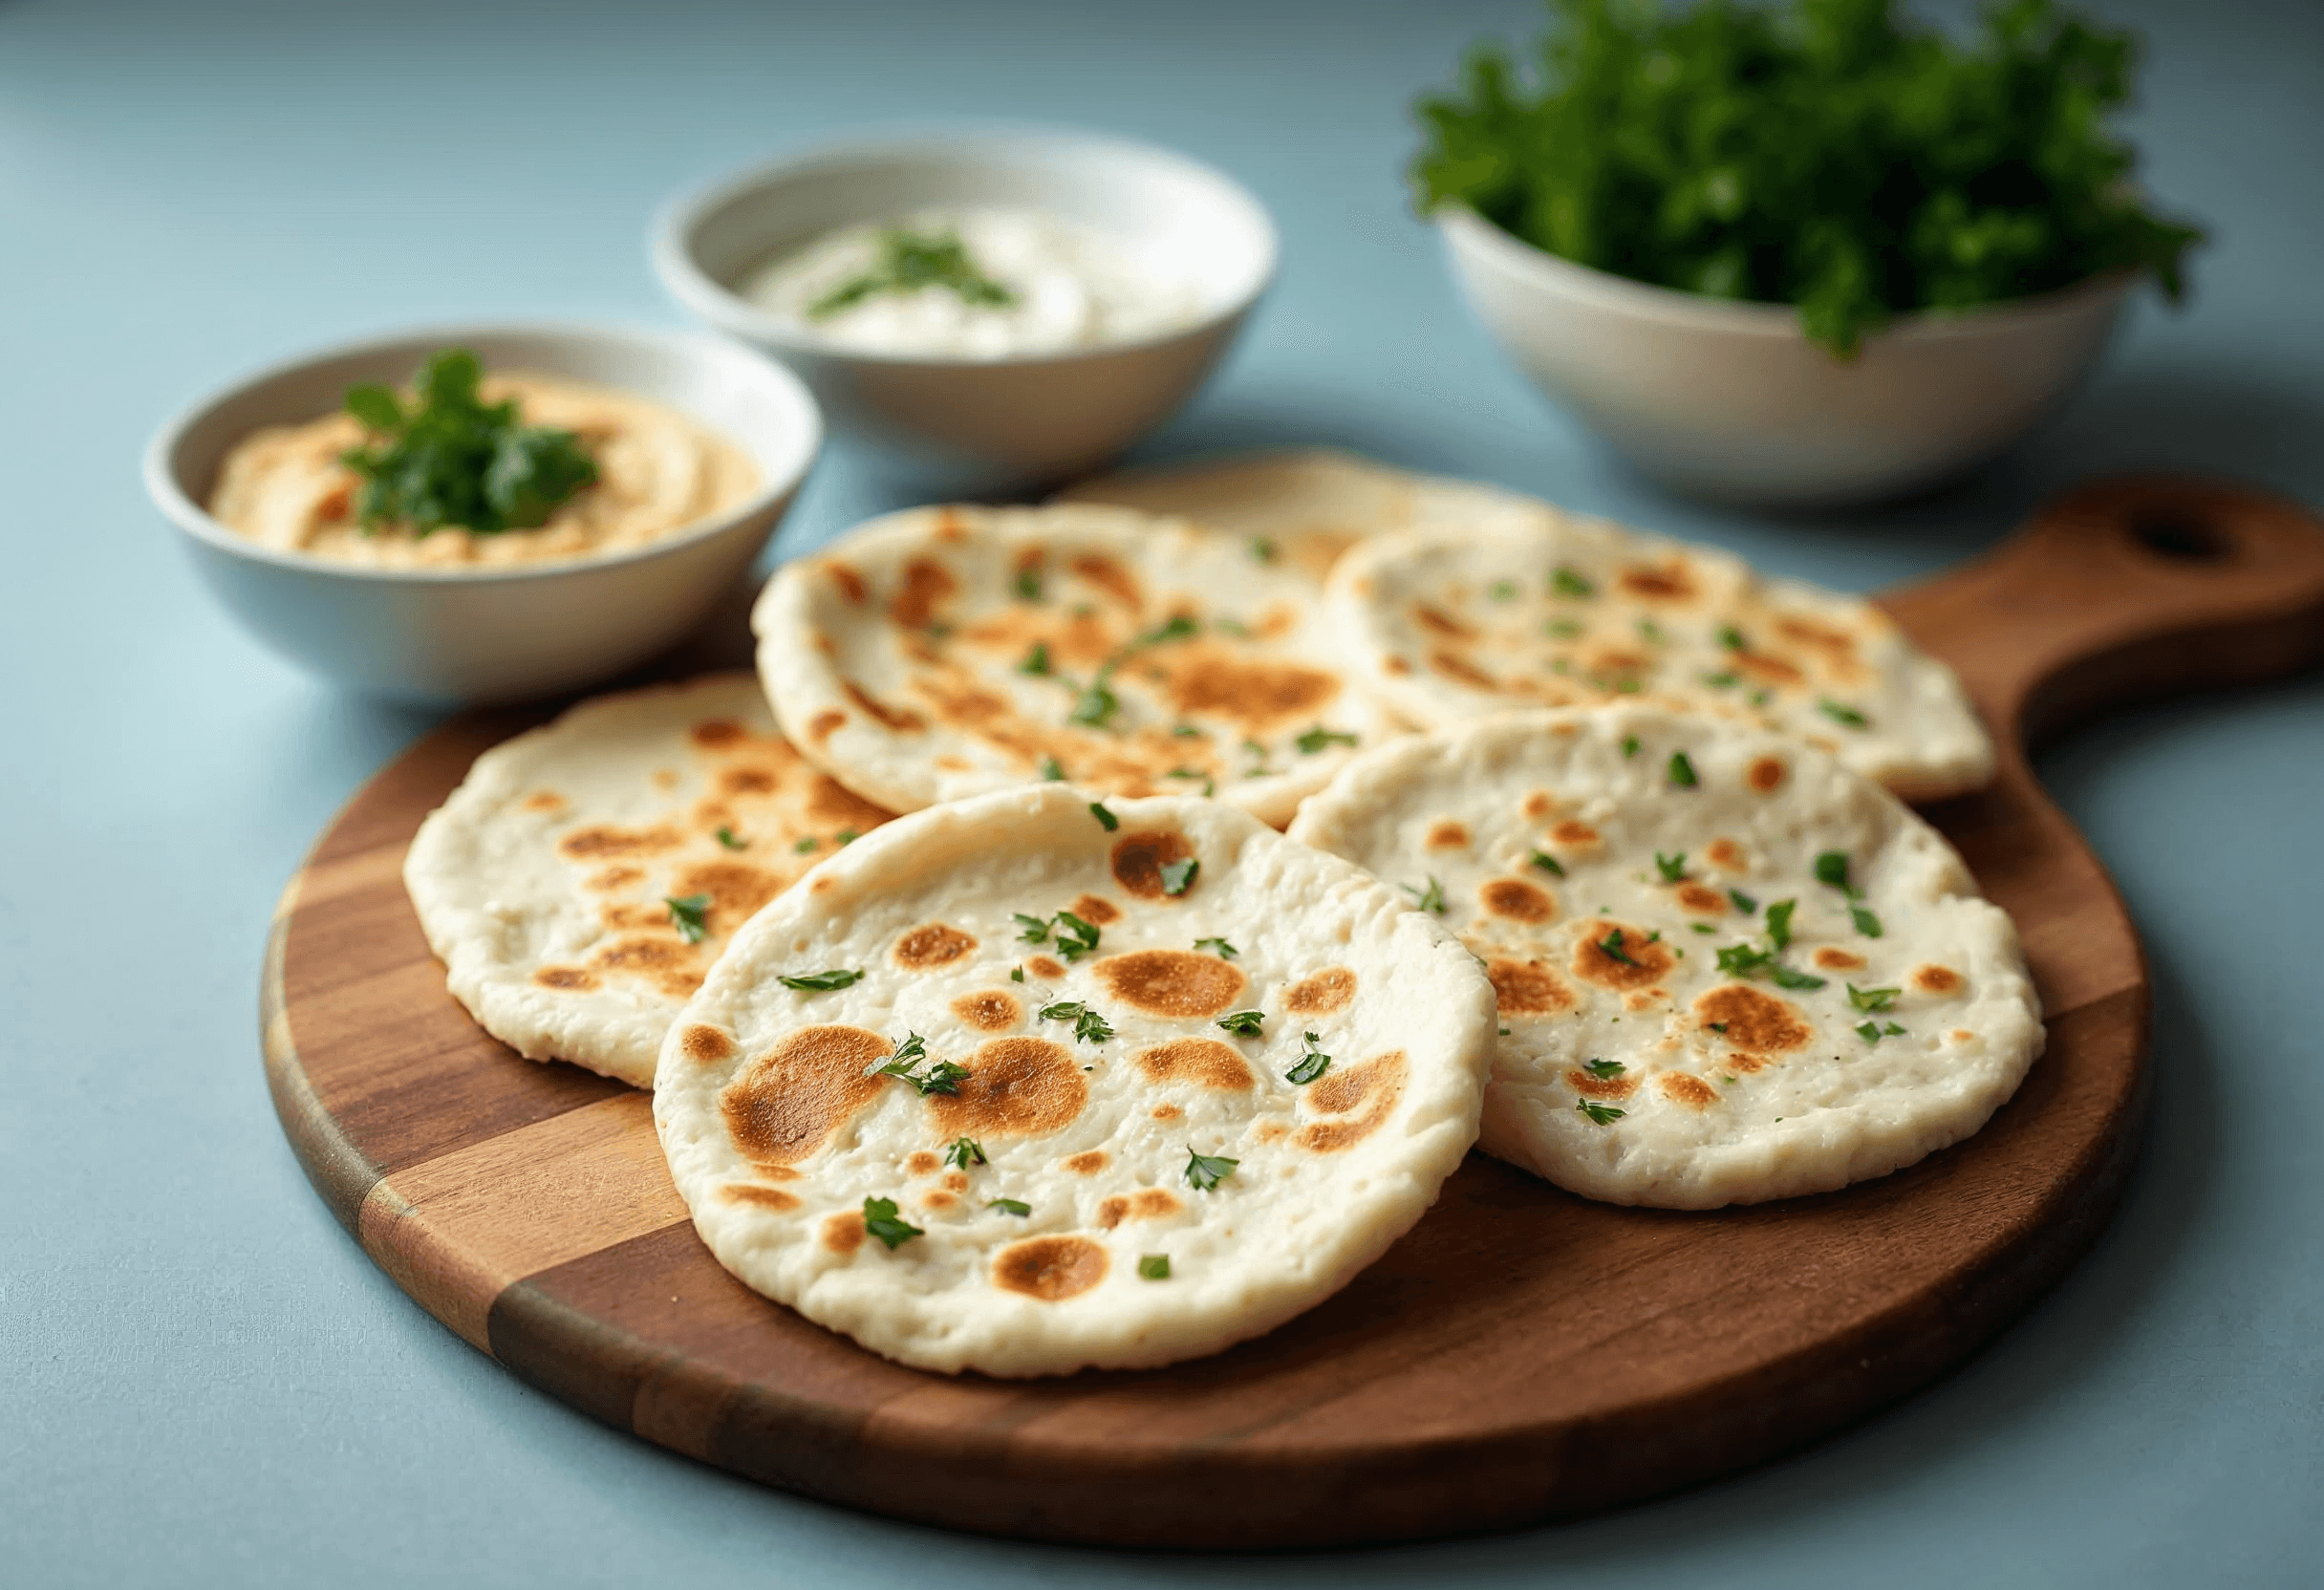
Gently place one rolled-out flatbread onto the hot skillet. Let it cook for 1–2 minutes. Bubbles should start to form on the surface, and the underside will develop golden brown spots. - Flip and Cook the Other Side:
Using a spatula, carefully flip the flatbread. Cook the second side for another 1–2 minutes, pressing gently with the spatula to ensure even cooking. - Repeat the Process:
Transfer the cooked flatbread to a plate and cover with a clean towel to keep warm and soft. Continue cooking the remaining flatbreads one at a time. - Optional Finishing Touches:
For added flavor, brush the cooked flatbreads with melted butter or olive oil and sprinkle with herbs, garlic, or sesame seeds. This step enhances both the taste and presentation, especially if you’re serving the bread at a dinner party.

Serving Suggestions
Pairing Yogurt Flatbreads with Meals
Yogurt flatbreads are incredibly versatile and can be served alongside a wide variety of dishes to elevate your meal. Here are some ideas to get you inspired:
- Accompaniment to Curries and Soups:
Yogurt flatbread pairs beautifully with creamy curries, spicy stews, or hearty soups. Its soft texture makes it perfect for scooping up rich sauces or dipping into broths. Popular pairings include Indian butter chicken, lentil dal, or Moroccan chickpea stew. - Grilled Meats and Vegetables:
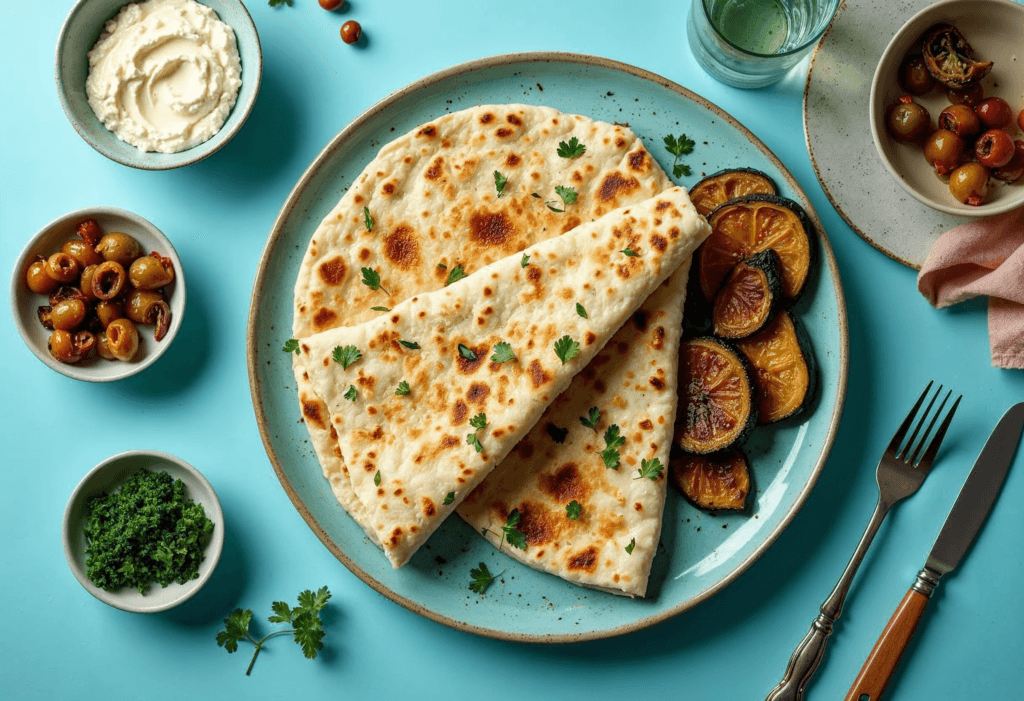
The flatbread works wonderfully as a side for grilled or roasted meats and vegetables. Try serving it with skewers of chicken, beef, or lamb kebabs. For a vegetarian option, pair it with roasted eggplant, bell peppers, or zucchini seasoned with olive oil and herbs. - Mediterranean Platters:
For a Mediterranean-inspired spread, serve the flatbreads with an assortment of dips like hummus, baba ghanoush, and tzatziki. Add olives, feta cheese, cherry tomatoes, and cucumber slices for a light and refreshing mezze platter.
For a sweet twist, consider pairing with a yogurt fruit dip for dessert.
Creative Ways to Transform Yogurt Flatbread
Yogurt flatbread isn’t just a side dish—it can also be the main attraction in creative and delicious recipes:
- Flatbread Pizza:
Use the flatbread as a base for a quick and easy pizza. Spread a thin layer of marinara sauce, sprinkle shredded mozzarella cheese, and top with your favorite toppings like pepperoni, mushrooms, or spinach. Bake in the oven or cook on a skillet until the cheese melts. - Wraps and Sandwiches:
Turn the flatbread into a wrap by filling it with grilled chicken, falafel, or roasted vegetables. Add some fresh greens, tomatoes, and a drizzle of sauce like tahini, tzatziki, or garlic aioli for a satisfying meal. - Breakfast Flatbreads:
Transform your flatbread into a breakfast delight by topping it with scrambled eggs, avocado slices, and crumbled feta cheese. You can also spread butter and jam or honey for a simple yet satisfying morning treat.
Enhancing Flavor with Garnishes and Dips
Take your flatbreads to the next level by adding finishing touches that enhance both flavor and presentation:
- Herb-Infused Butter:
Mix softened butter with fresh herbs like parsley, cilantro, or chives and spread it on warm flatbreads. This adds a fragrant and savory touch. - Garlic Oil Drizzle:
For garlic lovers, drizzle the flatbread with garlic-infused olive oil. This simple addition infuses the bread with a bold and aromatic flavor that’s hard to resist. - Sprinkle of Seeds:
For a bit of crunch and visual appeal, sprinkle sesame seeds, nigella seeds, or flaxseeds on the flatbreads before cooking. They’ll toast up beautifully on the hot skillet.
Frequently Asked Questions
Can I Make Yogurt Flatbread Ahead of Time?
Yes! Preparing yogurt flatbread ahead of time is easy and convenient. You can make the dough a day in advance and store it in the refrigerator. Wrap it tightly in plastic wrap to prevent it from drying out. Before using, let the dough come to room temperature for about 20–30 minutes.
If you want to prepare the flatbreads completely, cook them as directed and store them in an airtight container. Reheat them in a skillet or in the oven to restore their softness and warmth before serving.
What Type of Yogurt Works Best?
Plain yogurt is the best choice for this recipe, whether it’s regular or Greek yogurt. Greek yogurt is thicker and will create a firmer dough, while regular yogurt makes a softer dough. If using flavored or sweetened yogurt, it may alter the taste, so plain is recommended. For dairy-free options, coconut yogurt or almond-based yogurt can work well, though you may need to adjust the consistency with additional flour.
Can I Freeze Yogurt Flatbreads?
Yes, yogurt flatbreads freeze beautifully. Allow them to cool completely after cooking, then layer parchment paper between each flatbread to prevent them from sticking together. Place the stack in a freezer-safe bag or container. To reheat, warm them directly from frozen on a hot skillet or in the oven.
Can I Use Gluten-Free Flour?
You can substitute the all-purpose flour with a gluten-free flour blend if needed. Look for a blend that includes xanthan gum or guar gum to help mimic the elasticity of gluten. Keep in mind that the texture may vary slightly, but the flatbreads will still taste delicious.
Looking for More Recipes? Experiment with other yogurt-based delights like this yogurt muffin recipe.
Why is My Flatbread Hard or Dry?
Hard or dry flatbreads usually result from overcooking or rolling the dough too thin. To prevent this, cook the flatbreads for just 1–2 minutes per side and aim for a thickness of about ¼ inch when rolling out the dough. Cover cooked flatbreads with a clean towel to retain their softness.
How Should I Store Leftovers?
Store leftover flatbreads in an airtight container or resealable plastic bag at room temperature for up to two days. If you need to store them longer, refrigerate or freeze them. Reheat in a skillet, oven, or microwave to restore their softness.
Conclusion
Homemade yogurt flatbread is a delightful and versatile addition to your recipe collection. Whether it’s part of a hearty meal or transformed into a creative dish, this recipe is a surefire way to elevate your culinary game. Ready to explore more? Dive into our comprehensive recipe collection for additional inspiration.
The flexibility of this recipe makes it a must-try for cooks of all skill levels. Whether you’re a beginner looking for an easy bread recipe or an experienced home chef seeking to expand your repertoire, yogurt flatbread is a reliable choice that delivers incredible results every time. Plus, with its minimal ingredient list and quick preparation, it’s a fantastic option for busy weeknights or last-minute gatherings.
So, why not roll up your sleeves and give this recipe a try? Once you experience the satisfaction of making your own fresh, homemade flatbread, you’ll find it hard to go back to store-bought options. Your family and friends will be impressed, and your meals will reach new heights of flavor and enjoyment.
Happy cooking!

