Yogurt bread is a versatile and easy-to-make baked good that perfectly combines the tanginess of yogurt with the comforting taste of homemade bread. Whether you’re a seasoned baker or someone new to the kitchen, this recipe is an excellent choice to elevate your baking skills. Yogurt’s unique properties bring softness and a hint of tartness to the bread, making it a standout on any table.
In this guide, we’ll walk you through every step of the process, from gathering ingredients to savoring the final product. Additionally, we’ll share tips, tricks, and variations to ensure your yogurt bread turns out perfect every time. Let’s dive in and discover how this delightful recipe can become a staple in your kitchen!
What Is Yogurt Bread? and Ingredients Needed
What Is Yogurt Bread?
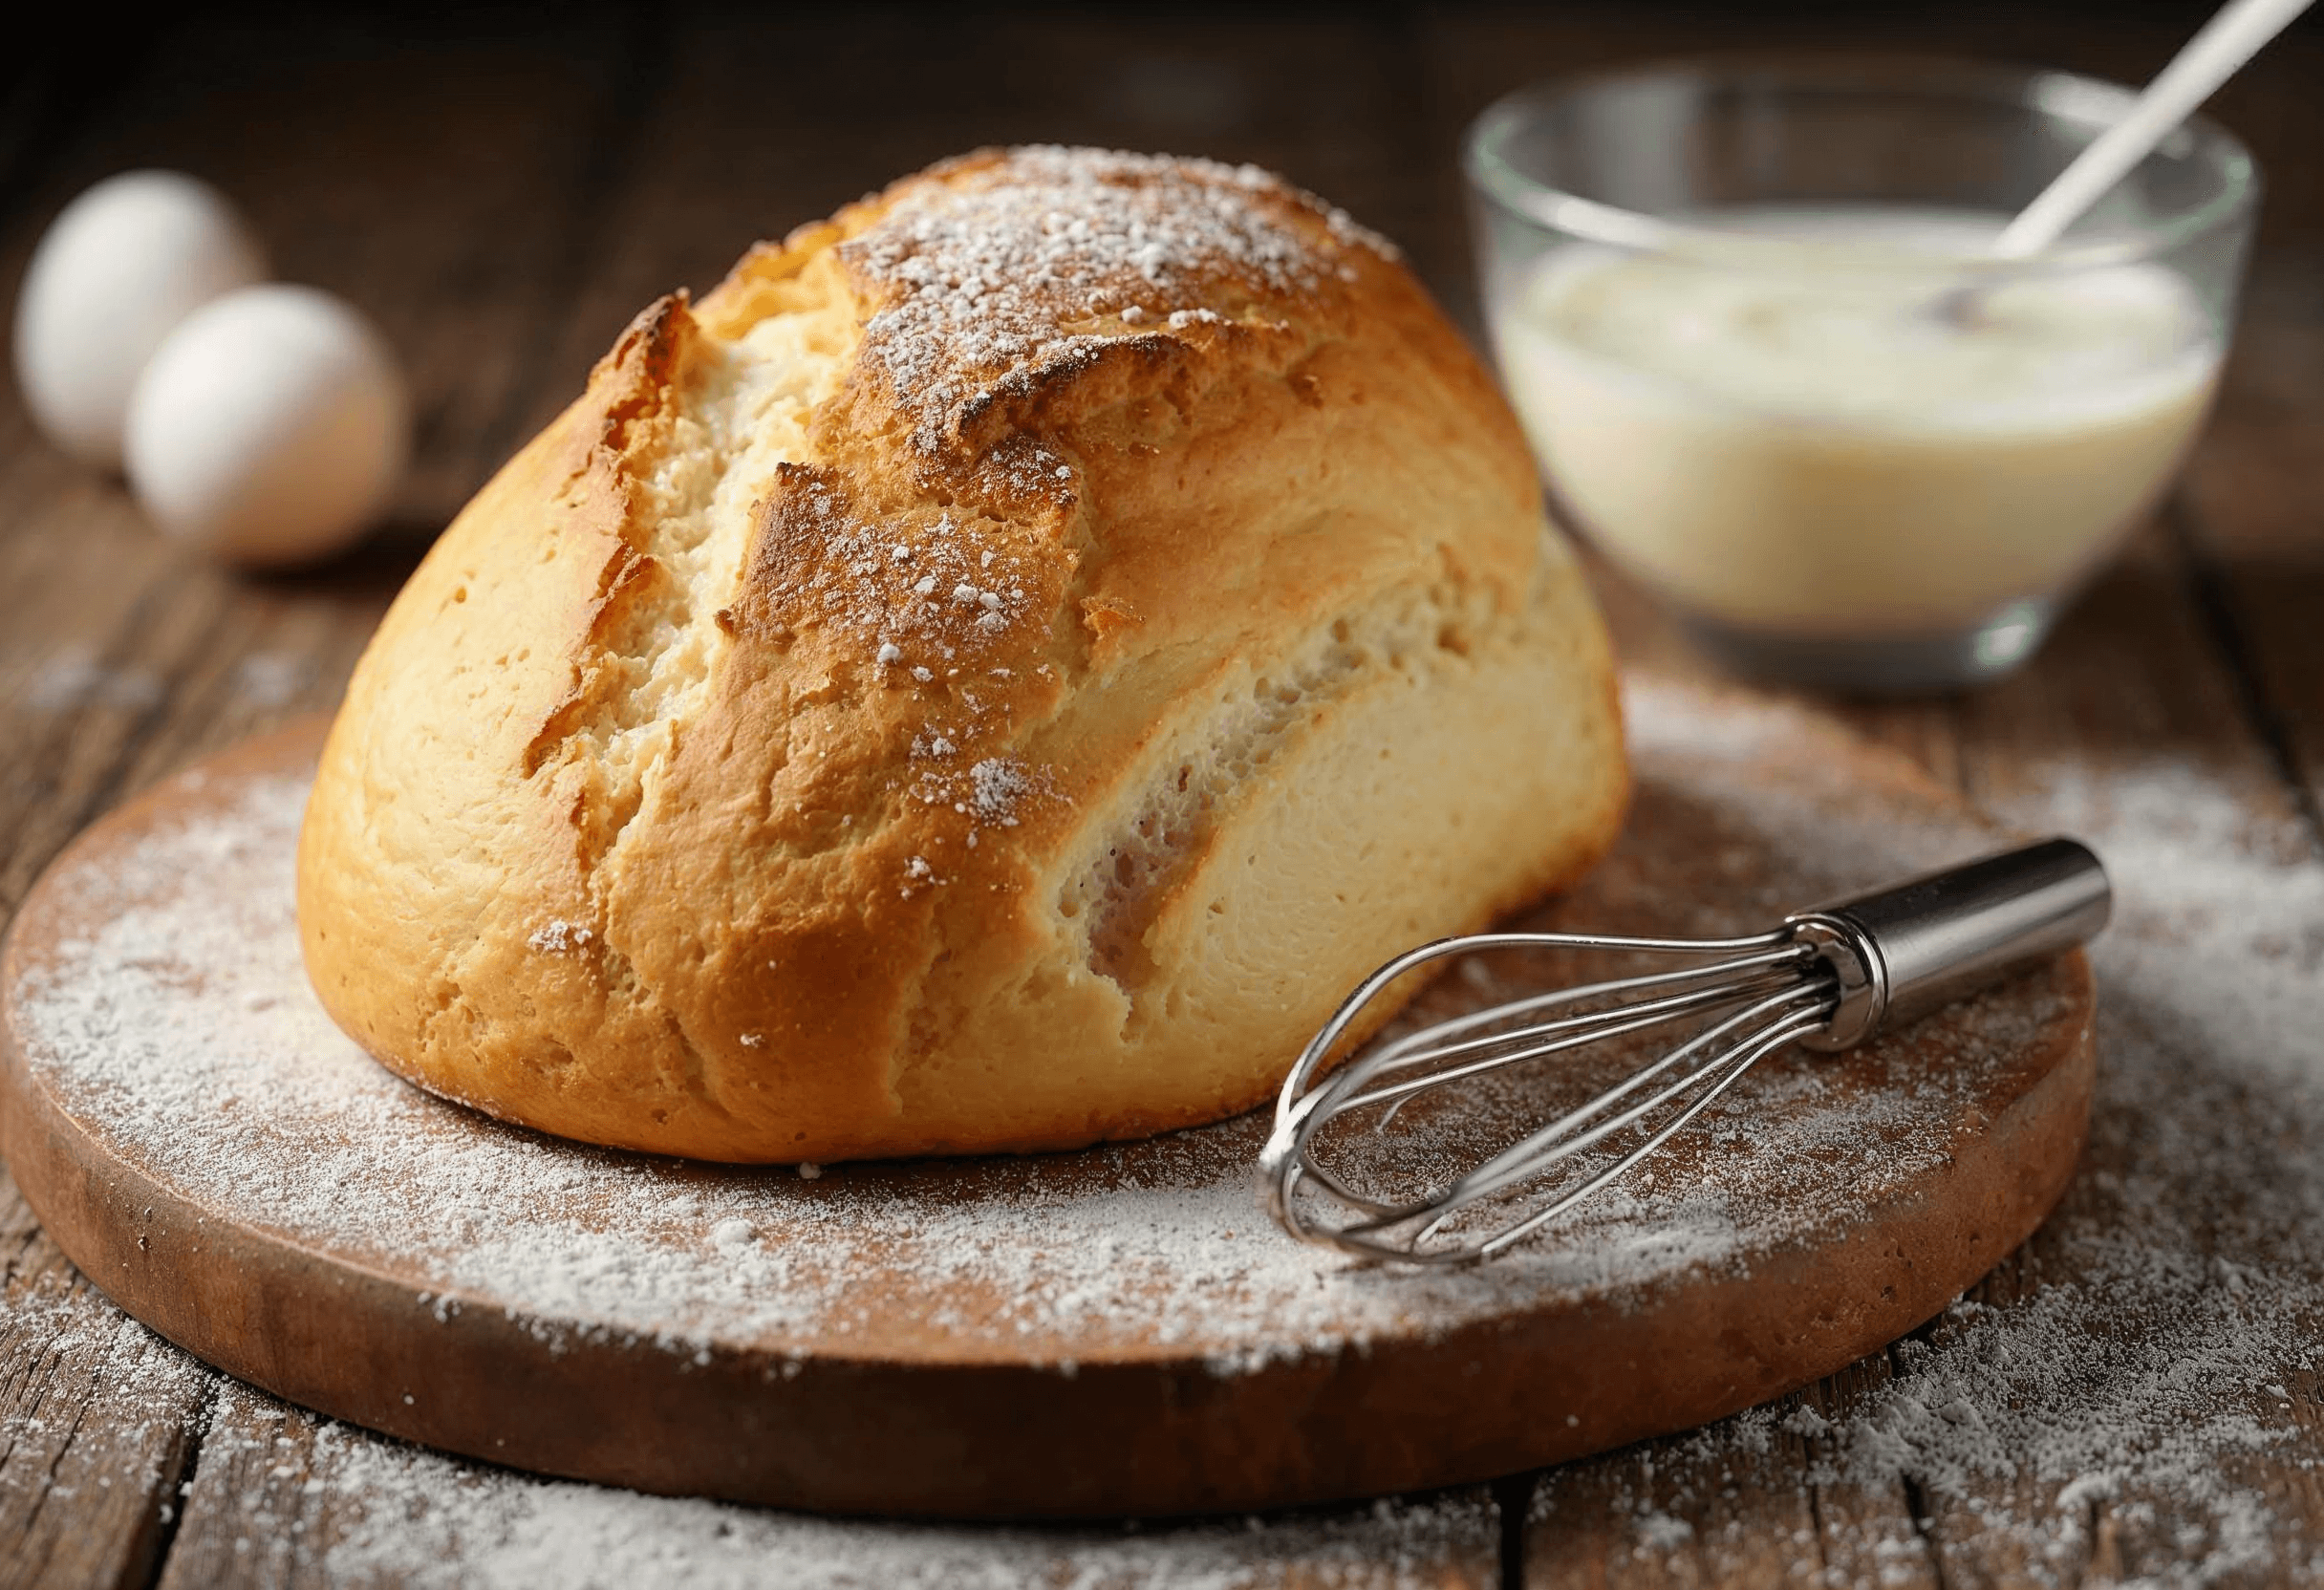
Yogurt bread is a type of bread that incorporates yogurt as a key ingredient in the dough. This ingredient not only enhances the flavor but also improves the texture and nutritional profile of the bread. Yogurt acts as a natural tenderizer, giving the bread a soft, moist crumb while adding a subtle tanginess that sets it apart from other breads.
A Brief History of Yogurt in Baking
Yogurt has been used in baking for centuries, particularly in regions where yogurt is a dietary staple, such as the Middle East, India, and Eastern Europe. Its acidic nature makes it a perfect addition to bread recipes, helping to activate baking soda or yeast, resulting in better leavening and a lighter loaf. Over time, yogurt bread recipes have evolved, with variations appearing in cuisines worldwide.
Benefits of Using Yogurt in Bread Recipes
- Improved Moisture and Texture: Yogurt locks in moisture, creating a tender and fluffy bread.
- Natural Flavor Enhancer: Its tangy flavor complements both sweet and savory ingredients.
- Nutritional Boost: Yogurt adds protein, calcium, and probiotics, making the bread healthier.
- Versatility: Works well in various recipes, from quick breads to yeast-leavened options.
Ingredients Needed for Yogurt Bread
Core Ingredients
To make a classic yogurt bread, you’ll need the following essentials:
- All-Purpose Flour: The foundation of the bread, offering structure and elasticity.
- Yogurt: Provides moisture and a slight tang. Choose plain, unsweetened yogurt for the best results.
- Baking Powder or Baking Soda: Ensures the bread rises and achieves a soft texture.
- Eggs: Add richness and bind the dough together.
- Salt: Enhances the flavor of the bread.
- Sugar: Balances the tanginess of the yogurt (optional, depending on whether you prefer sweet or savory bread).
Types of Yogurt to Use
The type of yogurt you choose can greatly impact the outcome of your bread:
- Greek Yogurt: Thicker consistency, requiring a slight adjustment in liquid ingredients.
- Plain Yogurt: A standard choice for a balanced texture and flavor.
- Low-Fat or Non-Fat Yogurt: Works well but may need additional fat for richness.
Flour Options for Different Textures
The choice of flour can change the texture and density of your bread:
- Whole Wheat Flour: Creates a denser, more nutritious loaf.
- All-Purpose Flour: Ideal for a light and fluffy texture.
- Gluten-Free Flour: Suitable for those with dietary restrictions, though it may require binding agents like xanthan gum.
Optional Ingredients for Variations
Adding optional ingredients can customize the bread to suit your taste:
- For Sweet Bread: Honey, dried fruits, or chocolate chips.
- For Savory Bread: Fresh herbs, grated cheese, or spices like cumin or paprika.
- For Texture: Seeds such as sesame, flax, or sunflower.

Step-by-Step Instructions for Making Yogurt Bread
Making yogurt bread is a simple process that requires just a few steps and some basic kitchen tools. Follow this detailed guide to achieve perfect results every time.
Preparing Your Workspace
- Gather Your Ingredients: Lay out all the ingredients on your counter. Ensure that the yogurt, eggs, and other items are at room temperature for easier mixing.
- Preheat the Oven: Set your oven to 375°F (190°C) for an even baking temperature.
- Prepare the Baking Dish: Grease a loaf pan or line it with parchment paper to prevent sticking.
Mixing the Ingredients
Combining Wet and Dry Ingredients
- Mix Dry Ingredients: In a large mixing bowl, sift together the flour, baking powder (or soda), sugar, and salt. Sifting helps remove lumps and aerates the mixture for better leavening.
- Blend Wet Ingredients: In another bowl, whisk together the yogurt, eggs, and any liquid fat like melted butter or oil. If adding sweeteners like honey or vanilla extract, mix them in at this stage.
- Gradual Incorporation: Slowly pour the wet ingredients into the dry ingredients. Use a wooden spoon or spatula to combine, ensuring you don’t overmix. The batter should be thick but slightly lumpy.
Kneading and Resting the Dough
Techniques for Perfect Kneading
- Lightly Flour Your Surface: Sprinkle a small amount of flour on your work surface to prevent sticking.
- Knead the Dough: If the recipe calls for kneading (common in yeast-based yogurt breads), press and fold the dough with your hands for about 8-10 minutes. This develops gluten and creates elasticity.
- Rest the Dough: Allow the dough to rest for 20-30 minutes, covered with a damp cloth. This step is essential for yeast breads but optional for quick breads.
Baking the Yogurt Bread
Adjusting Baking Time for Desired Texture
- Transfer to Pan: Pour or shape the dough into the prepared loaf pan, spreading it evenly.
- Bake: Place the pan in the preheated oven and bake for 30-40 minutes, or until the top is golden brown. Insert a toothpick or skewer into the center—if it comes out clean, the bread is done.
- Cool Before Serving: Let the bread cool in the pan for 10 minutes before transferring it to a wire rack. This prevents it from becoming soggy at the bottom.
Tips for Perfect Yogurt Bread
Making yogurt bread is straightforward, but a few tips can elevate your results from good to exceptional. Here are some practical recommendations:
Adjusting Consistency Based on Yogurt Type
- Thickness Matters: Greek yogurt is thicker than regular yogurt, so you may need to add a tablespoon or two of milk or water to achieve the right consistency.
- Low-Fat vs. Full-Fat Yogurt: Full-fat yogurt yields a richer bread, while low-fat options might require added butter or oil for moistness.
How to Achieve a Golden Crust
- Egg Wash: For a shiny and golden crust, brush the top of the dough with a beaten egg before baking.
- Add Seeds or Toppings: Sprinkle sesame seeds, poppy seeds, or oats on top for extra crunch and visual appeal.
- Monitor Oven Temperature: Use an oven thermometer to ensure the temperature is accurate. Overheating can burn the crust before the inside is fully cooked.
Storing and Reheating Yogurt Bread
- Storage: Wrap the bread in plastic wrap or store it in an airtight container at room temperature for up to 3 days. Refrigeration can extend its freshness to 5-7 days.
- Reheating: Revive the bread by toasting slices or placing the loaf in a warm oven for 5-10 minutes.
Variations of Yogurt Bread Recipes
Once you’ve mastered the basic yogurt bread recipe, experimenting with variations can add excitement to your baking routine. Here are some creative options to try:
Sweet Yogurt Bread with Fruits
- Add Dried Fruits: Incorporate raisins, cranberries, or chopped dates into the batter for a naturally sweet flavor.
- Swirl in Fruit Purees: For a marbled effect, swirl in pureed berries or mashed bananas before baking.
- Top with Glaze: After baking, drizzle a simple glaze made of powdered sugar and lemon juice for added sweetness.
Savory Yogurt Bread with Herbs
- Fresh Herbs: Fold in chopped rosemary, thyme, or dill for a fragrant loaf.
- Cheese Additions: Mix grated parmesan, cheddar, or feta into the batter for a rich, savory taste.
- Spices: Add cumin, paprika, or chili flakes for a slight kick.
Gluten-Free Yogurt Bread
- Use Gluten-Free Flour: Substitute all-purpose flour with a gluten-free blend. Add xanthan gum if it’s not already included in the mix.
- Adjust Liquids: Gluten-free flours often absorb more moisture, so slightly increase the yogurt or other liquids.
- Experiment with Textures: Combine almond flour or oat flour for a softer crumb.

Common Mistakes to Avoid When Making Yogurt Bread
Avoiding common pitfalls ensures that your yogurt bread turns out perfect every time. Here are the top mistakes to steer clear of:
Overmixing the Dough
- Why It Happens: Overenthusiastic mixing can lead to excess gluten development, resulting in dense, tough bread.
- How to Avoid It: Mix the wet and dry ingredients just until combined. A few lumps in the batter are fine for quick breads.
Using Improper Yogurt Consistency
- Too Thin: Watery yogurt can make the dough overly sticky and hard to manage.
- Too Thick: Very thick yogurt (like strained Greek yogurt) might not provide enough moisture.
- Solution: Adjust the consistency by balancing yogurt thickness with added liquids or flour.
Skipping Resting Time
- Why It Matters: Resting the dough (especially for yeast-based recipes) allows gluten to relax and flavors to develop.
- How to Do It: Cover the dough with a damp cloth and let it sit for 20-30 minutes at room temperature before baking.
Baking at the Wrong Temperature
- Too Low: A low temperature can result in undercooked, doughy bread.
- Too High: High heat may burn the crust before the inside is baked.
- Tip: Use a reliable oven thermometer to ensure accurate temperature settings.
FAQs
Can I Use Flavored Yogurt for Yogurt Bread?
Yes, you can use flavored yogurt, but it will alter the taste of the bread. For sweet bread, fruit-flavored yogurt works well. Avoid flavored yogurts for savory recipes as the sweetness may clash with other ingredients.
How Long Does Yogurt Bread Stay Fresh?
Yogurt bread typically stays fresh for 2-3 days at room temperature if stored in an airtight container. To extend its shelf life, refrigerate it for up to a week or freeze it for up to 3 months.
Can I Make Yogurt Bread Without an Oven?
Yes, you can make yogurt bread using alternative methods:
- Stovetop: Cook the dough in a heavy skillet or Dutch oven over low heat, flipping halfway through.
- Air Fryer: Bake smaller portions in an air fryer at 350°F (175°C) for 20-25 minutes.
- Instant Pot: Use the “Bake” or “Cake” function for a moist, steamed version of yogurt bread.
Can I Use Non-Dairy Yogurt for Yogurt Bread?
Absolutely! Non-dairy yogurts like almond, coconut, or soy yogurt work well. Be mindful of added sweeteners in non-dairy options and adjust sugar levels accordingly.
What Can I Serve with Yogurt Bread?
Yogurt bread pairs beautifully with:
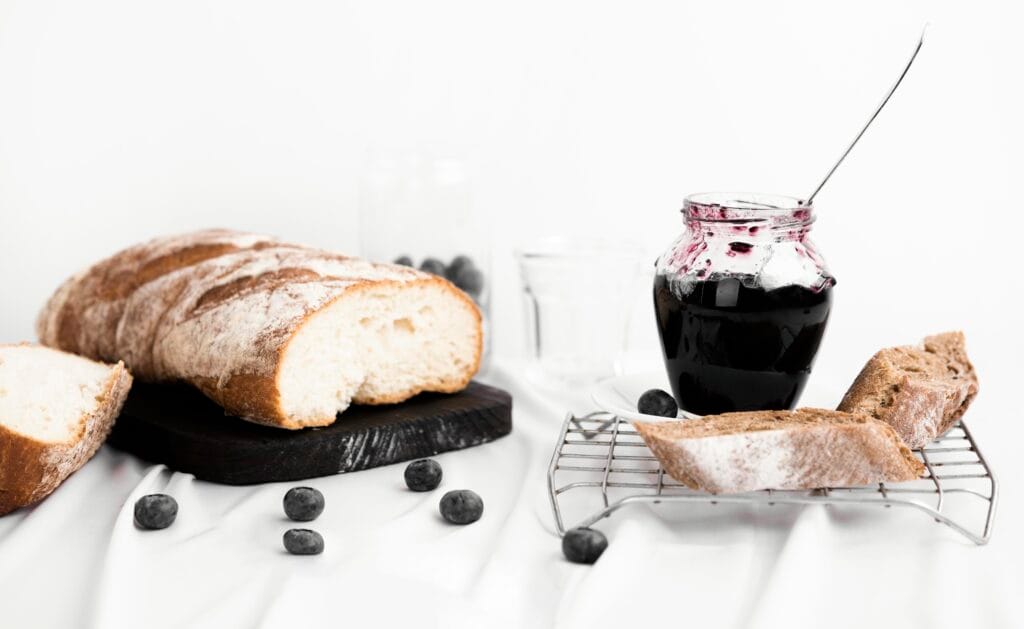
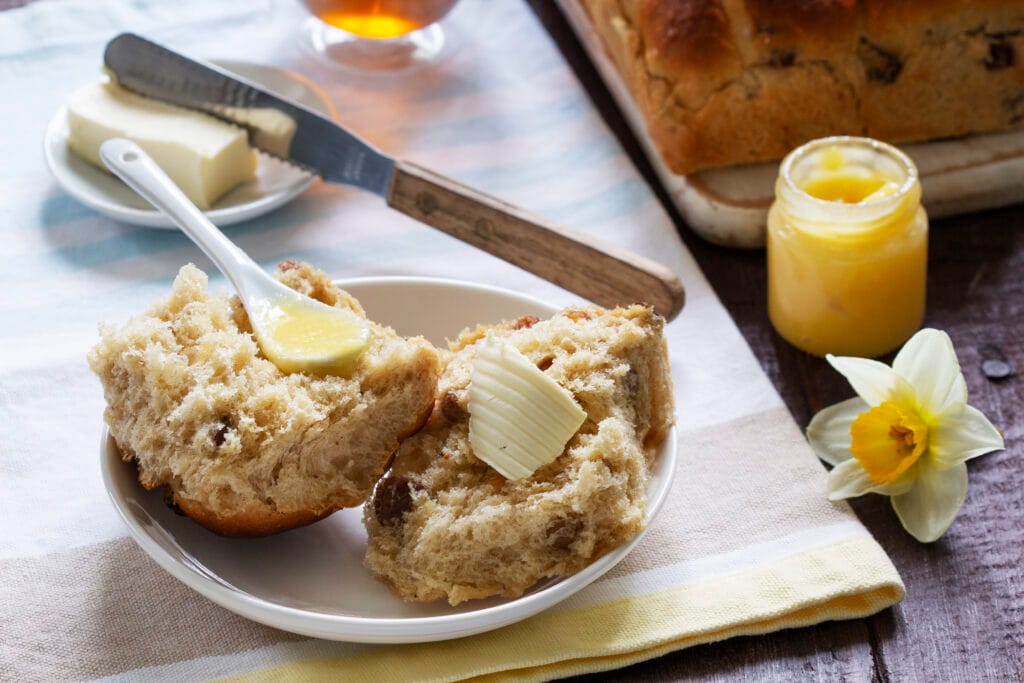
- Sweet Options: Jams, honey, or nut butter for breakfast.
- Savory Toppings: Cream cheese, hummus, or avocado spread.
- Dips and Soups: Serve alongside soups or stews for a hearty meal.
Can I Freeze Yogurt Bread?
Yes, yogurt bread freezes well. Wrap it tightly in plastic wrap and aluminum foil to prevent freezer burn. Thaw at room temperature or in a warm oven for fresh-tasting bread.
Conclusion
Yogurt bread is a delightful and versatile addition to any home baker’s repertoire. Its soft texture, tangy flavor, and nutritional benefits make it a favorite among both novice and experienced bakers. Whether you’re creating a classic loaf, experimenting with sweet or savory variations, or adapting the recipe to suit dietary needs, yogurt bread offers endless possibilities.
This step-by-step guide provides all the tools you need to bake your own loaf of yogurt bread with confidence. Remember to follow the tips and avoid common mistakes for consistently great results. Now, it’s time to get creative, try your hand at this recipe, and enjoy the aroma of freshly baked yogurt bread wafting through your kitchen!

