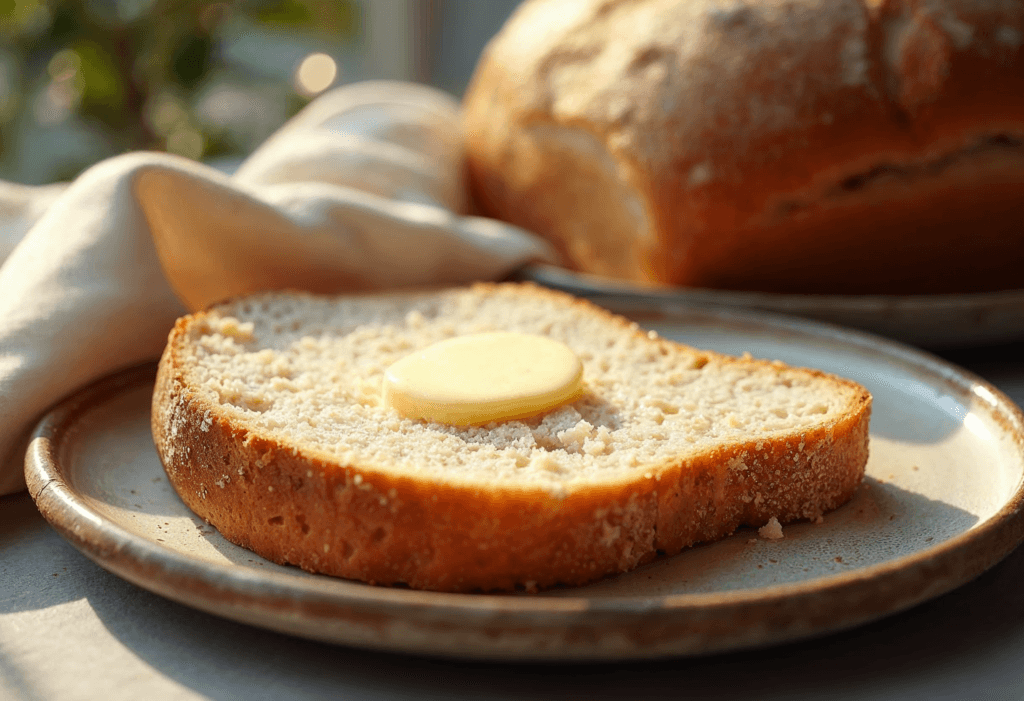
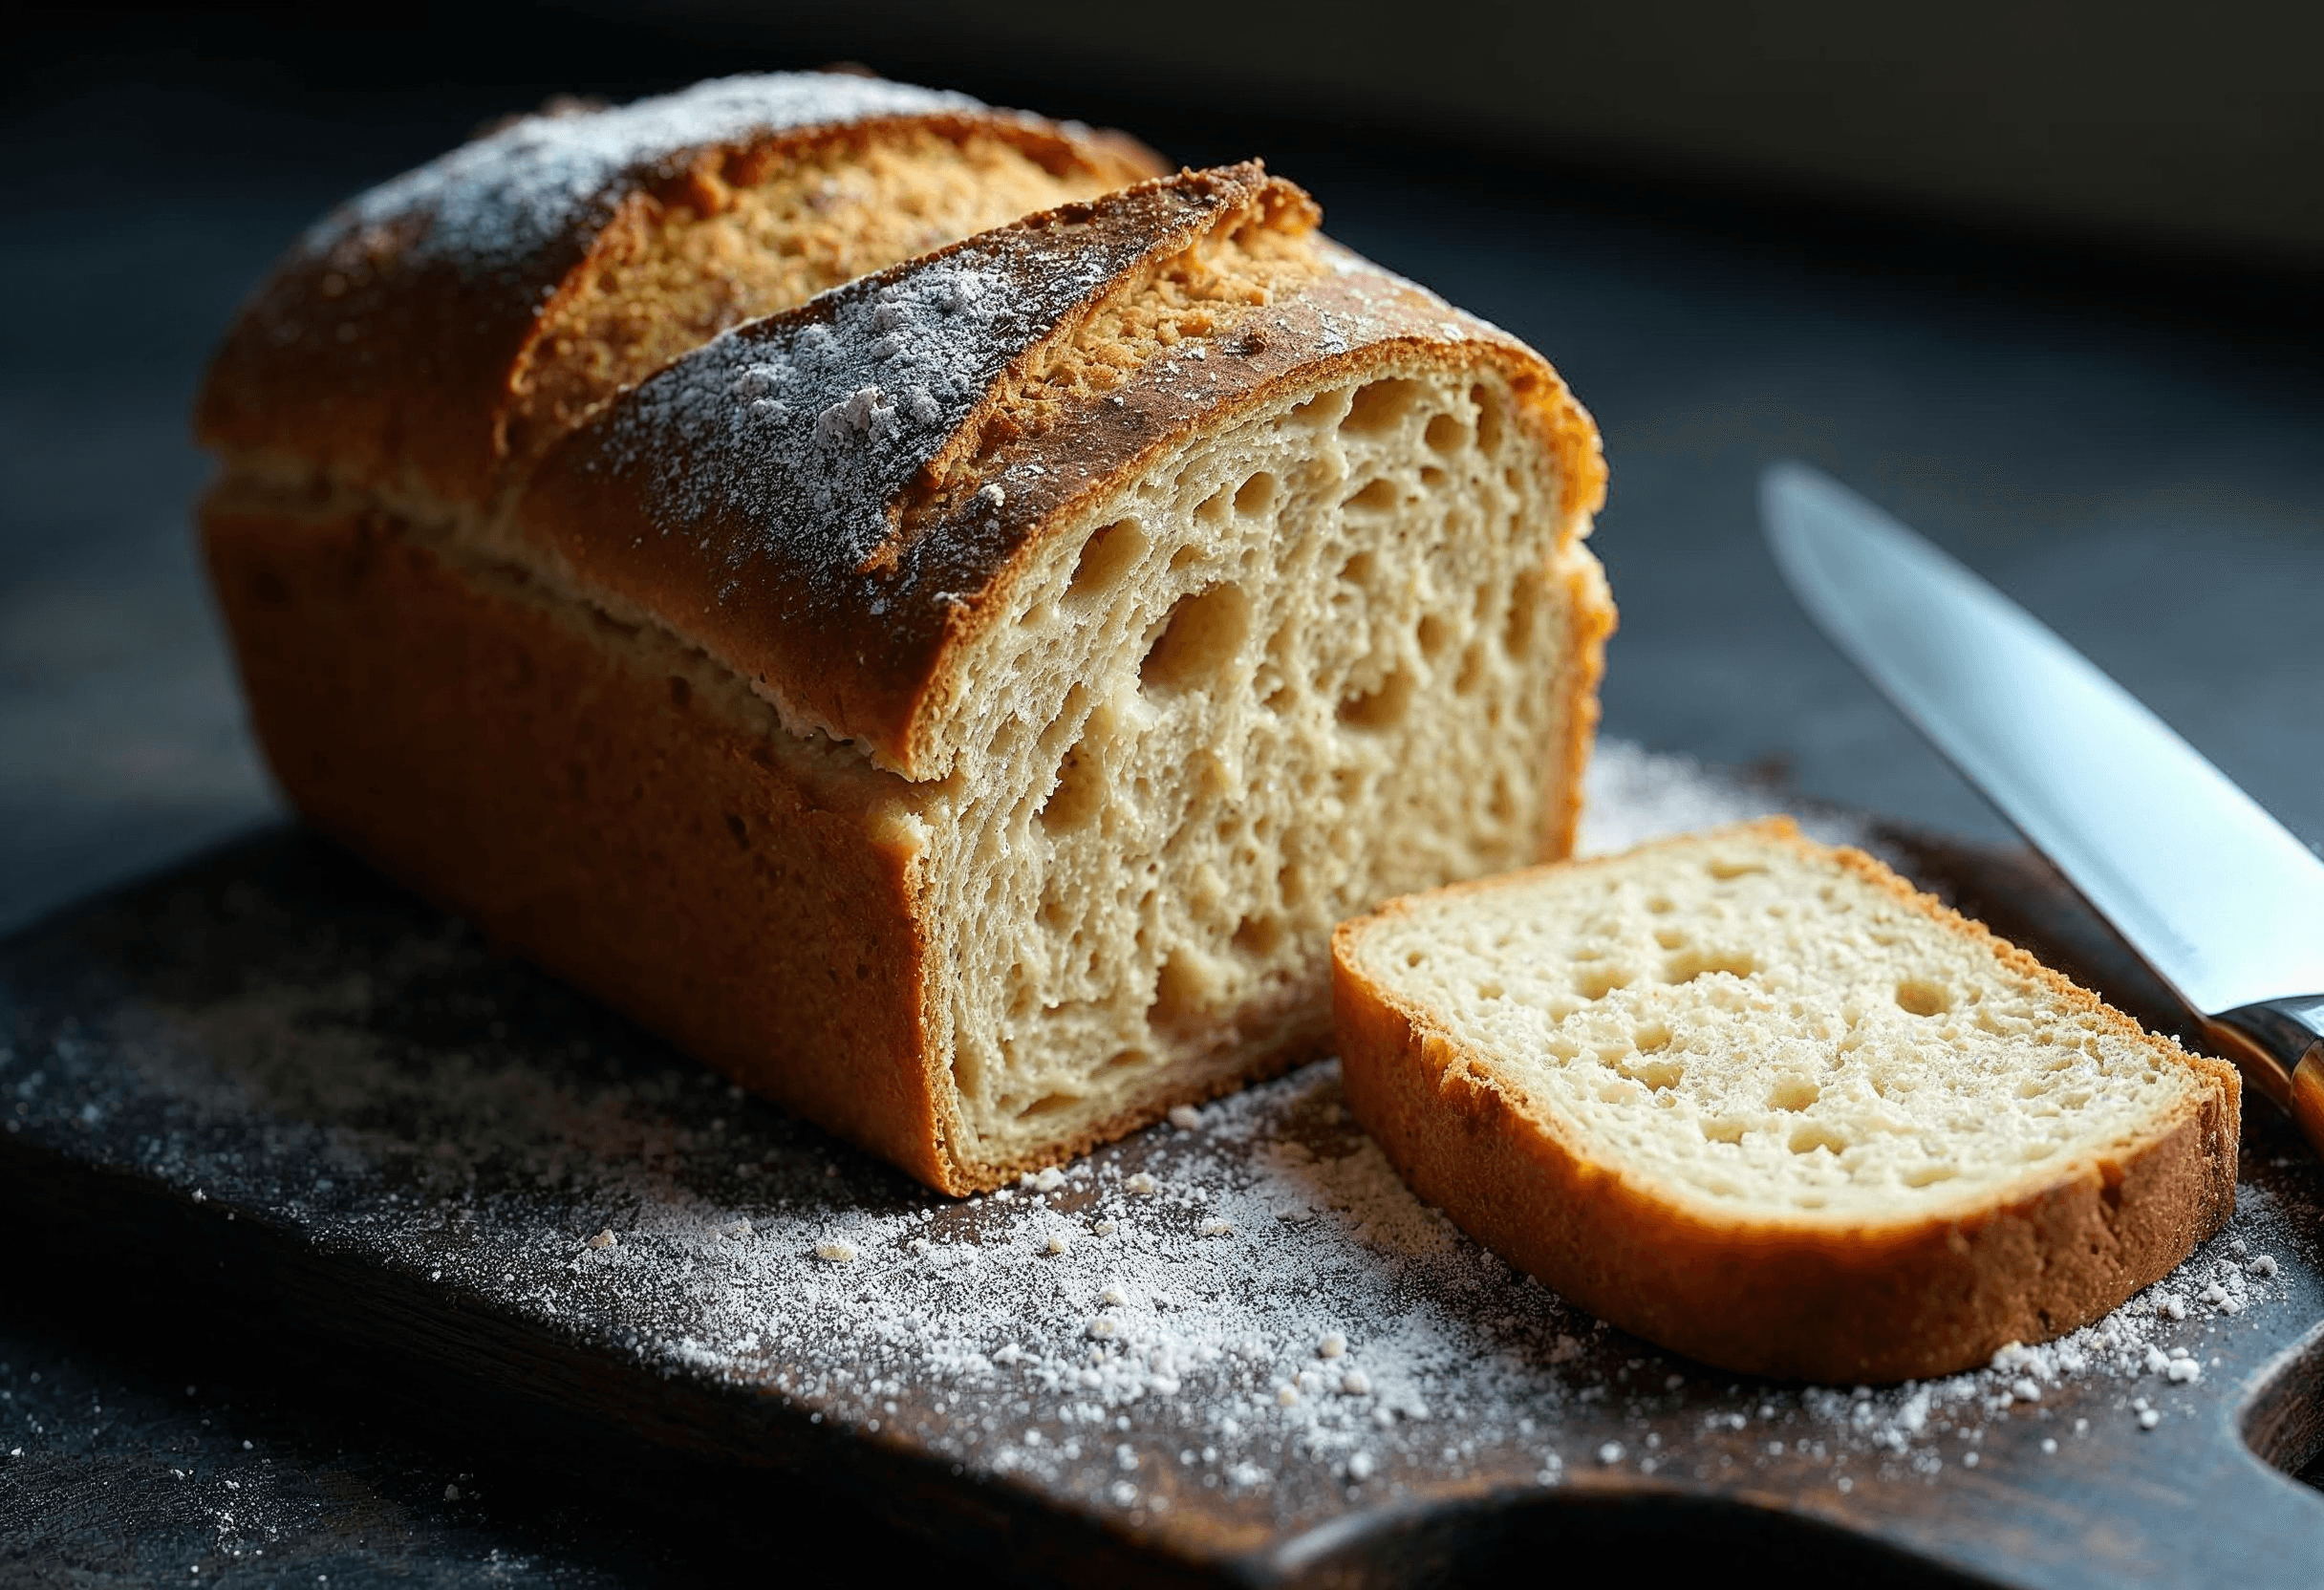
If you’re a bread enthusiast, you probably know the magic of sourdough. But have you ever tried whole wheat sourdough bread? It’s a game-changer. Packed with nutrition, a deep earthy flavor, and that irresistible tang, whole wheat sourdough combines wholesome ingredients with the timeless art of baking. Ready to dive in? Let’s make your kitchen smell amazing. 😊
Introduction to Whole Wheat Sourdough Bread
What Makes Whole Wheat Sourdough Special?
Whole wheat sourdough isn’t just any bread—it’s a loaf with character. Unlike regular bread, sourdough relies on wild yeast and bacteria from a natural starter instead of store-bought yeast. When you add whole wheat flour into the mix, you’re introducing a hearty texture, richer nutrients, and a slightly nutty taste. Think of it as bread with soul. ❤️
This bread also brings balance: the chewiness of the crumb contrasts perfectly with the crackle of the crust. It’s like nature and nurture in loaf form!
The History of Sourdough Bread
Did you know sourdough is one of the oldest forms of leavened bread? It dates back thousands of years, long before bakeries filled their shelves with soft sandwich loaves. Ancient Egyptians are thought to be the first sourdough bakers. Fast forward to today, and sourdough has become a staple for artisan bakers and home cooks alike. It’s not just about tradition—it’s about making bread that tastes as good as it feels to bake.
Why Choose Whole Wheat Flour?
Whole wheat flour is the MVP of healthy baking. Unlike refined flour, it retains the bran, germ, and endosperm, meaning you get all the fiber, vitamins, and minerals. Plus, it’s unprocessed, which adds a hearty taste to your bread.
“Whole wheat flour doesn’t just make your bread taste great—it makes your bread work for you, delivering fiber, protein, and nutrients.” 🌾
When paired with sourdough fermentation, it becomes easier to digest, thanks to the breakdown of gluten and phytic acid.
Ingredients for Whole Wheat Sourdough Bread
Essential Ingredients Overview
The beauty of sourdough bread lies in its simplicity. You’ll need just four main ingredients:
- Whole wheat flour: The hero of our recipe.
- Water: Hydrates the flour and activates fermentation.
- Salt: Enhances flavor and strengthens the dough.
- Sourdough starter: The magic potion that brings it all to life.
Pro Tip: Use high-quality, organic whole wheat flour to ensure the best flavor and texture. 🌟
The Role of Whole Wheat Flour in Sourdough Bread
Whole wheat flour is denser than white flour, so it absorbs more water and creates a dough that feels heavier. Don’t worry—this is completely normal! The key is to hydrate the dough well during mixing and give it enough time to rest. Patience is the secret ingredient here.
Selecting the Best Starter for Your Bread
Your starter is the lifeblood of your bread. Whether you’ve nurtured your own or snagged one from a friend (sharing is caring, right?), make sure it’s active and bubbly before you begin. Feeding it a day or two before baking can help give it that extra “oomph.”
“Think of your starter as a sourdough pet—feed it, love it, and it will reward you with amazing bread.” 🐾
Optional Add-Ins for Flavor and Texture
Want to level up your bread game? You can experiment with add-ins like:
- Seeds: Sunflower, flax, or sesame for crunch.
- Nuts: Walnuts or almonds add a rustic feel.
- Dried fruits: Raisins or cranberries bring sweetness.
- Herbs: Rosemary or thyme for a savory touch.
Each loaf becomes a blank canvas for your creativity. 🎨

Step-by-Step Recipe for Whole Wheat Sourdough Bread
Preparing Your Sourdough Starter
- If your starter has been chilling in the fridge, take it out a day before baking.
- Feed it equal parts flour and water and let it sit at room temperature.
- Wait until it’s bubbly and has doubled in size—this can take 4–6 hours, depending on your kitchen’s temperature.
Mixing the Dough: Techniques for Success
Mixing dough is where the magic begins. Here’s how you do it:
- Combine the ingredients: In a large bowl, mix 500g whole wheat flour, 350g water, 100g active starter, and 10g salt.
- Hydration tip: The dough might feel sticky at first—that’s a good sign! Whole wheat flour needs a bit of extra water to work its magic.
Bulk Fermentation: Patience is Key
Bulk fermentation is when the dough transforms. This phase allows the natural yeast to do its thing. Let the dough rest in a covered bowl for 4–6 hours, folding it every 30 minutes to build strength.
“If bread-making feels slow, remember: good things come to those who wait.” ⏳
Shaping the Dough: Professional Tips
After the first rise, it’s time to shape the dough. Turn it onto a floured surface, and gently stretch it into a rectangle. Fold it like a letter, turn it over, and tuck the edges to create surface tension. This step helps your bread hold its shape during the final rise.
Proofing the Dough: Timing and Temperature Insights
Transfer the shaped dough to a proofing basket or bowl lined with a floured cloth. Let it rise in the fridge overnight (8–12 hours). This slow, cold proofing enhances flavor and makes the dough easier to handle.
Baking to Perfection: Tips for the Ideal Crust and Crumb
- Preheat your oven to 475°F (245°C) with a Dutch oven inside.
- Score the dough with a sharp knife or razor—this helps it expand beautifully while baking.
- Bake for 20 minutes with the lid on, then another 20 minutes uncovered for that golden, crackly crust.
When you tap the bottom of the loaf and hear a hollow sound, it’s ready!
For those who love experimenting with kitchen gadgets, you might want to explore recipes using a bread machine. While this guide focuses on hand-made techniques, you can find an excellent guide to baking healthier bread with a Zojirushi bread machine. It’s a handy resource if you’re short on time but still want delicious bread!

Common Problems and Solutions in Sourdough Baking
Let’s face it—baking sourdough bread, especially with whole wheat flour, isn’t always smooth sailing. If you’ve ever ended up with dough sticking to your hands or a loaf that feels like a brick, you’re not alone. Don’t worry—I’ve got you covered with some common sourdough hiccups and how to fix them. 🌟
Why Is My Dough Too Sticky?
Sticky dough can make you want to throw in the towel. But here’s the thing: stickiness is normal with whole wheat sourdough because the bran in the flour absorbs water more slowly. The trick is learning how to handle it.
Solution:
- Hydration balance: Don’t overdo the water in your recipe. If you’re new to sourdough, try lowering the hydration (water) slightly.
- Flour your hands and surface: Dusting your hands with flour or even lightly oiling them can make a world of difference.
- Practice patience: The stickiness often improves as the dough develops during folding and bulk fermentation. It’s all part of the process!
“Sourdough dough is like a sticky situation in life—handle it with care, and it’ll turn into something amazing.” 👐
How to Handle Dense or Gummy Bread
No one wants their bread to feel like it’s still half-baked. Dense or gummy loaves often happen when the dough is under-proofed or the oven temperature isn’t quite right.
Solution:
- Check your proofing: Under-proofing is a common culprit. Use the poke test: gently press a finger into the dough. If it springs back slowly, it’s ready.
- Bake longer: Sometimes, your loaf just needs a few extra minutes in the oven. Keep an eye on it, and tap the bottom to check for that hollow sound.
Cracked or Flat Loaves: What Went Wrong?
A loaf that refuses to rise or develops deep cracks can be heartbreaking. Flat loaves often mean the dough didn’t develop enough strength, while cracks might indicate a rushed proofing process.
Solution:
- Strengthen your dough: Focus on proper folding techniques during bulk fermentation. Each fold builds structure and traps air.
- Control proofing temperature: Keep an eye on your kitchen temperature. Too warm, and your dough may over-proof; too cold, and it may under-proof.
“Bread is like life—it needs balance. Too much or too little of anything can throw the whole thing off.” 🌡️
Troubleshooting Over-Fermentation Issues
Over-fermented dough can feel slack and lose its shape, resulting in a flat, underwhelming loaf. This often happens if the dough is left to rise for too long or if your starter was too active.
Solution:
- Watch the clock: Stick to the recommended bulk fermentation times, and don’t let the dough overstay its welcome.
- Chill it out: Cold-proofing your dough in the fridge slows fermentation and gives you more control over the timing.
Nutritional Benefits of Whole Wheat Sourdough Bread
Let’s talk about why whole wheat sourdough bread is not just tasty but also incredibly good for you. This bread is a nutritional powerhouse, and here’s why you should add it to your diet. 🌱
Digestibility and Gut Health
The natural fermentation process of sourdough breaks down phytic acid, which can block the absorption of important minerals like iron and zinc. This makes the nutrients in whole wheat flour more bioavailable.
Plus, sourdough is a prebiotic, meaning it feeds the good bacteria in your gut. Healthy gut, happy you!
Lower Glycemic Index and Sustained Energy
Unlike regular bread, sourdough has a lower glycemic index (GI). This means it doesn’t cause your blood sugar to spike and crash. Instead, it provides a steady release of energy, keeping you fueled throughout the day.
“Whole wheat sourdough isn’t just bread—it’s brain food and body fuel rolled into one.” 🚴♀️
Whole Wheat vs. Refined Flour: Nutritional Comparison
Whole wheat flour is leagues ahead of refined flour. It retains the bran and germ, providing fiber, protein, and B vitamins. Refined flour, on the other hand, is stripped of these vital nutrients.
If you’re making bread to nourish your body, whole wheat sourdough is the way to go. It’s bread with benefits!
Tips for Storing and Maintaining Sourdough Bread
You’ve baked the perfect loaf. Now what? Proper storage is key to keeping your bread fresh and delicious. Let’s make sure every slice is as good as the first. 🥖
How to Store Your Bread for Freshness
Sourdough bread is best stored at room temperature in a breathable container, like a cloth bag or a bread box. Avoid plastic—it traps moisture, making the crust soggy.
If you don’t plan to eat the bread within a few days, slice it and freeze it. This way, you can thaw only what you need and keep the rest fresh.
Reviving Stale Sourdough Bread
Got stale bread? Don’t toss it—revive it!
- Steam it: Wrap the bread in a damp cloth and pop it in a warm oven for 10 minutes.
- Toast it: Stale sourdough makes the best toast. Add butter or avocado for a treat!
Freezing Tips for Long-Term Storage
Freezing is your best friend if you want to save bread for later. Slice your loaf first and wrap individual slices in parchment paper. Place them in a freezer bag, and you’ve got bread on demand!
“Sourdough bread loves a little TLC—tender loaf care!” 🥰
Exploring Variations and Customizations
Whole wheat flour isn’t just for bread. If you’re looking for easy whole wheat recipes, why not try making pancakes? This whole wheat pancake recipe is another great way to incorporate whole grains into your diet. 🎨
Check out this resource on the benefits of whole grains from the Harvard School of Public Health. It explains why whole grains are a cornerstone of a healthy diet and how they boost overall well-being.
Adding Seeds, Nuts, and Grains
Sprinkle sunflower seeds or add chopped walnuts to the dough for extra crunch. Grains like oats or quinoa can also give your loaf a unique texture.
Making Whole Wheat Sourdough Rolls or Baguettes
Who says sourdough has to be a round loaf? Shape the dough into smaller rolls for sandwich-perfect bites or long baguettes for a French-inspired twist.
Sweet Variations: Cinnamon and Raisin Sourdough
For a sweet treat, add cinnamon, raisins, and a touch of honey to your dough. It’s like a hug in bread form. Perfect for breakfast or an afternoon snack!
FAQ: Whole Wheat Sourdough Bread Recipe
Even after you’ve mastered the basics, questions tend to pop up. Here are answers to some of the most frequently asked questions about whole wheat sourdough bread to help you troubleshoot and perfect your baking game.
Can I Use All-Purpose Flour with Whole Wheat?
Yes, you can! While this recipe focuses on 100% whole wheat, you can substitute part of the whole wheat flour with all-purpose flour if you want a lighter loaf. A 50/50 mix of whole wheat and all-purpose flour is a great compromise, giving you the nutritional benefits of whole wheat with a slightly softer texture.
How Long Does the Process Take?
Sourdough bread isn’t a quick project, but it’s absolutely worth the effort. The process typically spans 24 hours from start to finish:
- Starter preparation: 4–6 hours.
- Mixing and bulk fermentation: 6–8 hours.
- Shaping and proofing: 8–12 hours (usually overnight).
- Baking: 40–50 minutes.
Patience is the name of the game here, and the end result will have you singing your bread’s praises.
Do I Need Special Equipment to Make Sourdough Bread?
While you don’t need a professional bakery setup, a few tools can make your life easier:
- Kitchen scale: Accuracy matters, especially for sourdough.
- Dutch oven: It helps create steam for a beautifully crisp crust.
- Bench scraper: Makes handling sticky dough a breeze.
- Proofing basket (banneton): Optional but helpful for shaping and supporting the dough during proofing.
If you don’t have these tools, you can improvise. For example, a heavy baking dish with a lid works in place of a Dutch oven.
Conclusion: Mastering Whole Wheat Sourdough Bread
Making whole wheat sourdough bread is as much an art as it is a science. From nurturing your starter to the first crackle of a freshly baked loaf, every step is a rewarding experience. Sure, it might take a few tries to perfect your technique, but don’t let that discourage you. Each loaf teaches you something new.
Final Tips for Home Bakers
- Start small: If you’re new to baking, begin with a mix of whole wheat and all-purpose flour before going 100% whole wheat.
- Keep notes: Track your baking process, from ingredient measurements to proofing times. This helps you fine-tune your recipe.
- Enjoy the journey: Bread baking isn’t just about the final product—it’s about the joy of the process. Savor every moment.
“Bread baking is a labor of love. With whole wheat sourdough, you’re not just making bread; you’re creating a story with every slice.” 🍞
Embracing the Sourdough Journey
So, are you ready to roll up your sleeves and bake the ultimate loaf? Whole wheat sourdough bread is more than just a recipe—it’s a connection to centuries of tradition and a healthier way to enjoy one of life’s simple pleasures. And hey, don’t forget to share a loaf or two with friends and family—it’s bread best enjoyed together. 🥖✨
Summary
By now, you’ve got everything you need to create a stunning loaf of whole wheat sourdough bread. From understanding the ingredients and mastering the technique to troubleshooting common problems and exploring creative variations, this guide has covered it all. The only thing left to do is get baking. Trust me, once you hear the crackle of that crust and taste the tangy, nutty flavor, you’ll wonder why you didn’t start sooner.
Happy baking! 🍞👩🍳

Whole Wheat Sourdough Bread
Ingredients
Method
- Take the starter out of the fridge a day before baking and feed it equal parts flour and water. Let it sit at room temperature until bubbly and doubled in size (4–6 hours).
- In a large bowl, combine 500g whole wheat flour, 350g water, 100g active starter, and 10g salt.
- Mix well; the dough will feel sticky at first due to the whole wheat flour.
- Cover the bowl and let dough rest for 4–6 hours, folding it every 30 minutes to build strength.
- Turn the dough onto a floured surface and stretch it into a rectangle. Fold like a letter, turn over, and tuck edges to create surface tension.
- Transfer shaped dough into a proofing basket or bowl lined with cloth. Let it rise in the fridge overnight (8–12 hours).
- Preheat your oven to 475°F (245°C) with a Dutch oven inside.
- Score the dough with a sharp knife or razor before baking.
- Bake covered for 20 minutes, then uncovered for another 20 minutes until golden brown.
- Check for doneness by tapping the bottom—listen for a hollow sound.
