There’s a soft hush in my kitchen when this dessert comes together — like Sunday afternoons and porch swings, warm and familiar. This Rice Krispy Treat No-Bake Cheesecake is the kind of recipe that makes everyone linger a little longer at the table. It tastes like childhood, wrapped up in a grown-up hug.
Why make this recipe
Because it’s quick, no-bake, and carries the comfort of a Rice Krispie treat with the silkiness of a cheesecake. It’s perfect for potlucks, family birthdays, or when you want something playful to make with kids — and it keeps that nostalgic, sticky-sweet charm we all remember.
How to make Rice Krispy Treat No-Bake Cheesecake
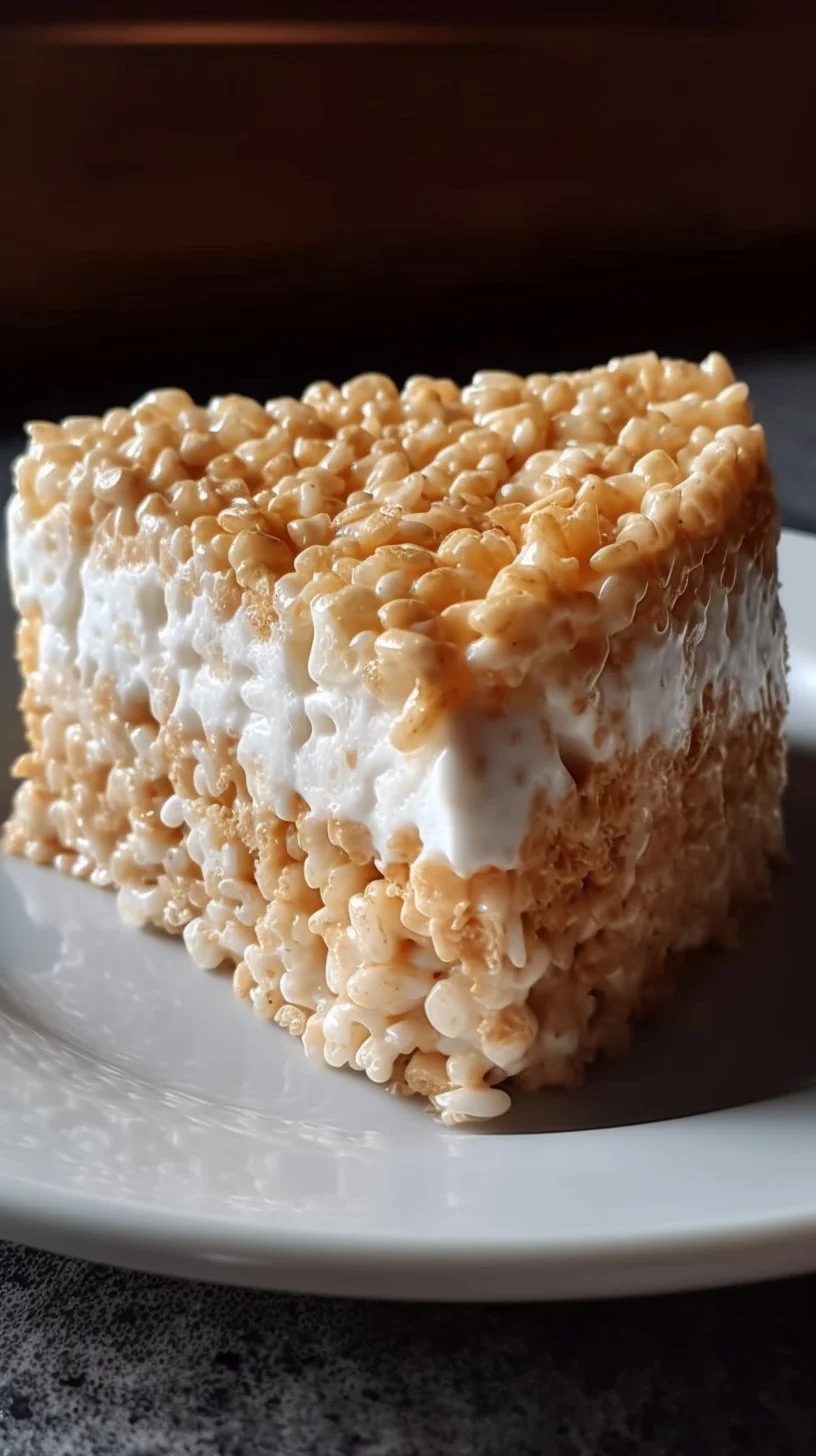
This is a gentle, two-part dessert — a crispy, sturdy Rice Krispie crust and a fluffy marshmallow cream cheese filling. Work with room-temperature cream cheese so the filling whips up smooth, and be ready to press that crust firmly so it holds the filling like a little biscuit tin of memories.
Ingredients:
- 6 cups Rice Krispies cereal
- 1/4 cup salted butter
- 1 (10 oz) bag miniature marshmallows
- 1 (8 oz) block cream cheese, softened
- 1/2 cup granulated sugar
- 1 tsp pure vanilla extract
- 1 (7 oz) jar marshmallow creme (e.g., Fluff)
- 1 (8 oz) tub Cool Whip, thawed
- Whipped cream (for garnish)
- Cubed Rice Krispy Treats (for garnish)
Directions:
- Generously grease a 9- or 10-inch springform pan with nonstick spray.
- In a large bowl, add the Rice Krispies cereal.
- In a medium saucepan over low heat, melt the butter and marshmallows together, stirring constantly until smooth and fully combined.
- Immediately pour this mixture over the cereal and stir until evenly coated.
- Transfer the sticky cereal mixture into the prepared springform pan. Using a greased glass or spatula, firmly press it into the bottom and slightly up the sides to create a sturdy crust. Let it set at room temperature.
- In a stand mixer or large bowl, beat the softened cream cheese, sugar, and vanilla until smooth and creamy (about 1 minute).
- Add the marshmallow creme and mix until fully incorporated. Gently fold in the Cool Whip by hand using a spatula.
- Pour the filling into the set crust and smooth the top with an offset spatula or the back of a spoon. Refrigerate for at least 2 hours, or until the filling is firm and holds its shape when sliced.
- Before serving, pipe or dollop whipped cream around the edge and top with cubed Rice Krispy Treats for a playful finish. Carefully release the springform collar and slice with a warm knife for clean cuts.
How to serve Rice Krispy Treat No-Bake Cheesecake
Slice gently and serve chilled. This dessert is delightful on its own or alongside a warm cup of coffee or sweet tea. For a festive touch, add a drizzle of chocolate or a few fresh berries if you like a little tart with your sweet.
How to store Rice Krispy Treat No-Bake Cheesecake
Keep it covered in the refrigerator for up to 3 days. If you tuck it into an airtight container or wrap the springform base with plastic wrap, it’ll stay moist and friendly. I don’t recommend freezing the assembled cake — the texture of the Cool Whip and marshmallow filling changes — but you can freeze extra cubed Rice Krispy Treats to add fresh when serving.
Tips to make Rice Krispy Treat No-Bake Cheesecake
- Press the crust firmly: a well-packed crust keeps the filling from sliding. Use a greased glass to get an even, compact base.
- Let the cream cheese soften fully at room temperature for a lump-free filling.
- Warm your knife under hot water and dry it between slices for prettier pieces.
- If you want a little extra chew, fold in a handful of mini chocolate chips or chopped nuts into the filling.
Variations (if any)
- Chocolate lovers: mix 1/3 cup cocoa into the crust step or sprinkle mini chocolate chips over the filling before chilling.
- Fruity twist: fold a half cup of finely chopped strawberries or banana slices into the filling, or top each slice with fresh fruit.
- Peanut butter swap: stir 1/4 cup creamy peanut butter into the melted marshmallow mixture for a nutty crust.
FAQs
Q: Can I make this ahead of time for a party?
A: Yes — make it the day before and keep it refrigerated. It sits beautifully overnight and frees you up on party day.
Q: Can I use homemade Rice Krispy treats for the garnish?
A: Absolutely. Cubed homemade Rice Krispy treats add a tender, nostalgic bite and make the presentation extra sweet.
Q: Is there a substitute for Cool Whip?
A: You can use an equal amount of stabilized whipped cream (made with heavy cream and a bit of powdered sugar) if you prefer a homemade option.
Q: Can I make this gluten-free?
A: Most Rice Krispies brands are gluten-free in their original recipe, but always check labels for cross-contamination notes. Use certified gluten-free cereal if needed.
Q: How do I get clean slices every time?
A: Chill the cheesecake well, then run a sharp knife under hot water, wipe it dry, and slice in one smooth stroke. Repeat between slices.
Conclusion
If you want another take on this playful, no-bake favorite, I love the way others have put their own spin on it — take a peek at The Domestic Rebel’s Rice Krispy Treat No-Bake Cheesecake for inspiration. For step-by-step photos and a slightly different tutorial style, there’s a helpful guide over at Instructables’ Rice Crispy Treat Cheesecake.
There’s something gentle and generous about sharing a dessert like this — it’s quick, sweet, and made for passing plates around the table. If you make it, tell me about the faces at your table; that’s my favorite part of any recipe.

Rice Krispy Treat No-Bake Cheesecake
Ingredients
Method
- Generously grease a 9- or 10-inch springform pan with nonstick spray.
- In a large bowl, add the Rice Krispies cereal.
- In a medium saucepan over low heat, melt the butter and marshmallows together, stirring constantly until smooth and fully combined.
- Immediately pour this mixture over the cereal and stir until evenly coated.
- Transfer the sticky cereal mixture into the prepared springform pan. Using a greased glass or spatula, firmly press it into the bottom and slightly up the sides to create a sturdy crust. Let it set at room temperature.
- In a stand mixer or large bowl, beat the softened cream cheese, sugar, and vanilla until smooth and creamy (about 1 minute).
- Add the marshmallow creme and mix until fully incorporated.
- Gently fold in the Cool Whip by hand using a spatula.
- Pour the filling into the set crust and smooth the top with an offset spatula or the back of a spoon.
- Refrigerate for at least 2 hours, or until the filling is firm and holds its shape when sliced.
- Before serving, pipe or dollop whipped cream around the edge and top with cubed Rice Krispy Treats for a playful finish.
- Carefully release the springform collar and slice with a warm knife for clean cuts.