
Warmed by highway vendors and rooftop diners across imagined cities, this pie is a passport stamp for your sweet tooth — bold, sticky, and impossibly smooth. Think peanut-scented bazaars meeting carnival nights; one forkful and you’re globe-trotting without a boarding pass. Ready for a dessert that’s loud, fun, and unapologetically indulgent?
Why make this recipe
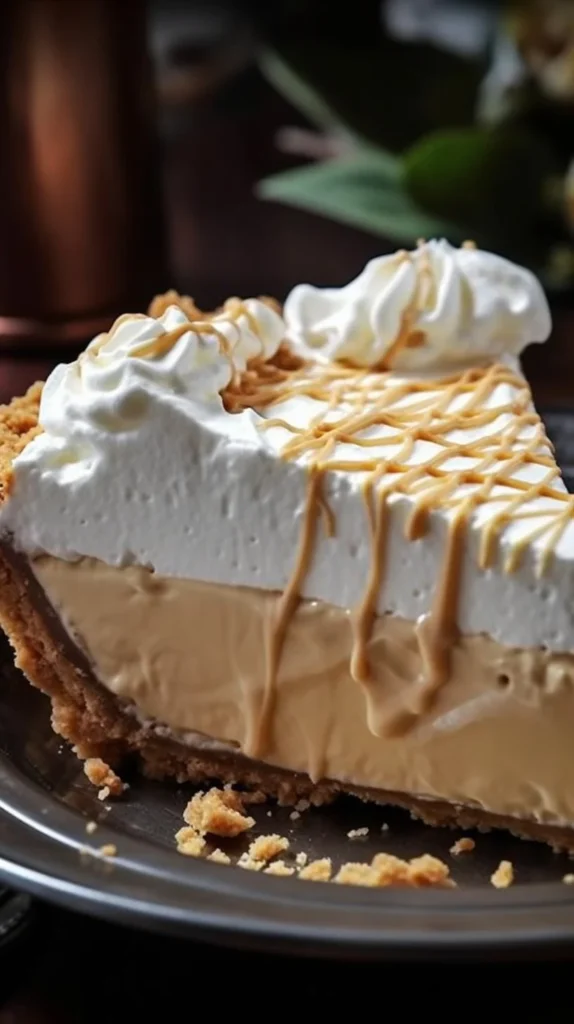
Because life needs a dessert that feels like a festival: chilled, creamy, and fast. This Peanut Butter Marshmallow Pie brings peanut butter richness, airy marshmallow clouds, and a chocolate cradle together in a no-bake pageant that’s part comfort, part celebration. It’s ideal for when you want crowd-pleasing drama with almost no fuss.
How to make Peanut Butter Marshmallow Pie
Ingredients:
- 1 1/2 cups heavy whipping cream
- 2/3 cup marshmallow creme
- 8 oz. cream cheese, softened
- 1 cup creamy peanut butter
- 3/4 cup powdered sugar
- 1 tsp. vanilla extract
- 1/8 tsp. kosher salt
- 1 pre-made 9" chocolate pie crust
Directions:
- Chill your mixing bowl and beaters briefly if you want super-stable peaks — cold helps, like a subway breeze at midnight. In a large bowl, beat the heavy whipping cream until soft peaks form.
- Spoon half of that whipped cream into a separate bowl and tuck it aside for later — this is your silky base.
- To the first half in the original bowl, gently beat in the marshmallow creme until stiff peaks form. Set that marshmallow cloud aside as well.
- In another bowl, combine the softened cream cheese, creamy peanut butter, powdered sugar, vanilla, and kosher salt. Beat until the mixture is smooth and velvety, like polished leather on a neon-lit street.
- Fold the plain whipped cream (the half you saved) into the peanut butter–cream cheese mixture until just combined — airy, but with peanut-scented muscle.
- Pour that peanut butter filling into the pre-made chocolate pie crust, smoothing the top like you’re layering on a city skyline.
- Dollop or pipe the marshmallow whipped cream over the peanut butter filling, cascading clouds over a peanut skyline.
- Refrigerate the pie at least 4 hours, or better yet, overnight so flavors marry and textures firm up.
- Optional garnish: melt some peanut butter and chocolate, then artistically drizzle them over the top for a glossy, decadent finish. Enjoy!
How to serve Peanut Butter Marshmallow Pie
Slice with a warm knife for clean edges, and serve chilled on colorful plates. Pair with a bitter espresso for balance or a cold milk for nostalgia. For an extra cinematic moment, torch the marshmallow top quickly for a caramelized finish just before serving — but keep a close eye; flames love drama.
How to store Peanut Butter Marshmallow Pie
Cover the pie tightly with plastic wrap or a pie dome and refrigerate for up to 3–4 days. Do not freeze — the marshmallow cream changes texture when frozen and thawed. If you’ve drizzled chocolate on top, let it set fully before covering to avoid smudging your masterpiece.
Tips to make Peanut Butter Marshmallow Pie
- Use full-fat cream cheese for the creamiest texture; low-fat versions can break the balance.
- Room-temperature cream cheese blends faster and smoother — no lumps, no drama.
- Taste the peanut butter before adding sugar; some brands are sweeter and may need less powdered sugar.
- When folding whipped cream, use broad, gentle strokes to keep air in the mixture — that’s what makes the pie float.
- Chill the pie crust briefly before filling to prevent sogginess.
Variations
- Tropical twist: stir in 1/3 cup toasted coconut into the peanut filling and sprinkle toasted coconut on top.
- Salted caramel: drizzle salted caramel over the peanut filling before piping the marshmallow layer.
- Nut swap: replace peanut butter with almond or cashew butter for a different nuttiness and allergen-friendly option (note: texture and flavor will shift).
FAQs
Q: Can I make this pie ahead of time?
A: Absolutely. Assemble and refrigerate overnight for best texture and flavor. Keep covered to avoid absorbing fridge smells.
Q: Is there a gelatin-free way to stabilize the marshmallow topping?
A: This recipe uses marshmallow creme and whipped cream, so it’s already gelatin-free. If you want extra stability, a tiny splash of corn syrup mixed into the marshmallow creme can help, but use sparingly.
Q: Can I use homemade graham or cookie crust instead of the pre-made chocolate crust?
A: Yes — a chocolate cookie crust or even a salted graham crust would be delicious. Just press it firmly and chill before filling.
Q: How do I fix a runny filling?
A: Make sure the cream cheese is fully beaten smooth and that the whipped cream reached soft peaks before folding. If the filling seems loose, chill it briefly and then re-fold; cold firms it up.
Q: Can I reduce sugar for a less sweet version?
A: You can cut powdered sugar slightly, but the marshmallow creme contributes sweetness too. Taste as you go and adjust.
Conclusion
If you want to explore riffs and inspiration, check out Beyond Frosting’s no-bake take on a peanut butter marshmallow pie for a similar carefree vibe. For another creamy variation that leans into the marshmallow cheekiness, browse ZagLeft’s peanut butter marshmallow cream pie and pick up ideas to customize your own city-of-flavors dessert.
Peanut Butter Marshmallow Pie
Ingredients
Method
- Chill your mixing bowl and beaters briefly.
- In a large bowl, beat the heavy whipping cream until soft peaks form.
- Spoon half of the whipped cream into a separate bowl and set aside.
- To the original bowl, fold in marshmallow creme until stiff peaks form and set aside.
- In another bowl, combine cream cheese, peanut butter, powdered sugar, vanilla, and kosher salt. Beat until smooth.
- Fold the reserved whipped cream into the peanut butter mixture until just combined.
- Pour the peanut butter filling into the chocolate pie crust and smooth the top.
- Dollop or pipe the marshmallow whipped cream on top.
- Refrigerate the pie for at least 4 hours or overnight.