
Tucked away in corners of bustling markets and vibrant street food stalls across Asia, mochi has captured the hearts of food lovers around the globe. Today, we’re embarking on a delightful journey that marries the heavenly chewiness of mochi with the rich, nostalgic essence of Oreos. Buckle up, taste adventurers; we’re about to make the ultimate sweet treat that teeters on the edge of whimsy and absolute deliciousness!
Why make this recipe?
Oh, let’s face it: life’s too short for ordinary desserts! Oreo Mochi is your ticket to a unique fusion that not only looks fabulous but also delivers a delectable flavor punch. Picture this: soft, chewy mochi wrapped in the nostalgic taste of America’s favorite cookie. Who wouldn’t want to dive into such a sumptuous experience? It promises to be a crowd-pleaser at your next gathering and a luscious treat for your midnight cravings.
How to make Oreo Mochi
Get ready to channel your inner food artist because this is going to be the sweet adventure of a lifetime!
Ingredients:
- 150 g glutinous rice flour
- 30 g cornstarch
- 12 g cocoa powder
- 30 g white sugar
- 30 g corn oil
- 250 g milk
- 8 Oreo cookies (crushed)
Directions:
-
Mix the ingredients: Gather your supplies like a culinary explorer—grab your large bowl and add the glutinous rice flour, cornstarch, cocoa powder, white sugar, corn oil, and milk. Stir it all together until you have a smooth, lump-free mixture that’s as silky as a summer breeze. This is your mochi’s foundation, and it deserves your utmost attention!
-
Sift the batter: Just like a treasure map, let’s uncover the smooth delights hiding in your batter. Strain the mixture through a fine sieve to remove any pesky little particles. Once you’ve ensured a velvety texture, pour that beautiful batter into a pot.
-
Heat and stir: Place your pot over low heat and keep stirring like there’s no tomorrow. We’re talking relentless motion here! As the concoction thickens, you’ll notice it transforming into a delightful dough that no longer sticks to the sides—now, that’s the good stuff! When it’s doughy and dreams of handfuls of sugar, turn off the heat and step back to admire your creation.
-
Pull the dough: Let it cool just enough to handle without a hot coal sensation. Time to get those muscles working! Stretch and pull the dough repeatedly—it’s like yoga for your future mochi. You’re aiming for that signature chewy quality, so deliver some serious love to the dough until it’s smooth and stretchy.
-
Form the mochi balls: Roll small portions (think bite-sized joy!) of the dough into evenly sized balls. Smooth them out with your fingers—they’re your edible little gems now!
-
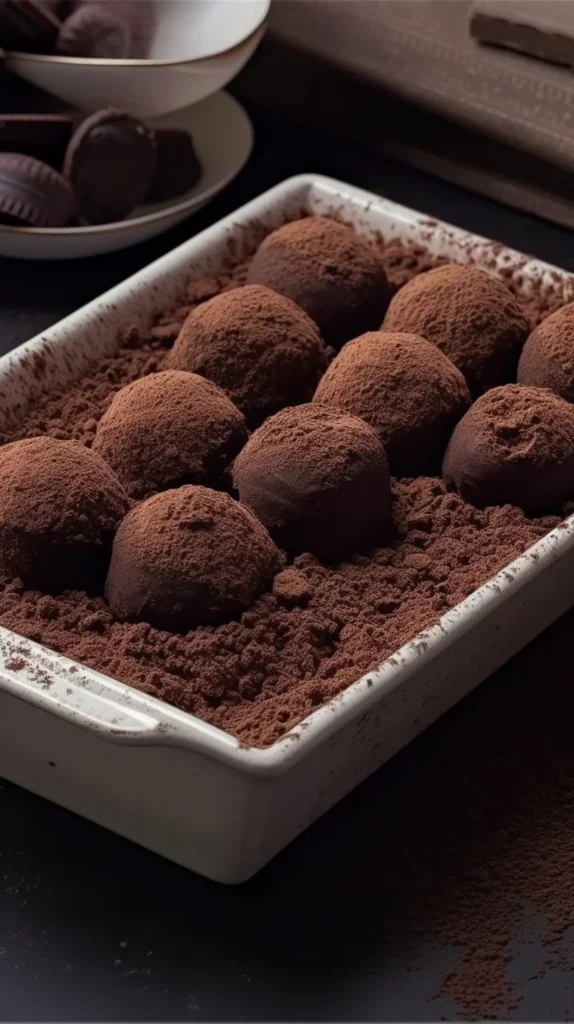
Coat with Oreo crumbs: Grab those crushed Oreos like a sprinkle of dark magic and roll each mochi ball in them. Ensure they’re fully coated—the crunch will give your treat a fabulous contrast to the chewy mochi, and the combination is pure bliss!
How to serve Oreo Mochi
Curate a whimsical dessert spread by showcasing these delightful little bites on a vibrant platter! Add some fresh berries or a dusting of powdered sugar to elevate presentation. Trust me, these mochi beauties will steal the show—exciting guests just as much as the mouthfuls of flavor they deliver.
How to store Oreo Mochi
To preserve their chewy charm, store your mochi in an airtight container at room temperature. If your kitchen feels more like a sauna, keep them in the fridge. Just remember to let them soften back up to room temp before devouring—they’re much happier that way!
Tips to make Oreo Mochi
- Don’t rush the stirring process; patience is key to that dreamy chewy texture!
- Use a non-stick pot so your batter doesn’t decide to stage a sticky rebellion.
- Feel free to swap in different cookie crumbs if you want to be a flavor maverick—Chocolate Chip Cookie Mochi, anyone?
Variations
Why stop at Oreos? Dive into different flavors of mochi by using green tea powder, fruit purees, or even filling them with sweetened red bean paste—the world is your oyster (or your mochi)!
FAQs
1. Can I make these ahead of time?
Absolutely! Oreo Mochi keeps well in an airtight container for up to a week. Just make sure to adjust for softness!
2. Can I freeze Oreo Mochi?
Indeed! These cuties freeze beautifully. Just pop them in a freezer-safe bag and they’ll keep for up to two months. Allow them to thaw at room temperature when you’re ready to enjoy.
3. Are there gluten-free options for this recipe?
Glutinous rice flour is gluten-free, but be cautious about cross-contamination if you have severe gluten allergies.
Adventure awaits in every delightful bite. As we create, savor, and share, let’s add a sprinkle of joy to our kitchens. Happy mochi-making, fellow food explorers!
Oreo Mochi
Ingredients
Method
- In a large bowl, combine the glutinous rice flour, cornstarch, cocoa powder, white sugar, corn oil, and milk until you have a smooth, lump-free mixture.
- Sift the batter through a fine sieve to ensure a velvety texture, then pour it into a pot.
- Place the pot over low heat and stir constantly until the mixture thickens into a dough that no longer sticks to the sides of the pot.
- Once the dough is formed, turn off the heat and allow it to cool enough to handle.
- Stretch and pull the dough repeatedly until it becomes smooth and stretchy.
- Roll small portions of the dough into bite-sized balls and smooth them out.
- Coat each mochi ball in crushed Oreo cookies, ensuring they are fully covered.