Have you ever dreamed of baking fresh bread but don’t have an oven? Don’t worry, you’re not alone! 🤷♀️ The good news is that you don’t need an oven to enjoy warm, fluffy, homemade bread. This guide will walk you through every step of making no-oven stovetop bread that’s just as delicious (if not more so) as oven-baked bread.
Get ready to roll up your sleeves and create something amazing—right on your stovetop. Let’s dive in! 🚀
Introduction to No-Oven Stovetop Bread
Why Make Bread on the Stovetop?
Making bread on a stovetop is not only convenient but also opens up a world of possibilities for creative bread-making. Curious about healthier bread options? Check out Is Homemade Bread Healthier? for insights into why homemade options often beat store-bought alternatives.
For more about the science behind bread-making, you can visit The Bread Bakers Guild of America to learn about professional techniques that can elevate your baking skills.
Common Misconceptions About Stovetop Bread
Let’s clear the air about a few common myths:
- “It won’t taste the same as oven-baked bread.”
Wrong! With the right technique, stovetop bread can rival—and even surpass—oven-baked bread in flavor and texture. 👌 - “It’s too hard to cook bread on a stovetop.”
Nope! It’s easier than you think. Trust me; if you can make pancakes, you can make stovetop bread. 🥞 - “You need fancy equipment.”
Not at all! A heavy-bottomed pan or pot and a tight-fitting lid are all you need.
Essential Ingredients and Tools for Stovetop Bread
Key Ingredients for Perfect Bread
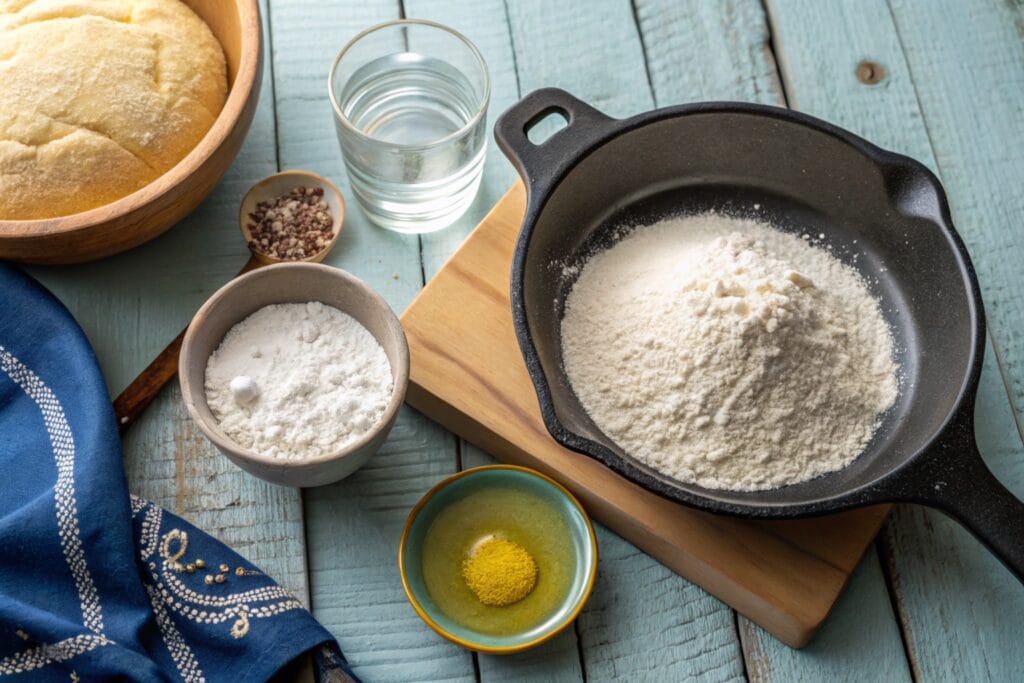
You don’t need a long shopping list to make stovetop bread. Most recipes use just a few pantry staples:
- Flour: All-purpose flour works great, but you can experiment with whole wheat or specialty flours for a twist.
- Yeast: Active dry yeast or instant yeast is essential for that rise and fluffiness.
- Salt: Enhances flavor and balances the yeast.
- Water: Keeps the dough hydrated and activates the yeast.
- Oil or Butter: Adds richness and helps with browning.
“Bread is the simplest form of comfort food, requiring only flour, water, and time to create something magical.” 🌈
Must-Have Tools for Stovetop Baking
You don’t need a full-blown bakery setup. Here’s your starter kit:
- A Heavy-Bottomed Pan or Pot: Cast iron or stainless steel works best because they distribute heat evenly.
- Lid with a Tight Seal: Helps trap steam, mimicking an oven environment.
- Mixing Bowl: For preparing the dough.
- Spatula or Wooden Spoon: For mixing.
- Kitchen Towel or Plastic Wrap: To cover the dough while it rises.
- Trivet or Heat Diffuser: Prevents direct contact with high heat and ensures even cooking.

Step-by-Step Process for Making Stovetop Bread
Preparing the Dough: Tips and Tricks
Alright, let’s start with the dough. Making the dough is where all the magic begins. 🪄
- Activate the Yeast:
In a bowl, combine warm water (not hot!) with a pinch of sugar and yeast. Let it sit for 5-10 minutes until it gets frothy. This step is like waking up the yeast—it’s time to shine! 🌟 - Mix the Dough:
Add flour and salt to the yeast mixture. Use a spoon, then your hands, to form a soft, slightly sticky dough. If it’s too dry, sprinkle in a bit more water. If it’s too sticky, add a touch more flour. - Knead It Like You Mean It:
Kneading is where the gluten gets its workout. Stretch, fold, and press the dough for about 8-10 minutes until it becomes smooth and elastic. - Let It Rise:
Place the dough in a lightly oiled bowl, cover it with a damp towel, and let it rise in a warm spot for about 1-2 hours or until it doubles in size. Pro tip: If your kitchen is cold, place the bowl near a warm stove or inside an oven with just the light on.
Shaping and Resting the Dough
Once your dough has risen, it’s time to shape it into a beautiful loaf or rounds. 🌕 Divide the dough if you’re making smaller portions, and gently shape it into your desired form. Cover it again for a short second rise—about 30 minutes should do the trick.
Cooking Techniques for Stovetop Bread
Here’s where the stovetop magic happens. 🪄 Follow these steps for golden perfection:
- Preheat Your Pan:
Heat the pan on low to medium heat for about 5 minutes. This ensures even cooking without scorching the bread. - Place the Dough:
Gently place your shaped dough into the pan. Cover it immediately with the lid to trap steam. - Cook on Low Heat:
Low and slow is the way to go! Cook for about 15-20 minutes on one side, then carefully flip and cook for another 10-15 minutes on the other side. - Check for Doneness:
Tap the bread’s bottom. If it sounds hollow, it’s done. Otherwise, give it a few more minutes.
Ensuring Even Cooking Without Burning
No one likes burnt bread, right? 😅 Use these tips to avoid uneven cooking:
- Use a Trivet: It reduces direct heat, preventing hot spots.
- Rotate the Pan: Every few minutes, give the pan a gentle rotation to distribute heat evenly.
- Keep an Eye on the Heat: Stovetops can be tricky, so don’t hesitate to adjust the flame if needed.
“Cooking bread on the stovetop is like playing a symphony of heat and patience—slow and steady wins the race!” 🎶
Coming Up Next
This wraps up Part 1 of the guide. In the next section, we’ll explore variations, troubleshooting, and tips for perfecting stovetop bread. Plus, we’ll dive into how stovetop bread can cater to your health and dietary needs.
Different Variations of Stovetop Bread
Flatbreads and Quick Breads
One of the best things about stovetop bread is its versatility. Let’s talk flatbreads and quick breads—they’re easy, fast, and oh-so-delicious. Think naan, pita, or even tortillas. These don’t require hours of waiting for the dough to rise and are perfect for busy days.
- Naan Bread: A soft, pillowy flatbread with a slight chew. Add garlic and butter for an irresistible twist. Pair it with curry, and you’re in heaven. 🌟
- Tortillas: Flour or corn tortillas are staples in many households, and you can whip them up in minutes. Store-bought will never taste the same after you try homemade!
- Quick Breads: Using baking powder or baking soda instead of yeast, these breads rise almost instantly. Banana bread or cornbread on the stovetop? Yes, please! 😋
“Flatbreads are like a blank canvas, waiting for your creativity to add flavor and flair.” 🎨
Yeasted Stovetop Bread Recipes
If you’ve got the time, yeasted breads are a stovetop delight. Here are some crowd-pleasers:
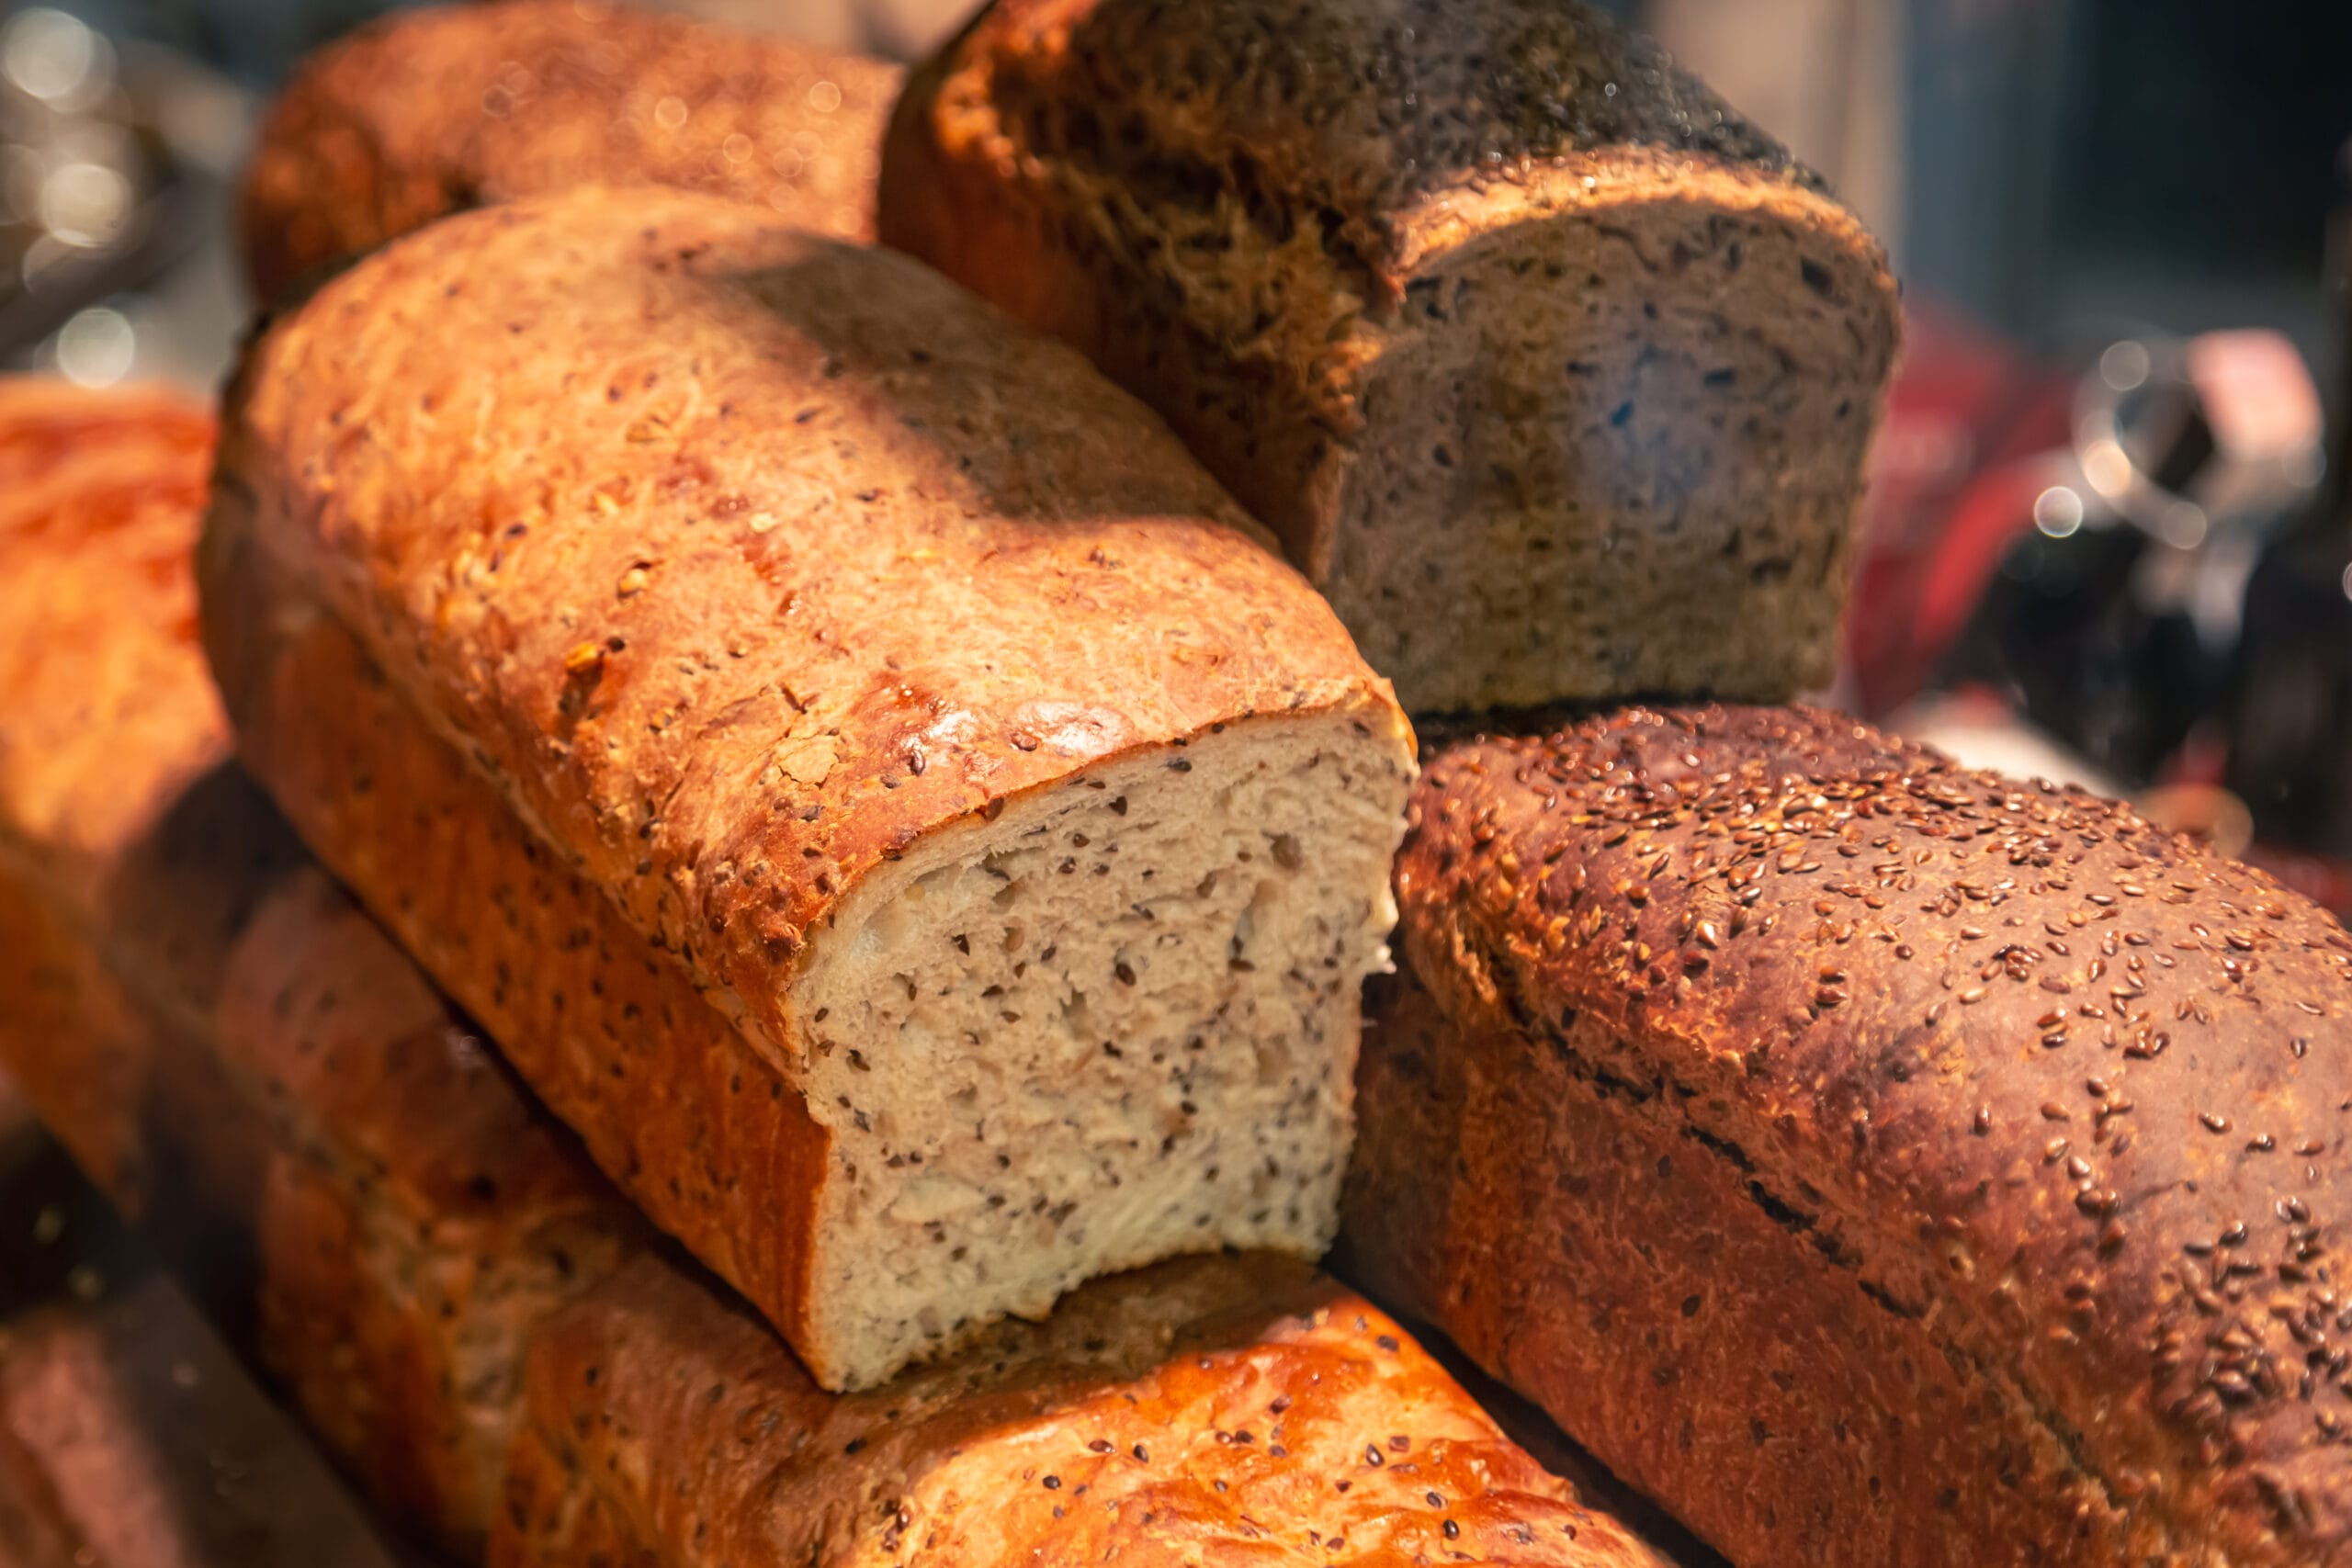
- Basic Stovetop Loaf: A soft, airy bread with a golden crust. Perfect for sandwiches or slathered with butter.
- Focaccia: This Italian classic adapts beautifully to the stovetop. Infuse it with rosemary, olives, or sun-dried tomatoes for a gourmet touch.
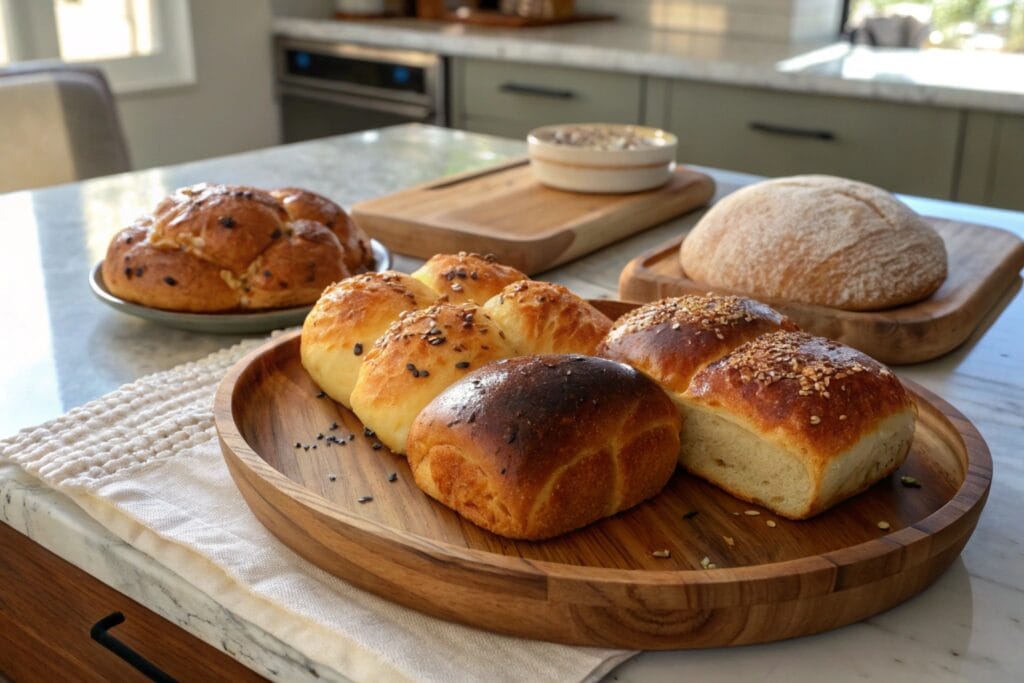
- Dinner Rolls: Small, fluffy rolls cooked in a covered skillet. These are great for family meals or a quick snack.
Sweet Stovetop Bread Options
Why stop at savory? Stovetop bread can satisfy your sweet tooth too! 🎂
- Cinnamon Rolls: Yes, you can make gooey, cinnamon-swirled rolls on the stovetop. Drizzle with icing for the ultimate indulgence.
- Sweet Milk Bread: This soft, slightly sweet bread is ideal for breakfast or dessert. Add raisins or chocolate chips for extra yum.
- Pan-Fried Doughnuts: Skip the deep fryer and try stovetop doughnuts. A sprinkle of sugar or glaze makes them irresistible.
Troubleshooting Common Problems in Stovetop Bread Making
Even seasoned bread makers run into hiccups. Don’t worry—I’ve got your back. Let’s tackle some common problems and how to fix them. 💪
H3: Dough Not Rising Properly
Problem: You’ve followed the recipe to the letter, but your dough isn’t doubling in size. Frustrating, right? 😤
Possible Causes:
- The yeast might be expired.
- The water used to activate the yeast was too hot or too cold.
- The dough is in a cold environment.
Solutions:
- Always check the yeast’s expiration date. Store it in the fridge or freezer for longer shelf life.
- Use water that’s lukewarm, around 100–110°F (38–43°C). Think warm bathwater.
- Find a warm spot for your dough to rise. The inside of an oven with the light on works wonders.
Bread Sticking to the Pan
Problem: Your beautifully shaped bread is now glued to the pan. Ugh! 😩
Possible Causes:
- The pan wasn’t greased enough.
- The heat was too high, causing the dough to scorch.
Solutions:
- Always grease your pan with oil, butter, or even a dusting of flour.
- Use low to medium heat and preheat the pan before adding the dough.
“Think of your pan as the stage—prepare it well, and the bread will perform beautifully.” 🎭
Uneven Cooking or Burning Issues
Problem: The bread’s crust is burnt while the inside remains doughy. Not ideal, huh? 🫤
Possible Causes:
- Heat was too high.
- The pan wasn’t rotated, leading to hot spots.
Solutions:
- Keep the flame low. Stovetop bread requires patience.
- Rotate the pan every few minutes for even heat distribution.

Tips for Perfecting Stovetop Bread
Ready to take your stovetop bread to the next level? 🏆 Here are some pro tips:
Adjusting Heat for Best Results
The key to stovetop bread is controlling the heat. Too high, and you’ll burn the crust. Too low, and the bread might not cook through. Keep the flame at medium-low and monitor it like a hawk.
Using Lids and Insulators to Mimic Oven Conditions
A good lid is your best friend. It traps steam, creating a mini-oven effect. If you want to go the extra mile, wrap the lid in a kitchen towel to absorb excess moisture and prevent soggy bread.
Timing and Monitoring for Consistency
Cooking bread on the stovetop isn’t a “set it and forget it” situation. ⏱️ Stay close, check often, and trust your instincts. Over time, you’ll develop a feel for when the bread is just right.
“Baking bread is like raising a child—constant care, patience, and a bit of love go a long way.” ❤️
Health Benefits of Homemade Stovetop Bread
Avoiding Preservatives and Additives
Store-bought bread often contains preservatives, stabilizers, and other additives. Making bread at home lets you skip all that and enjoy something pure and wholesome. 🍃
Customizing Ingredients for Dietary Needs
Got dietary restrictions? No problem! With stovetop bread, you’re in control. Swap white flour for whole wheat, use almond milk instead of water, or add seeds and nuts for extra nutrition. The possibilities are endless.
Coming Up Next
This concludes Part 2 of our guide. In the final section, we’ll cover FAQs, wrap up with an encouraging conclusion, and give you the confidence to become a stovetop bread master. 🥖
Frequently Asked Questions About Stovetop Bread
Can Any Dough Recipe Be Used for Stovetop Bread?
This is a great question, and the answer is mostly yes! 🎉 Most dough recipes can be adapted for stovetop bread, but there are a few considerations:
- Yeasted Doughs: These work beautifully, especially for soft loaves or flatbreads. Just ensure you cook them on low heat to allow even cooking.
- Quick Breads: Recipes with baking powder or baking soda are perfect for stovetop bread, as they don’t rely on rising time.
- High-Moisture Doughs: Doughs like ciabatta or focaccia need careful handling because they can stick to the pan. A well-greased surface is essential.
So, go ahead and experiment! The stovetop is surprisingly forgiving. 🥳
How Long Does Stovetop Bread Last?
Homemade bread doesn’t have preservatives, so it won’t last as long as store-bought bread. But that’s a good thing—fresh bread is healthier and tastier. Typically, stovetop bread lasts:
- At Room Temperature: 2-3 days if stored in an airtight container or wrapped in a clean kitchen towel.
- In the Fridge: Up to a week, but refrigerating bread can dry it out, so keep it well-wrapped.
- In the Freezer: For longer storage, freeze your bread. Slice it beforehand so you can easily thaw only what you need.
Can I Add Fillings or Toppings to Stovetop Bread?
Absolutely! This is where the fun begins. 🌟 You can incorporate ingredients into the dough or sprinkle them on top before cooking. Here are some ideas:
- Fillings: Cheese, olives, herbs, or even Nutella for a sweet twist.
- Toppings: Sesame seeds, garlic butter, or coarse salt for added flavor and crunch.
Just be mindful of anything that might burn easily, like sugary glazes. Cook these additions on low heat and watch them closely.
Conclusion: Embrace the Art of Stovetop Bread Making
So there you have it—everything you need to know about making no-oven stovetop bread. 🥖 Whether you’re tackling flatbreads, crafting a yeasted masterpiece, or experimenting with sweet variations, stovetop bread is a fantastic way to dive into the world of homemade baking.
Think about it: you’ve taken flour, water, and a little bit of magic (yeast) and turned it into something comforting and delicious. Isn’t that amazing? 🌟
With this guide, you now have everything you need to start making stovetop bread. Ready to dive into the world of creative and healthy bread-making? Pair this guide with Why is 2-Ingredient Dough Healthier? for another easy, oven-free baking idea!
“Baking bread isn’t just about the end result; it’s about the journey, the smell of fresh dough, and the satisfaction of creating something from scratch.” 🍞
Why Not Start Today?
Whether you’re a seasoned baker or a total newbie, stovetop bread is a great way to test your skills and enjoy the process. So, grab your ingredients, heat up your pan, and give it a shot. Who knows—you might just discover a new favorite hobby. 💕
And remember, the stovetop is your playground. Adjust, experiment, and make it your own. That’s the beauty of homemade bread—you’re the boss! 👑
A Final Note
I hope this guide inspires you to get creative in the kitchen and try something new. If you have questions or want to share your results, I’d love to hear about your stovetop bread adventures!
Happy baking! 🍳✨
Print
No-Oven Stovetop Bread
- Total Time: 55 minutes
- Yield: 4 servings 1x
- Diet: Vegetarian
Description
Learn how to make delicious and fluffy homemade bread right on your stovetop, without the need for an oven.
Ingredients
- 2 cups all-purpose flour (or whole wheat flour)
- 1 packet active dry yeast (2¼ teaspoons)
- 1 teaspoon salt
- ¾ cup warm water (100-110°F)
- 2 tablespoons oil or melted butter
Instructions
- In a bowl, combine warm water with a pinch of sugar and yeast. Let it sit for 5-10 minutes until frothy.
- Add flour and salt to the yeast mixture, mixing with a spoon before kneading by hand.
- Knead the dough for about 8-10 minutes until smooth and elastic.
- Place the dough in a lightly oiled bowl, cover, and let it rise in a warm spot for 1-2 hours or until doubled in size.
- Shape the dough into a loaf or rounds and let it rest for 30 minutes.
- Preheat a heavy-bottomed pan on low-medium heat for about 5 minutes.
- Place the dough in the pan, cover with a lid, and cook on low heat for 15-20 minutes. Flip and cook for an additional 10-15 minutes.
- Check for doneness by tapping the bottom for a hollow sound.
Notes
Use a trivet or heat diffuser to avoid direct contact with high heat and ensure even cooking. Cover the lid with a towel if needed to absorb excess moisture.
- Prep Time: 15 minutes
- Cook Time: 40 minutes
- Category: Breads
- Method: Stovetop
- Cuisine: Global
Nutrition
- Serving Size: 1 slice
- Calories: 180
- Sugar: 1g
- Sodium: 350mg
- Fat: 5g
- Saturated Fat: 1g
- Unsaturated Fat: 3g
- Trans Fat: 0g
- Carbohydrates: 30g
- Fiber: 2g
- Protein: 5g
- Cholesterol: 0mg
Keywords: stovetop bread, no-oven bread, easy bread recipe, homemade bread

