
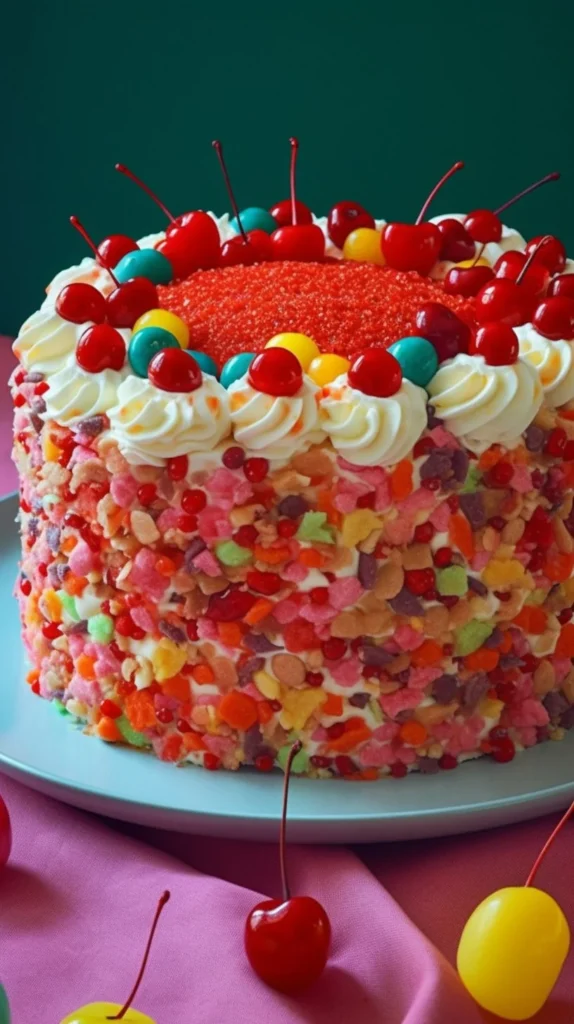
A pale rainbow of cereal glows against a cool, creamy sky — a dessert that tastes of summer mornings and small, bright memories. The crust crackles with sugary shimmer; the filling yields with a soft, pillowy sigh. Serve it chilled and let each spoonful whisper of childhood and craft.
Why make this recipe
This No-Bake Fruity Pebbles Cheesecake is an invitation to play with texture and color while keeping technique gentle and forgiving. It requires no oven, minimal hands-on time, and delivers a jubilant contrast: crisp, candy-like cereal pressed into a tender marshmallow crust supporting a silky, aerated cheesecake. It’s ideal when you want a dessert that feels celebratory without a fuss.
How to make No-Bake Fruity Pebbles Cheesecake
Ingredients:
- 6 cups Fruity Pebbles cereal
- 1/4 cup (4 tablespoons) unsalted butter
- 1 10 oz bag miniature marshmallows
- 1 8 oz package cream cheese, softened
- 1/2 cup granulated white sugar
- 2 teaspoons vanilla extract
- 1 7 oz jar marshmallow creme or fluff
- 1 8 oz tub Cool Whip or whipped topping, thawed
- 1/2 of a 21 oz can of cherry pie filling (optional, but recommended)
Directions:
- Grease a 9 inch round springform pan with cooking spray on the bottom and sides. Set aside.
- In a large microwaveable bowl, combine the butter and miniature marshmallows. Microwave on HIGH for about 30 seconds, stir, then continue microwaving in 30-second intervals until melted and smooth.
- Stir in the Fruity Pebbles quickly and pour the mixture into the prepared pan, pressing into a crust with a greased bottom of a glass. Let it set for about 20 minutes.
- For the cheesecake, in a stand mixer, beat together the cream cheese, sugar, and vanilla until fluffy and smooth.
- Add marshmallow creme and beat until combined. Fold in the whipped topping.
- Spread the cheesecake mixture into the crust and smooth the top. Cover and refrigerate for at least 4 to 6 hours, preferably overnight.
- Before serving, garnish with cherry pie filling.
How to serve No-Bake Fruity Pebbles Cheesecake
Bring the cheesecake from the refrigerator and let it sit five to ten minutes so slices lift cleanly. Use a hot, dry knife for neat wedges; wipe the blade between cuts. Serve each slice with a delicate spoonful of cherry pie filling at the center so the jewel-red sweetness balances the saccharine crunch. A thin ribbon of whipped cream or a scattering of extra Fruity Pebbles at the rim offers a playful finish.
How to store No-Bake Fruity Pebbles Cheesecake
Keep the cheesecake tightly covered in the refrigerator for up to 3–4 days. If you’ve already topped it with cherry filling, place a loose layer of plastic wrap directly on the surface to protect the topping. For longer storage, you can freeze individual slices wrapped in plastic and foil for up to 1 month; thaw in the fridge overnight before serving.
Tips to make No-Bake Fruity Pebbles Cheesecake
- Soften the cream cheese fully at room temperature so the filling becomes silk-smooth without lumps.
- Work quickly when mixing the melted marshmallow with the Fruity Pebbles — the marshmallow sets fast.
- Grease the bottom of the glass you use to press the crust for a glossy, even surface and to prevent sticking.
- Chill the crust first (about 20 minutes) to ensure it holds the weight of the cheesecake filling without oozing.
- For the cleanest slices, run a knife under hot water, dry it, and slice in one confident motion.
Variations (if any)
- Chocolate Ripple: Fold 1/4 cup of softened chocolate ganache into the filling for a cocoa kiss.
- Citrus Brightness: Add 1 teaspoon finely grated lemon zest to the cheesecake for a bright lift.
- Mixed Berries: Replace cherry topping with a warm compote of strawberries and raspberries for a softer, summery finish.
- Mini Parfaits: Layer broken crust pieces, cheesecake filling, and fruit topping in glasses for individual servings.
FAQs
Q: Can I make the crust with a different cereal?
A: Yes. Use cereals with a similar crispness and sweetness; rice-based cereals like Rice Krispies will yield a comparable texture, while sturdier cereals may alter the bite.
Q: Is there a stovetop method for melting the marshmallows?
A: Yes — melt the butter and marshmallows in a heavy-bottomed saucepan over low heat, stirring constantly until smooth, then remove from heat before mixing with the cereal.
Q: Will the crust become soggy from the filling?
A: The marshmallow-butter crust forms a protective shell that helps resist sogginess. Refrigerate as directed and serve within a few days for best texture.
Q: Can I use homemade whipped cream instead of Cool Whip?
A: You can, but stabilized whipped cream (or a thick homemade version) works best to maintain structure; regular whipped cream may soften faster.
Q: Is it possible to make this nut-free and allergy-friendly?
A: The recipe itself is free from nuts; always check individual ingredient labels (especially the cereal and marshmallow products) for cross-contamination warnings.
Conclusion
If you’d like to see another version of this nostalgic no-bake dessert, the lovely kitchen chronicle at Fruity Pebbles Cheesecake (No-Bake) — Kitchen Fun With My 3 Sons offers a familiar take on the classic. For a step-by-step visual guide and tips, explore the easy, playful rendition at Easy No-Bake Fruity Pebbles Cheesecake — Beyond Frosting.
There is a quiet pleasure in waiting for a cheesecake to set; patience becomes part of the recipe, and the reward is a small, shimmering celebration of time well kept.
No-Bake Fruity Pebbles Cheesecake
Ingredients
Method
- Grease a 9 inch round springform pan with cooking spray on the bottom and sides. Set aside.
- In a large microwaveable bowl, combine the butter and miniature marshmallows. Microwave on HIGH for about 30 seconds, stir, then continue microwaving in 30-second intervals until melted and smooth.
- Stir in the Fruity Pebbles quickly and pour the mixture into the prepared pan, pressing into a crust with a greased bottom of a glass. Let it set for about 20 minutes.
- In a stand mixer, beat together the cream cheese, sugar, and vanilla until fluffy and smooth.
- Add marshmallow creme and beat until combined. Fold in the whipped topping.
- Spread the cheesecake mixture into the crust and smooth the top. Cover and refrigerate for at least 4 to 6 hours, preferably overnight.
- Before serving, garnish with cherry pie filling.