Sourdough baking is an art, but let’s face it—figuring out the right amount of starter to use can feel like solving a math problem. The truth is, the perfect sourdough starter ratio depends on what kind of bread you want to bake and how much time you have. Stick around, and I’ll walk you through everything you need to know about using sourdough starter for 500g of flour. Trust me, by the end of this guide, you’ll feel like a pro. 😉
Introduction to Sourdough Starter and Flour Ratios
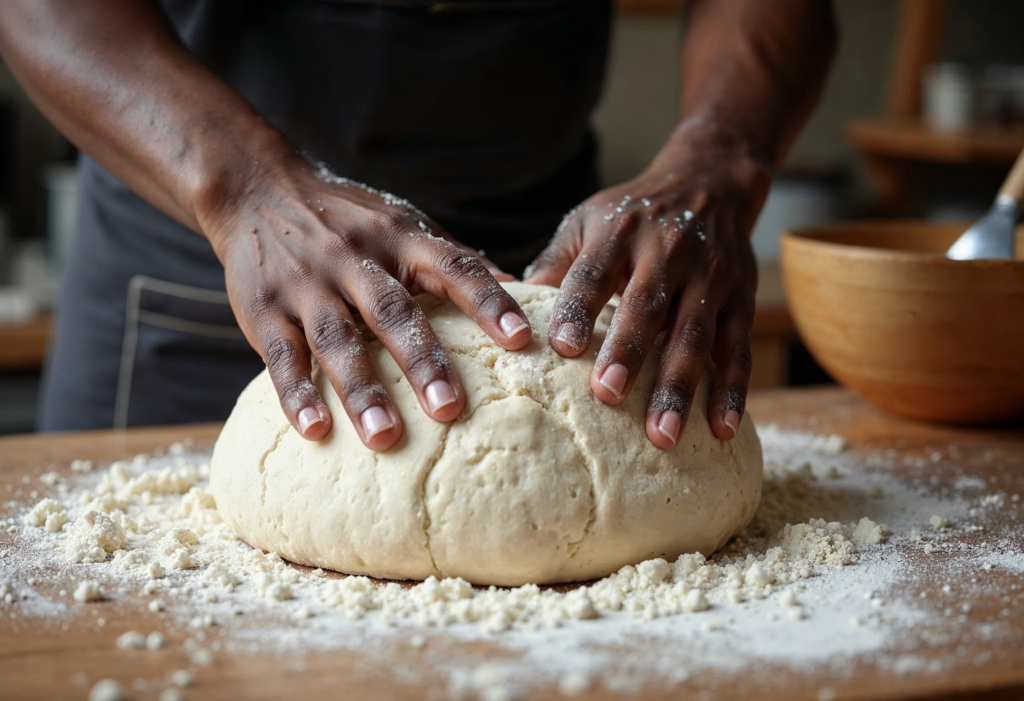
Let’s start with the basics. A sourdough starter is essentially a living culture of wild yeast and bacteria. These little guys are the stars of the show, making your bread rise and giving it that tangy flavor we all love. When it comes to sourdough, the starter-to-flour ratio is critical—it’s the difference between a beautifully risen loaf and a flat, dense one.
Why 500g of flour, you ask? It’s a common starting point for home bakers because it produces a standard loaf size. But how much starter should you use for those 500 grams? That’s where things get interesting. 🌟
Why the Ratio of Sourdough Starter Matters
The Science Behind Sourdough Starter Ratios
Think of your sourdough starter as a team of tiny chefs. If you add too many, your bread will rise too quickly, and you’ll lose out on complex flavors. Too few, and you might end up waiting forever for your dough to rise—or worse, it might not rise at all.
The ratio you choose impacts fermentation, texture, and flavor. A standard recommendation for beginners is to use 20% starter relative to the flour weight, meaning 100g of starter for 500g of flour.
“Bread baking is not just a recipe—it’s a dance between science and creativity.”
How Ratios Impact Fermentation and Flavor
Here’s the thing: the starter acts as the engine of your bread. A higher starter percentage speeds up fermentation, but you might miss out on that deep, tangy flavor that takes time to develop. On the other hand, a lower starter percentage gives you a slower rise but allows the dough to develop more character.
So, if you’re after a quick loaf, go with 25-30% starter. If you’re in no rush, stick to 10-20% and let the magic happen overnight. 🍞
Standard Guidelines for Sourdough Starter to Flour Ratios
Ideal Starter Amounts for 500g Flour
For most sourdough recipes, you’ll want to use 100g of starter for 500g of flour. This ratio gives you a good balance between fermentation speed and flavor complexity. If your kitchen is warm, you might want to use less starter to prevent overfermentation. Cooler kitchens? Add a bit more to keep things moving. 🌡️
Adjusting Ratios Based on Environment and Recipe
Temperature, flour type, and hydration all play a role in determining the ideal ratio. For example:
- Warm Environments: Use less starter (75-80g) to avoid overproofing.
- Cold Kitchens: Increase starter to 125g for a steady rise.
- High-Hydration Doughs: Stick to 20% starter to maintain a workable dough consistency.
Always remember, sourdough baking is flexible. It’s okay to experiment to find what works for you.
Common Problems When Using the Wrong Amount of Starter
Overfermentation and Its Impact on Dough
Too much starter can lead to overfermentation. This happens when your dough rises too fast, leaving you with a sour, overly slack dough that’s hard to shape. It’s like having a party where everyone arrives early and eats all the snacks before the main event. Nobody wants that. 😅
Underfermentation: Why Dough Won’t Rise Properly
On the flip side, using too little starter can leave your dough underfermented. The yeast and bacteria won’t have enough time to work their magic, and you’ll end up with a dense, gummy loaf. Think of it as a movie without a climax—just plain disappointing.
Balancing Hydration with Starter Ratios
The hydration level of your starter also plays a role. Most recipes assume a 100% hydration starter (equal parts water and flour). If your starter is thicker or thinner, it can throw off your dough’s hydration level. Always adjust accordingly to keep things balanced. ⚖️
Step-by-Step Process for Calculating Starter Amounts
Understanding Baker’s Percentages
Baker’s percentages might sound intimidating, but they’re pretty simple. The flour weight is always 100%, and everything else—starter, water, salt—is calculated as a percentage of that weight. For example, using 20% starter means you’d use 100g of starter for 500g of flour.
How to Scale Recipes for 500g Flour
Scaling is easy once you understand the percentages. Here’s a quick example:
- Starter (20%): 100g
- Water (70%): 350g
- Salt (2%): 10g
“A little math goes a long way in perfecting your sourdough bread.”
Adjusting Sourdough Starter for Different Flour Types
One size doesn’t fit all when it comes to sourdough baking—different flours behave differently, and your starter amount may need to change depending on what you’re working with. Let’s explore how flour type impacts the starter-to-flour ratio.
Whole Wheat vs. All-Purpose Flour Ratios
Whole wheat flour is like that overachiever in your group project—it’s packed with nutrients, absorbs more water, and ferments faster than all-purpose flour. If you’re using whole wheat flour for your 500g loaf, consider slightly reducing the amount of starter (15-18%) to avoid overfermentation.
On the other hand, all-purpose flour is more laid-back. The typical 20% starter ratio works beautifully here. But remember, hydration plays a role too—whole wheat needs more water, so keep an eye on your dough’s consistency.
Rye Flour and Its Impact on Starter Amounts
Rye flour is a whole different beast. It ferments like a rocket because it’s loaded with sugars and enzymes. For rye-based sourdough, using even 10-15% starter can give you excellent results without turning your dough into a sticky mess.
Pro Tip: If you’re feeling adventurous, try a mix of flours. A blend of 50% all-purpose and 50% whole wheat creates a great balance of flavor and texture.
Testing and Tasting: Finding Your Ideal Starter Ratio
Now, this is where the fun begins—testing and experimenting! Sourdough baking isn’t about strict rules; it’s about discovering what works for your taste and schedule.
Trial and Error to Achieve Your Perfect Loaf
Here’s a suggestion: start with the standard 20% starter ratio and bake a loaf. Then, tweak it. Try a loaf with 15% starter and a slower fermentation. Then go bold with 25% and see how it affects the flavor and texture. Keep notes on each attempt, like a sourdough scientist. 🧪
“Experimentation is the secret sauce in sourdough baking—don’t be afraid to get your hands floury and your starter bubbly.”
Balancing Tanginess and Texture
Love a tangy loaf? Go for a longer fermentation by reducing the starter to 10-15%. Prefer a mild flavor? Use a higher percentage (25-30%) and a shorter proof time. It’s all about striking the balance that makes your taste buds dance.
FAQs About Sourdough Starter Ratios
You’ve got questions, I’ve got answers. Let’s tackle some common curiosities about sourdough starter ratios.
Can I Use More Starter for Faster Fermentation?
Absolutely, but there’s a trade-off. Using more starter speeds up fermentation but can make the dough overly sour and hard to handle. If you’re short on time, go up to 30% starter—but keep an eye on the dough so it doesn’t overproof. ⏰
Adding excessive starter can lead to overfermentation, which breaks down the dough structure. For example, if you’re experimenting with sourdough recipes, you might find inspiration in this guide to homemade bread health benefits for adjusting your starter usage based on your health preferences.
What Happens if I Use Too Little Starter?
Using too little starter slows fermentation, which can be great for flavor development but risky if you’re in a cooler environment. If your dough isn’t rising after 8-10 hours, you might need to increase your starter slightly or warm up your kitchen.
Expert Tips for Beginners Working with Sourdough
Before diving into troubleshooting, let’s look at some handy tips to make your sourdough journey smoother.
Keeping Starter Healthy and Active
Think of your sourdough starter as a pet—it needs regular feeding and attention. If you’re baking frequently, feed it daily. For occasional bakers, store it in the fridge and feed it weekly. A bubbly, happy starter is key to good bread. 🐾
Storing and Feeding Starter for Consistency
Here’s a simple feeding schedule:
- For daily use: Feed equal parts flour and water (by weight).
- For storage: Keep your starter thick (lower hydration) and feed it before putting it in the fridge.
“Consistency is king when it comes to sourdough starter—treat it like your morning coffee ritual.”
Troubleshooting Common Sourdough Issues
Even the best bakers hit a snag now and then. Let’s troubleshoot some common sourdough problems and their fixes.
Why Is My Dough Sticky and Hard to Shape?
Sticky dough is often a sign of overhydration or overfermentation. First, check your hydration levels—70% hydration is a good starting point for beginners. If your dough feels overly sticky, fold it a few extra times during the bulk rise to strengthen the gluten.
Dealing with Flat or Dense Sourdough Loaves
Flat loaves can happen for a few reasons:
- Weak Starter: If your starter isn’t active, it won’t give your dough the lift it needs.
- Overproofing: Dough that sits too long collapses and loses structure.
- Underproofing: Without enough fermentation time, your dough won’t rise properly.
To fix this, focus on getting your starter bubbly and watch your dough during proofing. Use the poke test: if a gentle poke leaves a slight dent that springs back, you’re ready to bake. 🍞
Recipes and Techniques to Perfect Your Sourdough
Finally, let’s put all this knowledge into practice. In the next part, I’ll share a step-by-step recipe for a classic sourdough loaf using 500g of flour, along with advanced techniques to elevate your baking game. Stay tuned—it’s about to get delicious! 😋
For advanced tips, consider incorporating elements from this ultimate baking guide into your process.
Recipes and Techniques to Perfect Your Sourdough
Now that we’ve covered the science and troubleshooting of sourdough starter ratios, it’s time to bake! Here’s a step-by-step recipe for a classic sourdough loaf using 500g of flour, along with some advanced techniques to take your bread-making to the next level.
A Basic Sourdough Recipe Using 500g Flour
This recipe is beginner-friendly yet delivers a loaf that looks and tastes like it came from an artisan bakery. Let’s get started!
Ingredients:
- 500g all-purpose or bread flour
- 100g sourdough starter (20% of flour weight)
- 350g water (70% hydration)
- 10g salt (2% of flour weight)
Instructions:
- Mix the Dough:
In a large bowl, combine the flour and water. Mix until no dry bits remain. Cover with a damp cloth and let it rest for 30 minutes (this is called autolyse—it helps develop gluten). - Add Starter and Salt:
After the autolyse, add the sourdough starter and salt. Mix well until the dough is cohesive. - Bulk Fermentation:
Let the dough rest at room temperature for 4-6 hours, depending on the temperature. During this time, perform 3-4 sets of stretch-and-folds (once every 30-45 minutes). This strengthens the dough. - Shape the Dough:
Once the dough has risen and looks puffy, turn it out onto a floured surface. Shape it into a tight ball or batard (oval). - Final Proof:
Place the shaped dough into a floured banneton (proofing basket) or a bowl lined with a floured kitchen towel. Cover and refrigerate overnight (8-12 hours) for a slow, cold fermentation. - Bake:
Preheat your oven to 230°C (450°F) with a Dutch oven inside. Once hot, transfer the dough to the Dutch oven, score the top with a razor blade, and bake covered for 20 minutes. Remove the lid and bake for another 20-25 minutes until golden brown. - Cool and Enjoy:
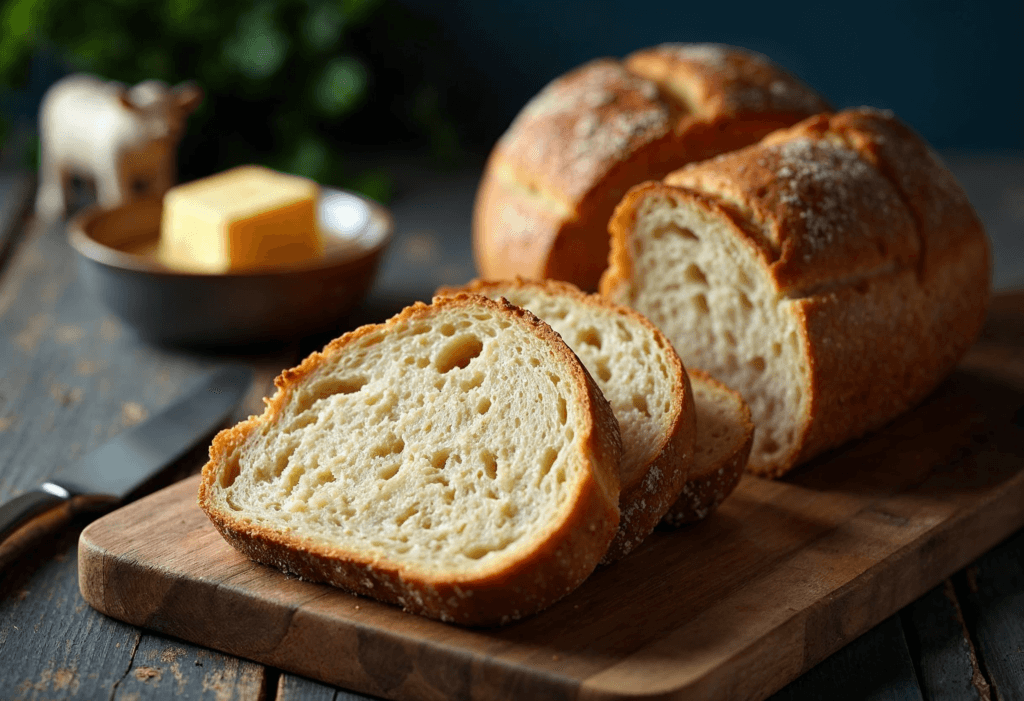
Let the bread cool on a wire rack for at least an hour before slicing. This allows the crumb to set and flavors to deepen.
“Sourdough baking is a labor of love, but the reward—a crusty, tangy loaf fresh from your oven—is well worth the wait.” 🥖
Advanced Techniques for Experimenting with Ratios
Once you’ve mastered the basic recipe, it’s time to experiment with ratios and techniques to personalize your sourdough experience.
High-Hydration Doughs:
Want an open, airy crumb? Increase the water to 75-80% hydration. High-hydration doughs are stickier, so use wet hands when handling and perform more stretch-and-folds.
Lower Starter Percentage:
If you’re after a loaf with deep flavor and less tang, reduce the starter to 10-15% and extend the fermentation time. This method works great for whole-grain loaves.
Adding Mix-Ins:
Get creative by adding nuts, seeds, herbs, or dried fruit to your dough. Fold these in during the second stretch-and-fold for even distribution.
Conclusion: Mastering Sourdough Starter Ratios
Mastering sourdough is all about finding the right balance. Start with 100g of starter for 500g of flour, and adjust as you gain experience. Don’t forget to explore The Bread Baker’s Guild of America for more resources on improving your bread-baking skills.
By staying curious and open to experimentation, you’ll soon be creating sourdough masterpieces.
So, grab your starter, dust off that flour, and get baking! With practice and a little patience, you’ll be pulling bakery-quality loaves from your oven in no time. And remember—don’t stress too much. If a loaf doesn’t turn out as expected, just call it a rustic experiment. 😉
“Baking sourdough is like having a conversation with your ingredients—listen to what they tell you, and the results will speak for themselves.”
Final Thoughts
Sourdough baking connects us to age-old traditions while allowing for endless creativity. Keep testing, keep learning, and don’t forget to share your delicious creations with friends and family. After all, good bread is meant to be shared. 😊
Happy baking! 🍞
Classic Sourdough Loaf
Ingredients
Method
- In a large bowl, combine the flour and water. Mix until no dry bits remain. Cover with a damp cloth and let it rest for 30 minutes (this is called autolyse—it helps develop gluten).
- After the autolyse, add the sourdough starter and salt. Mix well until the dough is cohesive.
- Let the dough rest at room temperature for 4-6 hours, depending on the temperature. During this time, perform 3-4 sets of stretch-and-folds (once every 30-45 minutes). This strengthens the dough.
- Once the dough has risen and looks puffy, turn it out onto a floured surface. Shape it into a tight ball or batard (oval).
- Place the shaped dough into a floured banneton (proofing basket) or a bowl lined with a floured kitchen towel. Cover and refrigerate overnight (8-12 hours) for a slow, cold fermentation.
- Preheat your oven to 230°C (450°F) with a Dutch oven inside. Once hot, transfer the dough to the Dutch oven, score the top with a razor blade, and bake covered for 20 minutes.
- Remove the lid and bake for another 20-25 minutes until golden brown.
- Let the bread cool on a wire rack for at least an hour before slicing. This allows the crumb to set and flavors to deepen.