
The kitchen smelled like warm sugar and summer dusk—the kind of memory that sneaks up on you and insists you make something small and joyful. I wanted a treat that tasted like comfort and a little bit of celebration, so I melted chocolate, scooped peanut butter, and let the freezer do the rest. These homemade peanut butter cups are that moment you can hold in your palm.
Why make this recipe
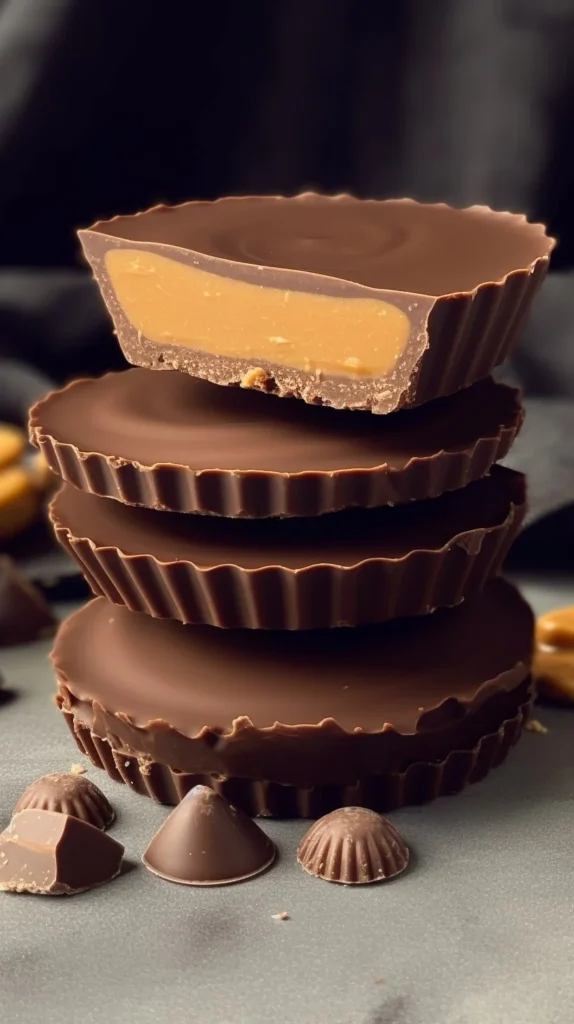
Because it’s effortless, utterly rewarding, and lets you control every ingredient. With just four pantry staples you get a rich chocolate shell and a silky-sweet peanut butter center — better than store-bought and infinitely more personal. They’re perfect for gifting, sneaking between emails, or serving at a cozy gathering.
How to make Homemade Peanut Butter Cups
Ingredients:
- 1½ cup chocolate chips (of choice)
- ½ tablespoon coconut oil
- ¾ cup creamy peanut butter
- ¼ cup raw honey (or maple syrup)
Directions:
- Place the chocolate chips and coconut oil in a small, microwave-safe bowl. Microwave for 30 seconds, stirring every 10 seconds, until smooth and glossy.
- In another bowl, combine the creamy peanut butter and raw honey (or maple syrup). Mix well, then microwave for 20 seconds and stir halfway through to loosen the mixture.
- Spoon a little melted chocolate into paper cupcake liners, spreading it along the bottom and up the sides so you create a thin chocolate shell.
- Freeze the lined cups for 2 minutes to let the chocolate set.
- Remove from the freezer and add a spoonful (or your preferred amount) of the peanut butter mixture into each shell, spreading it gently but leaving a small rim around the edge.
- Return the cups to the freezer for 2 minutes to firm the filling.
- Top each cup with the remaining melted chocolate, smoothing with the back of a spoon so the filling is sealed.
- Freeze for 5 minutes until fully set. Peel off the cupcake liners and enjoy.
How to serve Homemade Peanut Butter Cups
Serve chilled or at cool room temperature. For an elegant touch, sprinkle a tiny pinch of flaky sea salt or cocoa nibs on top before the final freeze. They’re lovely on a dessert platter next to coffee, or wrapped in parchment as a thoughtful homemade gift.
How to store Homemade Peanut Butter Cups
Keep them in an airtight container in the refrigerator for up to 2 weeks. For longer storage, freeze them for up to 3 months — thaw briefly on the counter before serving. If stacked, separate layers with parchment to prevent sticking.
Tips to make Homemade Peanut Butter Cups
- Use a high-quality chocolate you love; it makes the cups sing.
- Warm the peanut butter mixture just enough to be spreadable — too hot and it can melt the chocolate shell.
- Press the chocolate up the sides of the liner to avoid filling leakage.
- Chill briefly between layers so each one sets cleanly and you get sharp layers.
- For easy removal, let them come to room temperature for 5 minutes before peeling liners.
Variations (if any)
- Swap creamy peanut butter for almond or cashew butter for a nutty twist.
- Stir a tablespoon of dark cocoa powder into the peanut mixture for a chocolate-peanut hybrid.
- Add a teaspoon of espresso powder to the melted chocolate for a mocha kick.
- Make them vegan by using maple syrup and dairy-free chocolate.
FAQs
Q: Can I use crunchy peanut butter?
A: Yes — crunchy adds texture and a lovely crunch inside the smooth chocolate shell. Mix it the same way and proceed with the same chilling times.
Q: My chocolate seized when I microwaved it. What now?
A: If it thickens, stir in a tiny bit more coconut oil (a few drops at a time) while gently warming to bring it back to a smooth consistency.
Q: Can I make these without a microwave?
A: Absolutely. Melt the chocolate and coconut oil in a double boiler, and warm the peanut butter and honey over very low heat on the stove, stirring until spreadable.
Q: How do I get a perfectly even top layer?
A: Use the back of a spoon or an offset spatula to gently smooth the chocolate, and tap the tray lightly on the counter to release bubbles before freezing.
Q: Are these safe for kids to help make?
A: Definitely — kids can spoon layers and sprinkle toppings. Just handle the hot chocolate step yourself or supervise carefully.
Conclusion
If you love exploring variations of this classic, you can compare techniques and inspiration at Homemade Peanut Butter Cups – I Am Baker, or find another from-scratch approach at Homemade Peanut Butter Cups (From Scratch) – Fifteen Spatulas. Try one batch tonight — there’s something cinematic about a simple recipe that becomes a small celebration when shared.
Homemade Peanut Butter Cups
Ingredients
Method
- Place the chocolate chips and coconut oil in a small, microwave-safe bowl. Microwave for 30 seconds, stirring every 10 seconds, until smooth and glossy.
- In another bowl, combine the creamy peanut butter and raw honey (or maple syrup). Mix well, then microwave for 20 seconds and stir halfway through.
- Spoon a little melted chocolate into paper cupcake liners, spreading it along the bottom and up the sides to create a thin chocolate shell.
- Freeze the lined cups for 2 minutes to let the chocolate set.
- Add a spoonful of the peanut butter mixture into each shell, leaving a small rim around the edge.
- Freeze for another 2 minutes to firm the filling.
- Top each cup with the remaining melted chocolate, smoothing with the back of a spoon.
- Freeze for 5 minutes until fully set. Peel off the cupcake liners and enjoy.