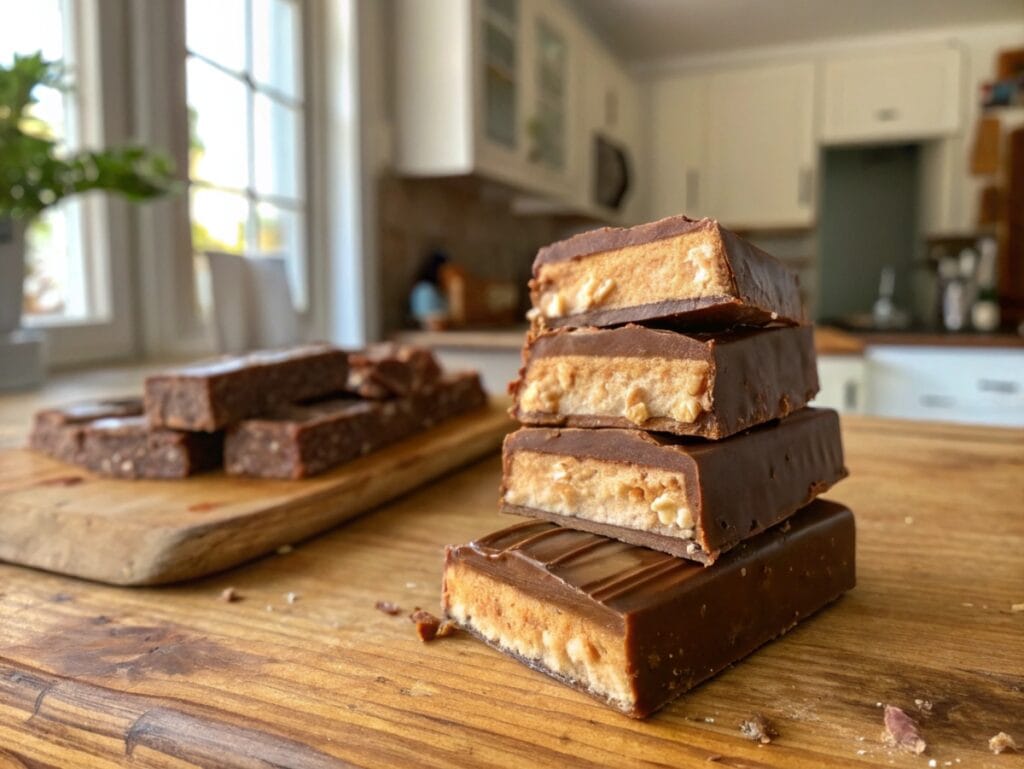
Who doesn’t love biting into a soft, fluffy, chocolatey candy bar that feels like a cloud? 😍 If you’re a fan of 3 Musketeers, you’ve probably wondered, “Can I make this at home?” The good news? Yes, you can! And guess what—it’s not just doable, it’s also super fun. Making your own candy bars at home is like creating your little piece of candy magic in the kitchen. Not only do you get to control the ingredients, but you also get bragging rights. How cool is that?
Introduction to Homemade Candy Bars
Making your own candy bars is not just about saving money; it’s about crafting something uniquely yours. Want to pair your homemade candy bars with a cozy drink? Try this Caramel Brulee Latte Recipe for the ultimate indulgence experience.
Why Make 3 Musketeers at Home?
First things first: why would anyone want to make these at home? 🤔 Well, store-bought candy bars are great, but homemade ones? They’re next-level awesome. Here’s why:
- No mystery ingredients: You know exactly what goes into your bars—no weird preservatives or artificial stuff.
- Customizable: Want to add a touch of mint? How about peanut butter? You’re the boss. 💪
- Fun and rewarding: Making candy is like a science experiment (but tastier). Plus, the satisfaction of biting into something you made? Priceless.
The History of 3 Musketeers Candy Bar
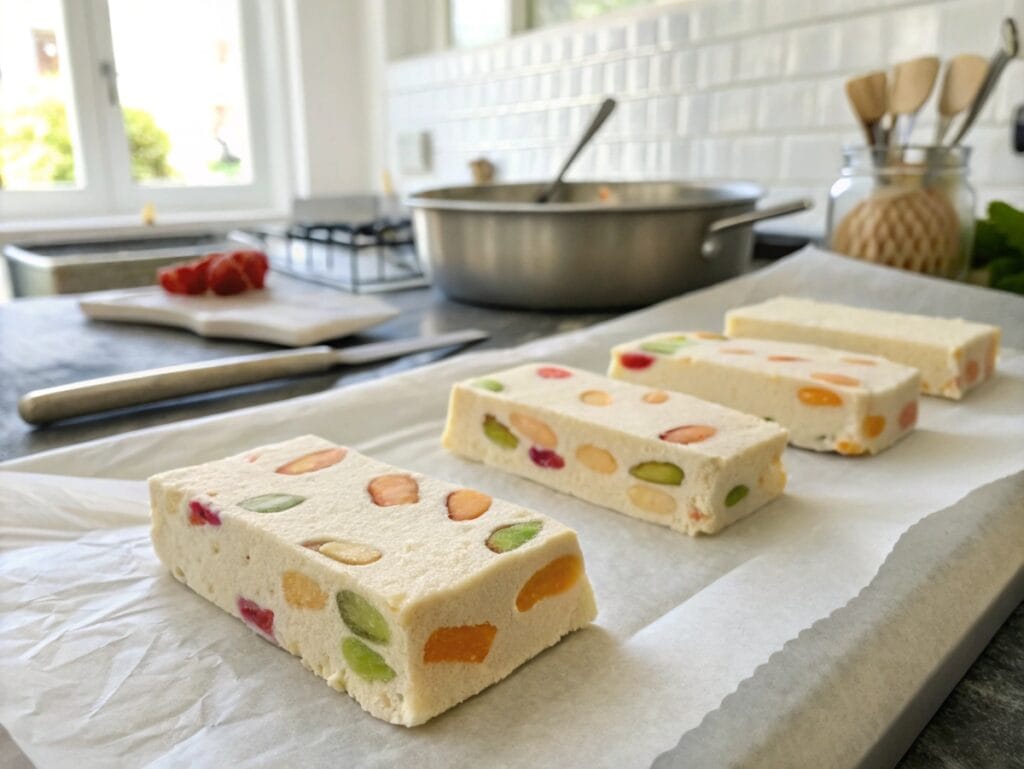
Let’s take a quick trip back in time, shall we? The 3 Musketeers bar debuted in 1932 and was actually named because it originally came in three flavors: vanilla, chocolate, and strawberry. Talk about variety! 🍓🍫🍦 Over time, it evolved into the single-flavor chocolate nougat we know and love today. It’s a classic for a reason.
Ingredients You’ll Need
Simple Ingredients for Homemade 3 Musketeers
The beauty of this recipe lies in its simplicity. Here’s what you’ll need:
- Chocolate chips: Semi-sweet works best, but feel free to experiment.
- Marshmallow fluff: This gives the nougat its signature fluffy texture.
- Powdered sugar: A little sweetness goes a long way.
- Optional flavorings: Vanilla extract, mint extract, or even espresso powder for a twist.
Pro Tip: “Quality ingredients equal quality candy. Splurge on the good chocolate—you won’t regret it!”
Substitutions and Variations for Healthier Options
Want to make it a bit healthier (or at least feel better about eating five in one sitting)? Here are some swaps:
- Use dark chocolate for a richer flavor and added antioxidants.
- Substitute regular marshmallow fluff with a vegan version.
- Try coconut sugar or other natural sweeteners instead of powdered sugar.
Essential Tools and Equipment
Kitchen Essentials for Candy Making
Don’t worry; you won’t need a professional setup to make these. Most of these tools are probably already in your kitchen:
- A mixing bowl and spatula.
- A double boiler or microwave-safe bowl for melting chocolate.
- A 9×9 baking pan lined with parchment paper.
- A sharp knife for slicing the bars.
Tips for Preparing Your Workspace
Candy-making can get messy, but a little prep goes a long way. Here’s how to stay ahead of the chaos:
- Line your pan: Parchment paper is a lifesaver. It makes removing the candy easy-peasy.
- Measure everything first: Candy-making moves quickly, so having everything prepped is key.
- Work in a cool, dry area: Chocolate and humidity? Not besties. Keep your workspace cool to avoid sticky disasters. 🧊
Pro Tip: “Set up like a pro chef with a mise en place. Translation? Have everything ready to grab. Trust me, it makes life easier.”

Why This Recipe Is Perfect for Beginners
Whether you’re a seasoned baker or someone who burns toast (no judgment), this recipe is foolproof. The steps are simple, and the ingredients are forgiving. Even if you mess up a little, guess what? It’ll still taste amazing. And honestly, isn’t that the goal? 🎯
So far, we’ve covered the “why” and the “what” of homemade 3 Musketeers. In the next part, we’ll dive into the nitty-gritty—how to actually make these mouthwatering treats. Get ready for some chocolatey fun! 🍫
Step-by-Step Guide to Making Homemade 3 Musketeers Bars
Alright, now we’re diving into the good stuff—actually making these heavenly treats! This step-by-step guide will walk you through everything, from creating the nougat to the final chocolate coating. Let’s roll up our sleeves and get started! 💪
Step 1: Preparing the Filling
The nougat is the star of the show here. It’s what gives 3 Musketeers bars their soft, fluffy texture. Making it is easier than you think!
Ingredients:
- 2 cups marshmallow fluff
- 1/2 cup powdered sugar
- 1 teaspoon vanilla extract (optional, but recommended for extra flavor)
Instructions:
- In a large mixing bowl, combine the marshmallow fluff and powdered sugar.
- Use a spatula to gently fold the ingredients together. You’re looking for a soft, slightly sticky texture—like a fluffy cloud. ☁️
- Add the vanilla extract if you’re using it. Mix until well combined.
- Spread the mixture evenly into your parchment-lined 9×9 baking pan. Smooth the top with a spatula.
- Pop the pan into the freezer for 15–20 minutes to firm up the nougat.
Pro Tip: “If the nougat is sticking to your spatula, spray it lightly with cooking spray. It’s a game-changer!”
Step 2: Creating the Chocolate Coating
What’s a candy bar without a luscious chocolate coating? This step is where the magic happens.
Ingredients:
- 2 cups semi-sweet chocolate chips
- 1 tablespoon vegetable oil or coconut oil (for smoother melting)
Instructions:
- Melt the chocolate chips and oil together. You can use a double boiler for precise control, or the microwave for convenience.
- Microwave method: Heat in 30-second intervals, stirring after each round, until the chocolate is smooth and glossy.
- Double boiler method: Place the chocolate and oil in a heatproof bowl over a pot of simmering water, stirring until melted.
- Once melted, let the chocolate cool slightly—just a couple of minutes. You don’t want it too hot, or it might melt the nougat when coating.
Fun Fact: “Adding a bit of oil to your chocolate gives it a glossy, professional finish. Perfect for impressing your friends (or Instagram followers). 📸”
Step 3: Assembling the Candy Bars
Now it’s time to bring everything together. This part is like building your dream candy bar.
Instructions:
- Remove the nougat from the freezer and cut it into bars. A sharp knife is your best friend here—aim for even rectangles, but don’t stress about perfection.
- Dip each nougat bar into the melted chocolate, making sure it’s fully coated. Use a fork to lift the bar out of the chocolate, letting the excess drip off.
- Place the coated bars on a parchment-lined baking sheet. Repeat until all your bars are coated.
- If you’re feeling fancy, drizzle extra chocolate on top for a decorative touch. 🍫✨
Step 4: Chilling and Final Touches
You’re almost there! The final step is all about patience (and a bit of self-control).
Instructions:
- Place the baking sheet in the refrigerator for about 30 minutes, or until the chocolate is completely set.
- Once set, carefully remove the bars from the parchment paper.
- Take a bite, and revel in your candy-making success! 🎉
Block Quote: “Homemade 3 Musketeers bars are proof that good things come to those who wait… even if waiting 30 minutes feels like forever.”
Common Problems and Solutions in Candy Making
Even the best candy makers hit a few bumps along the way. Don’t sweat it! Here are some common issues and how to fix them.
Problem: Filling Too Soft or Too Hard
- Why it happens:
- If your nougat is too soft, it might be because the mixture wasn’t firmed up enough in the freezer.
- If it’s too hard, you might have over-mixed the powdered sugar, making it dry.
- Solution:
- For soft nougat: Freeze it longer before cutting.
- For hard nougat: Add a teaspoon of warm water to the mixture to restore fluffiness.
Problem: Chocolate Coating Cracking or Melting
- Why it happens:
- Cracking usually occurs if the chocolate cools too quickly or unevenly. Melting happens if your bars are stored in a warm area.
- Solution:
- Use room-temperature nougat bars before dipping to avoid sudden temperature shocks.
- Store finished bars in an airtight container in the fridge (or freezer for long-term storage).
Block Quote: “Candy-making isn’t about perfection; it’s about having fun and making something delicious. Mistakes? They’re just tasty learning experiences.”
Tips for Customizing Your Homemade Candy Bars
Making your own candy bars means you get to unleash your creativity. Here are some ways to take your homemade 3 Musketeers to the next level:
Adding Flavors: Mint, Peanut Butter, and More
- Mix mint extract into the nougat for a refreshing twist.
- Add a layer of peanut butter between the nougat and chocolate for a Reese’s-meets-3-Musketeers vibe. 🥜
- Stir in espresso powder to give your candy bars a mocha makeover.
Shaping Ideas: Fun Molds and Sizes
- Use silicone molds to create fun shapes like hearts, stars, or even bite-sized candies.
- Want jumbo bars? Pour the nougat into a larger pan and cut into fewer, bigger pieces.
Pro Tip: “Small bars are great for snacking, while larger ones make impressive gifts. Either way, they’re guaranteed to impress.”
Now you’re a candy-making pro! By following these steps, you’ve not only created your own batch of 3 Musketeers bars but also mastered the basics of homemade candy. 🍫
Storing and Preserving Your 3 Musketeers Bars
So, you’ve made your homemade 3 Musketeers bars (yay, you!). But now you’re probably wondering: How do you store them to keep them fresh and delicious? Proper storage is key to maintaining their texture and flavor. Let’s talk about how to do it right. 😊
Best Practices for Storing Homemade Candy
- Use an Airtight Container: Place your candy bars in an airtight container to prevent them from drying out or absorbing odors from other foods.
- Layer with Parchment Paper: If you’re stacking your bars, place parchment paper between the layers to keep them from sticking together.
- Refrigerate for Longer Shelf Life: Store your bars in the fridge to keep them fresh for up to 2 weeks. Just let them come to room temperature before serving for the best texture.
- Freeze for Extended Storage: Want to save some for later? Pop them in the freezer! They’ll stay good for up to 3 months. Thaw in the fridge overnight when you’re ready to enjoy.
Pro Tip: “Store your candy in a cool, dark place. Heat and sunlight are chocolate’s worst enemies! 🚫☀️”
How Long Do Homemade 3 Musketeers Last?
- Room Temperature: 3–4 days (if they last that long!).
- Refrigerated: Up to 2 weeks.
- Frozen: 2–3 months.
Block Quote: “Homemade candy bars might not last forever, but trust us, they’ll probably disappear faster than you expect! 🍫”

Frequently Asked Questions About Homemade Candy Bars
Making homemade candy can feel like stepping into uncharted territory. Here are answers to some of the most common questions to help you feel confident in your candy-making journey.
Can I Use Different Types of Chocolate?
Absolutely! While semi-sweet chocolate is the go-to, you can experiment with other types:
- Milk Chocolate: For a creamier, sweeter coating.
- Dark Chocolate: Adds a rich, slightly bitter flavor that pairs beautifully with the nougat.
- White Chocolate: A fun twist for a completely different flavor profile.
Pro Tip: “When working with white chocolate, add a tiny bit of oil to prevent it from seizing while melting.”
How Do I Make the Bars Vegan or Gluten-Free?
- Vegan Version: Use dairy-free chocolate chips and vegan marshmallow fluff. There are plenty of plant-based alternatives available these days.
- Gluten-Free Version: Great news—this recipe is naturally gluten-free! Just double-check your marshmallow fluff and chocolate chips to make sure they’re certified gluten-free.
Can I Add a Caramel Layer?
Why not? Adding a caramel layer takes your candy bars to the next level. Just spread a thin layer of caramel over the nougat before dipping the bars in chocolate. The result? Pure decadence. 🤤
The Joy of Sharing Homemade Treats
There’s something magical about sharing your homemade candy bars with others. Not only do they make for amazing gifts, but they’re also a great way to bond with family and friends. Let’s explore some fun ideas!
Gifting Ideas for Homemade 3 Musketeers Bars
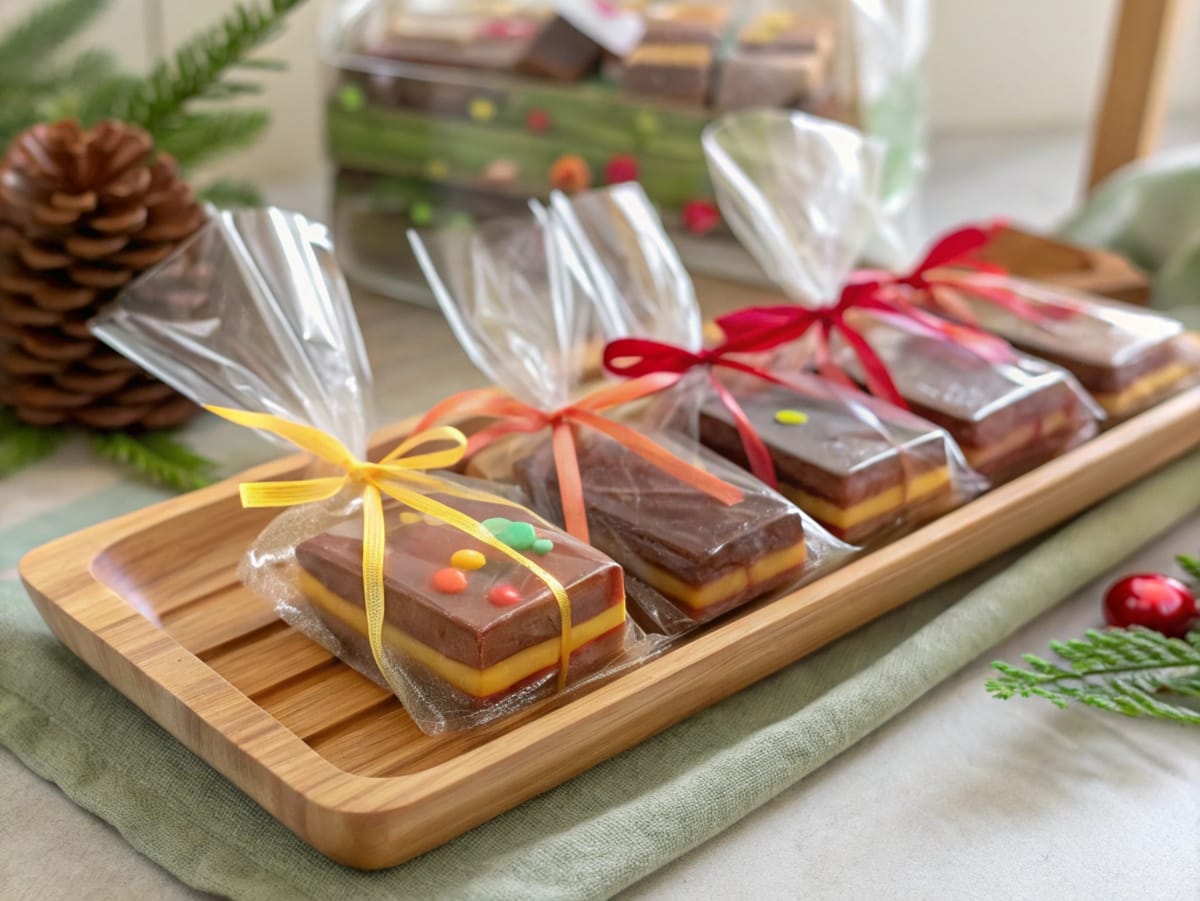
- Wrap It Up: Use clear cellophane bags tied with a ribbon for a professional look. Add a handwritten note for a personal touch. 🎁
- Customized Packaging: Decorate small boxes with stickers, stamps, or even custom labels. This is perfect for holidays or special occasions.
- Candy Bouquets: Arrange your candy bars like a bouquet for a unique and edible gift. 🌸🍫
Hosting a Candy-Making Party
Why make candy alone when you can turn it into a party? Gather your friends or family and make it a group activity. Here’s how to host the ultimate candy-making bash:
- Set Up Candy Stations: Divide the process into stations—nougat-making, chocolate-dipping, and decorating.
- Provide Fun Toppings: Let guests customize their bars with sprinkles, crushed nuts, or drizzle designs.
- Create a Photo Booth: Set up a small photo booth with props for capturing the fun. Don’t forget to share the snaps on social media! 📸
Conclusion
Why Homemade 3 Musketeers Bars Are Worth the Effort
Making your own 3 Musketeers bars is more than just a fun kitchen project—it’s a way to create something truly special. From the fluffy nougat to the rich chocolate coating, every bite is a reminder of the love and care you put into them. Sure, it takes a little effort, but isn’t that what makes homemade treats so much sweeter? 😊
Final Tips for Candy-Making Success
- Be Patient: Good things take time. Don’t rush the chilling or dipping process.
- Embrace Imperfections: Homemade candy bars might not look like the ones from the store—and that’s okay! Their charm lies in their uniqueness.
- Have Fun: Candy-making is as much about the process as it is about the end result. Enjoy every step!
Block Quote: “When life gives you chocolate and marshmallow fluff, make 3 Musketeers bars. Because homemade always tastes better. ❤️”
Congratulations—you’ve completed the journey to becoming a homemade candy bar master! Whether you keep these treats all to yourself (no judgment!) or share them with others, one thing’s for sure: You’ve got a delicious skill under your belt. 🍫✨
Print
Homemade 3 Musketeers Bars
- Total Time: 45 minutes
- Yield: 12 servings 1x
- Diet: Vegetarian
Description
Create your own fluffy, chocolatey 3 Musketeers bars at home with this easy and fun recipe.
Ingredients
- 2 cups marshmallow fluff
- 1/2 cup powdered sugar
- 1 teaspoon vanilla extract (optional)
- 2 cups semi-sweet chocolate chips
- 1 tablespoon vegetable oil or coconut oil
Instructions
- In a large mixing bowl, combine the marshmallow fluff and powdered sugar. Use a spatula to gently fold until smooth.
- Add the vanilla extract (if using) and mix until well combined. Spread into a parchment-lined 9×9 baking pan and freeze for 15–20 minutes.
- Melt the chocolate chips and oil together using a microwave or double boiler until smooth. Let cool slightly.
- Cut the nougat into bars, dip each into the melted chocolate, and let them drain on a parchment-lined baking sheet.
- Refrigerate for about 30 minutes until the chocolate is set, then enjoy!
Notes
Tip: Use quality chocolate for the best flavor, and refrigerate for longer freshness.
- Prep Time: 15 minutes
- Cook Time: 30 minutes
- Category: Dessert
- Method: Candy Making
- Cuisine: American
Nutrition
- Serving Size: 1 bar
- Calories: 200
- Sugar: 18g
- Sodium: 50mg
- Fat: 10g
- Saturated Fat: 5g
- Unsaturated Fat: 3g
- Trans Fat: 0g
- Carbohydrates: 25g
- Fiber: 0g
- Protein: 1g
- Cholesterol: 0mg
Keywords: 3 Musketeers, candy bars, chocolate dessert, homemade candy

