Tucked away down a sun-kissed street in the heart of New Zealand or perhaps in the bustling neighborhood markets of Australia, the pavlova is a dessert that dances with both elegance and whimsy. As soft as a cloud and sweet as a dream, these meringue nests read like poetry on a plate, waiting to be filled with the fresh fruits of the season. Join me in crafting this delightful treat—it’s a journey worth every epiphany.
Why make this recipe
Ah, the holiday season! It’s not just about twinkling lights and festive cheer; it’s about gathering flavors, memories, and unforgettable desserts that linger in the air like laughter. What better way to whip up some magic than with these Holiday Pavlova Nests? Each gooey, crunchy bite transports you to the sun-soaked orchards of Canada or the vibrant playground streets of Mexico, where food is kin and shared joy is a daily ritual. They’re light enough for the most extravagant brunch, yet whimsy-filled for dessert at your holiday gathering—a versatile showstopper!
How to make Holiday Pavlova Nests with Whipped Cream
Ingredients:
- 4 large egg whites, at room temperature
- 1 cup granulated sugar
- 1 teaspoon cornstarch
- 1 teaspoon white vinegar or lemon juice
- 1 teaspoon vanilla extract
- A pinch of salt
- 1 cup heavy whipping cream, very cold
- 2 tablespoons powdered sugar
- 1 teaspoon vanilla extract (for whipped cream)
- Fresh berries (strawberries, raspberries, blueberries)
- Kiwi slices, pomegranate seeds, or citrus segments
- Chocolate shavings or curls
- Crushed pistachios
- Fresh mint leaves
- Powdered sugar for dusting (optional)
Directions:
- Preheat that magical oven of yours to 250°F (120°C). Then, take a bold leap and line a baking sheet with parchment paper—don’t forget to channel your inner artist and draw 6 to 8 circles (about 4 inches wide) on it. Flip that paper over.
- Grab your mixing bowl, toss in those egg whites along with a cheeky pinch of salt, and beat on medium speed until soft peaks begin to form like a fluffy cloud.
- Gradually sprinkle in the sugar, one tablespoon at a time, while cranking up the beaters to medium-high speed until the mixture transforms into a thick, shiny soufflé of perfection with stiff peaks (think extra points for drama here).
- With the grace of an artist, gently fold in the cornstarch, vinegar (or lemon juice), and vanilla extract—this is where your pavlova brings out its personality!
- Spoon or pipe the dreamy meringue onto the prepared baking sheet, crafting round mounds as you create a shallow indentation in the center of each nest—those will be home to the stars of the show.
- Slide your creations into the oven for 1 to 1.25 hours, letting them dry out without allowing those inviting aromas to escape; no peeking, my friend!
- Once done, turn off the oven and let these whimsical nests cool inside, with the door slightly ajar, for at least an hour—allow the magic and the meringue to fall into perfect harmony.
- Time for the pièce de résistance! In another bowl, whip the cold heavy cream with powdered sugar and vanilla until soft peaks emerge, as if a gentle summit is rising before your eyes.
- With care, spoon or pipe that whipped cream into the cozy center of each pavlova nest, lavishly topping with fresh fruit, chocolate shavings, or garnishes that speak to your heart. Serve immediately to amazement and applause.
How to serve Holiday Pavlova Nests with Whipped Cream
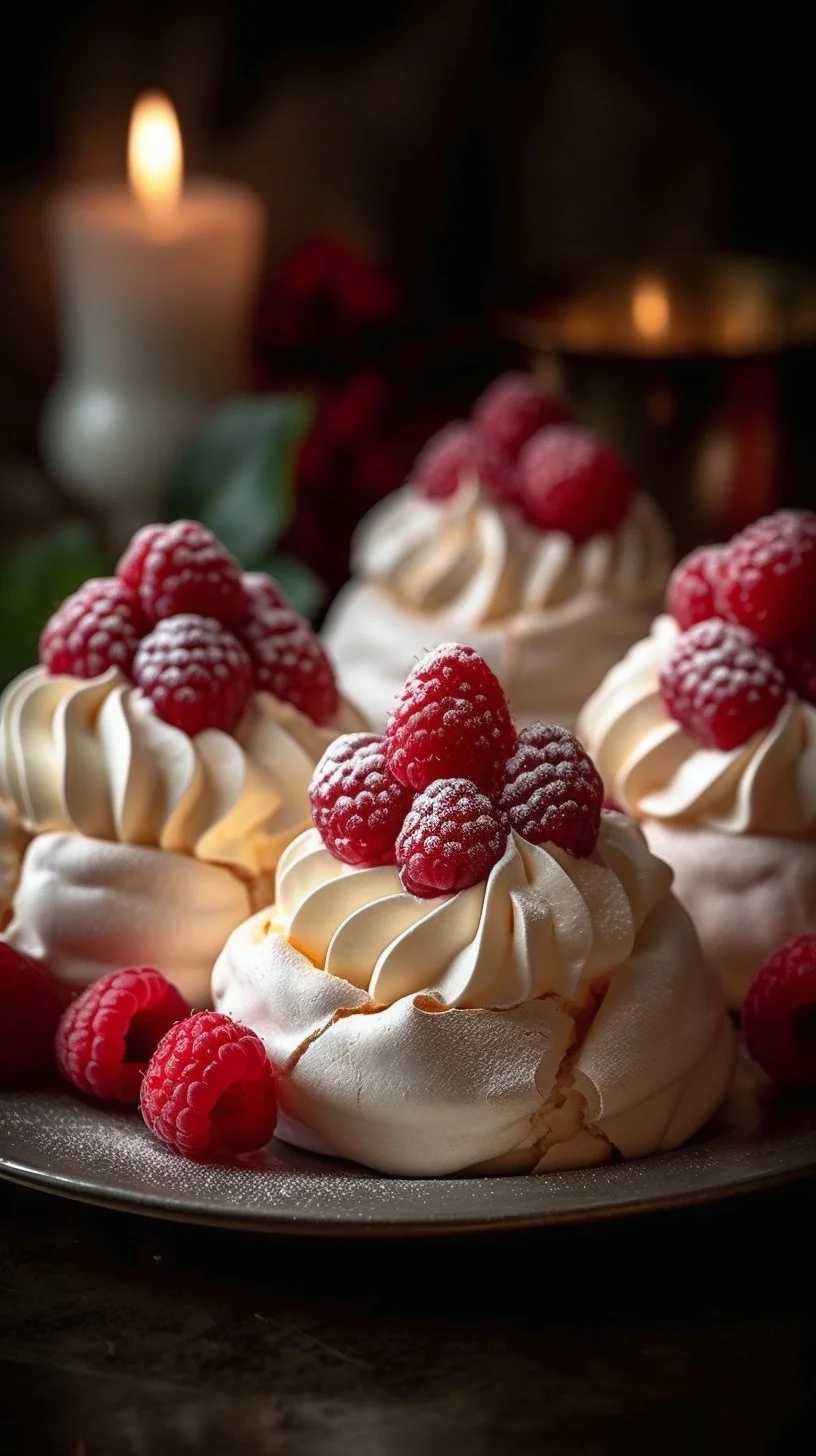
Picture this: your holiday table, decorated with sparkly lights, laughter echoing through the room, as folks marvel at these stunning pavlova nests inviting them to take the plunge. Each one brimming with color—red berries, green kiwi, and the snowy white of whipped cream—it’s a visual feast that will leave your guests swooning!
How to store Holiday Pavlova Nests with Whipped Cream
Keep any leftover meringue in an airtight container for up to 2 days, letting them bask in their own glory. However, once filled with cream and fruits, these lovely nests are best enjoyed fresh, as the meringue will start to soften. If you have any spare components, store the fruit and whipped cream separately in the fridge and whip up new nests when ready!
Tips to make Holiday Pavlova Nests
- Don’t rush the process! Make sure egg whites are at room temperature for the best results; they whip up to divine heights.
- Ensure your mixing bowl is squeaky clean—no grease or yolk shall enter, or your pavlova will sulk and not fluff up.
- Embrace the toppings! The world is your oyster; any seasonal fruits or chocolate variations can elevate your creation!
Variations
Why stop at traditional berries? Dive into tropical depths with mango bits, or go aromatic with a zest of lime! Spice things up with a sprinkle of cinnamon, or travel to the essence of the tropics with coconut flakes—your pavlova can be anywhere your imagination takes you!
FAQs
Q: Can I make the meringue ahead of time?
A: Absolutely! You can prepare the meringue a day ahead. Just store it in an airtight container to keep it crisp and ready for a lovely assembly!
Q: What do I do if my meringue cracks?
A: Fear not, dear chef! Cracked meringues bring character, and a little whipped cream on top will beautify any flaws. Embrace their rugged charm!
Q: Can I skip the toppings?
A: If you’re feeling rebellious, you can enjoy your meringue plain! Though I’d urge you not to deprive it of some colorful company; it craves those fruity flavors!
Now, unleash your inner culinary artist and make these delightful Holiday Pavlova Nests! Each bite is a joyful escape to a vibrant market, a sweet embrace of the holidays, and an adventure waiting to be savored!

Holiday Pavlova Nests
Ingredients
Method
- Preheat the oven to 250°F (120°C). Line a baking sheet with parchment paper and draw 6 to 8 circles (about 4 inches wide) on it; flip the paper over.
- In a mixing bowl, beat the egg whites with a pinch of salt on medium speed until soft peaks form.
- Gradually sprinkle in the sugar, one tablespoon at a time, increasing to medium-high speed until the mixture is thick and shiny with stiff peaks.
- Gently fold in the cornstarch, vinegar (or lemon juice), and vanilla extract.
- Spoon or pipe the meringue onto the prepared baking sheet, making shallow indentations in the center of each.
- Bake in the preheated oven for 1 to 1.25 hours until dry, then turn off the oven and let cool inside with the door slightly ajar for at least an hour.
- In a bowl, whip the cold heavy cream with powdered sugar and vanilla until soft peaks form.
- Carefully spoon or pipe the whipped cream into the center of each pavlova nest. Top with fresh fruits, chocolate shavings, or garnishes.
- Serve immediately.