Wanderlust is a funny thing—it can strike at any moment, sometimes igniting the sense of adventure buried deep in our souls or tickling the taste buds with memories of exotic flavors. If your heart takes flight at the thought of creamy mint and rich chocolate intertwining like lovers on a moonlit beach, then pack your bags for an adventure with these heavenly Chocolate Mint Dream Bars!
Why make this recipe?
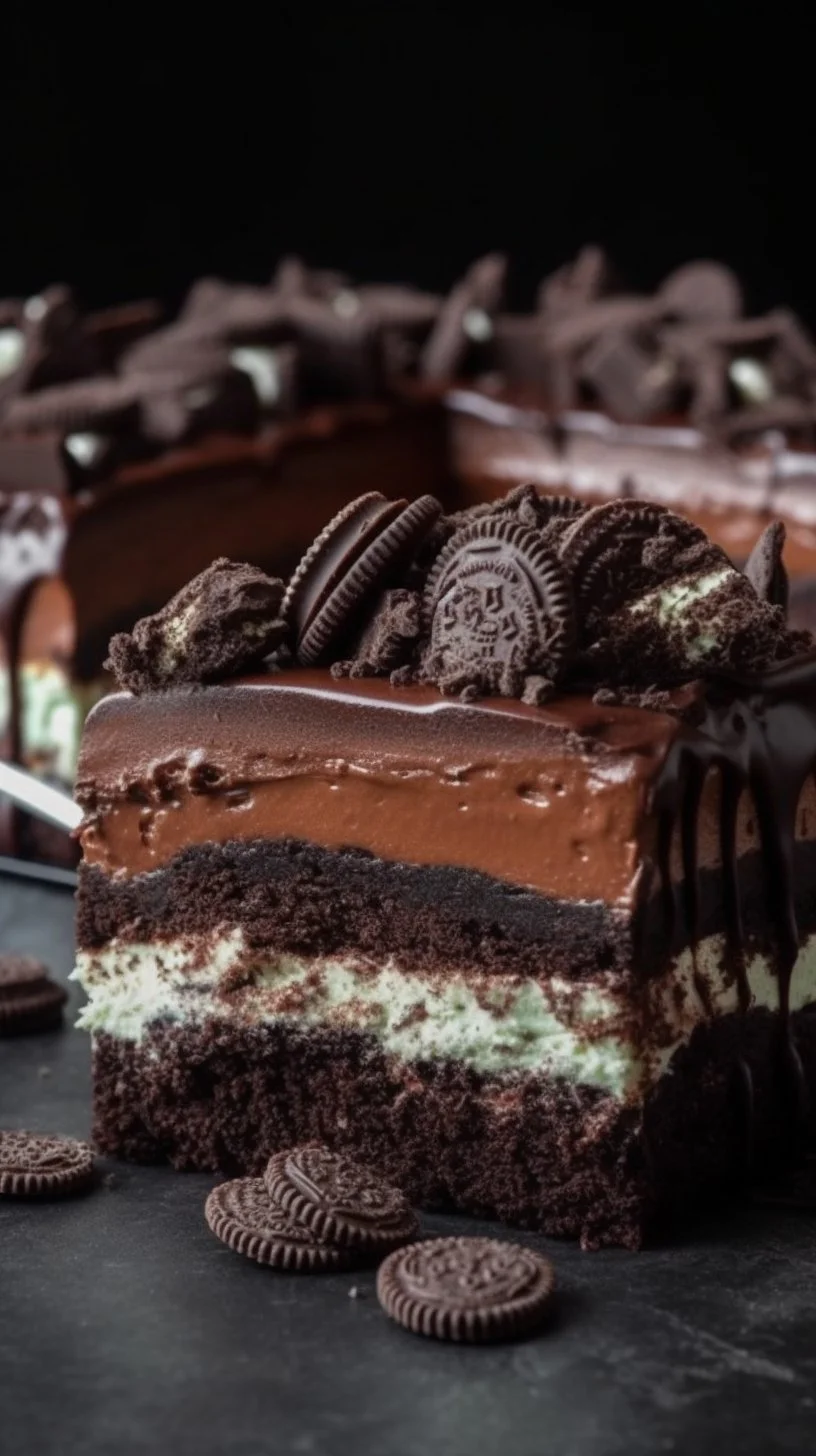
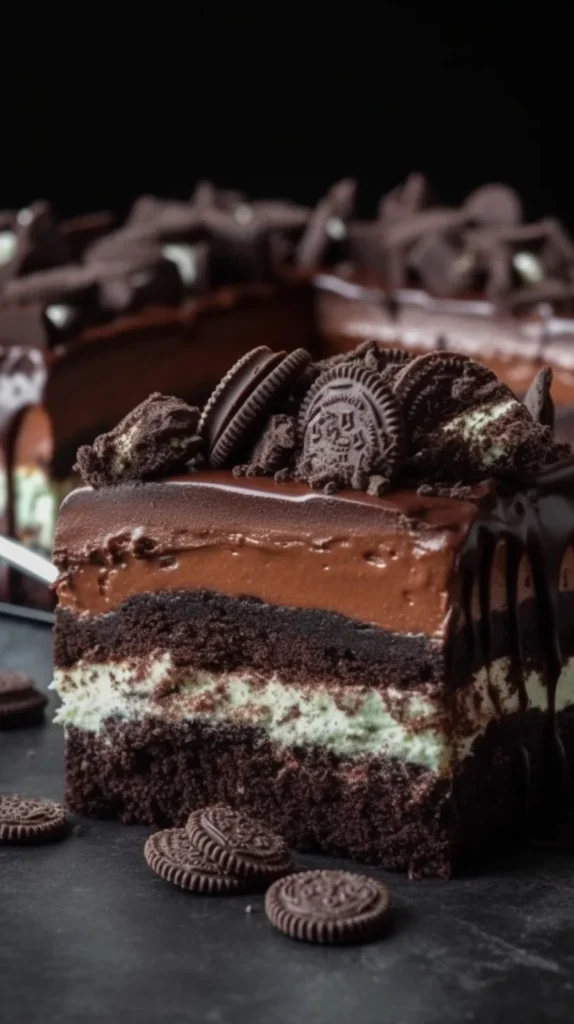
Let’s be honest: chocolate mint is a duo that’s harder to resist than a runaway street cart selling fresh spring rolls in an alleys of Bangkok. These bars are an irresistible blend of rich, creamy, and oh-so-refreshing. As you bite into soft layers reminiscent of a slushy in the summer sun, you’ll find yourself transported to a world where happy memories mingle under the stars. This is not just dessert; this is a journey worth savoring.
How to make Chocolate Mint Dream Bars
Ingredients:
- 15.25 ounce package Mint Oreo cookies, divided
- 5 tablespoons unsalted butter, melted
- 4.6 ounces Andes Mint candies, chopped, divided (about 26 candies)
- 8 ounces cream cheese, room temperature
- 1/2 cup confectioners’ sugar
- 1/4 teaspoon peppermint extract
- 7-10 drops green food coloring (or until desired hue is reached)
- 1 cup Cool Whip or Stabilized Whipped Cream
- 3.9 ounce box instant chocolate fudge pudding
- 1 1/2 cups milk
- 8 ounce container Cool Whip or 1 recipe of Stabilized Whipped Cream, divided
- Hershey’s chocolate bar shavings (if desired)
Directions:
First stop, we’re preparing our magical base! Grab that 8×8 inch baking pan; we’re lining it with parchment paper like it’s a tropical treasure map waiting to be uncovered. For our crust, take 24 of those Mint Oreos, toss them into a food processor, and pulse away until they’re as crumbly as sand on a Caribbean beach. Melt the butter, mix it all up, press it firmly into the bottom of your pan, and freeze it for 30 minutes while you dream of distant shores.
Next, let’s whip up that peppermint layer like a summer breeze. In a mixing bowl, beat the cream cheese until fluffy, then embrace the sweetness with confectioners’ sugar, add peppermint extract, and unleash a dash of green food coloring until it resembles lush rainforests. Gently fold in the Cool Whip like you’re echoing playful waves hitting the shore.
Now for the pudding layer! Whisk together the chocolate fudge pudding mix with milk in a separate bowl, and let it set in the fridge like a secret treasure waiting to be found.
When everything is set, it’s assembly time! Sprinkle those chopped Andes Mints over your frozen crust, spread the luscious peppermint mixture like frosting on a cake, then layer on that decadent pudding, topped with the remaining Cool Whip. Chill for at least 2 hours – this is where the magic happens and flavors intensify. Before serving, freeze for another 30 minutes and then—voilà—garnish with Andes gems and chocolate curls like pearls of splendid delight!
How to serve Chocolate Mint Dream Bars
Slice these beauties into squares that sparkle like emeralds at the bottom of the sea and watch as your guests dive in, gladly trading their diets for a bite of paradise. Serve them chilled, atop dreamy plates with a warm cup of coffee or a tall glass of almond milk. It’s like a mini-vacation in every morsel!
How to store Chocolate Mint Dream Bars
If you have any leftovers (which is highly unlikely, but you never know!), simply cover them with plastic wrap and pop them in the fridge. They’ll keep their chilled charm for about a week, making your taste buds dance to the tune of this glorious creation.
Tips to make Chocolate Mint Dream Bars
- Don’t skip the freezing steps—the colder, the creamier and more refreshing!
- Feel free to experiment with the mintiness—add more or less peppermint extract based on your personal preference.
- Consider drizzling melted chocolate over the top for an extra glamorous touch!
Variations
- Using gluten-free cookies to suit dietary needs? Check!
- Feeling a bit tropical? Substitute the peppermint with coconut extract for a sunny twist!
- Swap the mint candies with crushed up chocolate-covered espresso beans for a caffeinated kick!
FAQs
1. Can I use regular Oreos instead of Mint Oreos?
Absolutely! While it won’t have that minty flavor, the rich chocolate pairs beautifully. Just sprinkle a touch of peppermint extract into your mix for that minty freshness.
2. What if I don’t have Andes Mints?
Not a problem! You can substitute with mint chocolate chips or even crushed candy canes for a delightful alternative that celebrates the season!
3. Can I make this recipe ahead of time?
Of course! These bars are perfect for prepping. Just assemble the layers, freeze them, and when the time comes to serve, you’ll have a delicious, chilled dessert ready to dazzle.
So whether you find yourself in a bustling city market or dining under an open sky, let these Chocolate Mint Dream Bars transport you on a flavor-packed journey. Every layer whispers sweet secrets of far-off places while keeping you comfortably grounded in your kitchen. Now go forth, whip these up, and let the adventure begin!
Chocolate Mint Dream Bars
Ingredients
Method
- Line an 8x8 inch baking pan with parchment paper.
- In a food processor, pulse 24 Mint Oreos until crumbly.
- Mix with melted butter and press firmly into the pan.
- Freeze for 30 minutes.
- In a mixing bowl, beat cream cheese until fluffy.
- Add confectioners’ sugar, peppermint extract, and green food coloring.
- Gently fold in Cool Whip.
- Whisk together chocolate fudge pudding mix and milk in a separate bowl.
- Let set in the fridge.
- Sprinkle chopped Andes Mints over the frozen crust.
- Spread peppermint mixture over the mints.
- Layer on the pudding mixture and top with remaining Cool Whip.
- Chill for at least 2 hours, then freeze for another 30 minutes.
- Garnish with Andes gems and chocolate curls before serving.