Who doesn’t love the creamy, melt-in-your-mouth goodness of fudge? Now imagine whipping up this delightful treat in just five minutes! Homemade fudge isn’t just a dessert—it’s a symbol of love, comfort, and the art of simple indulgence. In this article, you’ll discover how to make this timeless treat in record time. We’ll explore essential ingredients, step-by-step instructions, popular variations, troubleshooting tips, and more. Whether you’re a seasoned cook or a beginner in the kitchen, this guide is for you.
Introduction to Homemade Fudge
What is Homemade Fudge?
Fudge, at its core, is a classic dessert known for its rich texture and satisfying sweetness. Traditionally, making fudge involved hours of stirring and precise temperature control, which could be intimidating for many. But modern recipes have revolutionized the process, offering shortcuts that don’t compromise on taste.
This guide is all about quick fudge recipes that take the guesswork out of cooking. With just a few pantry staples, you can create a treat that’s perfect for every occasion—from cozy family nights to festive gatherings.
The 5-Minute Advantage
What if we told you that you could have delicious homemade fudge ready in less time than it takes to brew a pot of coffee? With methods like microwaving or stovetop melting, you can skip the long hours of preparation.
The beauty of a 5-minute fudge recipe lies in its simplicity. No candy thermometer, no elaborate equipment—just a bowl, a microwave or stovetop, and a spatula. Plus, this recipe is incredibly versatile. You can stick with classic chocolate or venture into exciting flavors like peanut butter or peppermint.
In the upcoming sections, you’ll learn how to prepare this quick and irresistible dessert, explore creative variations, and troubleshoot common issues. With this foolproof guide, making fudge will become a breeze.
Key Ingredients for 5-Minute Fudge
Essential Pantry Staples
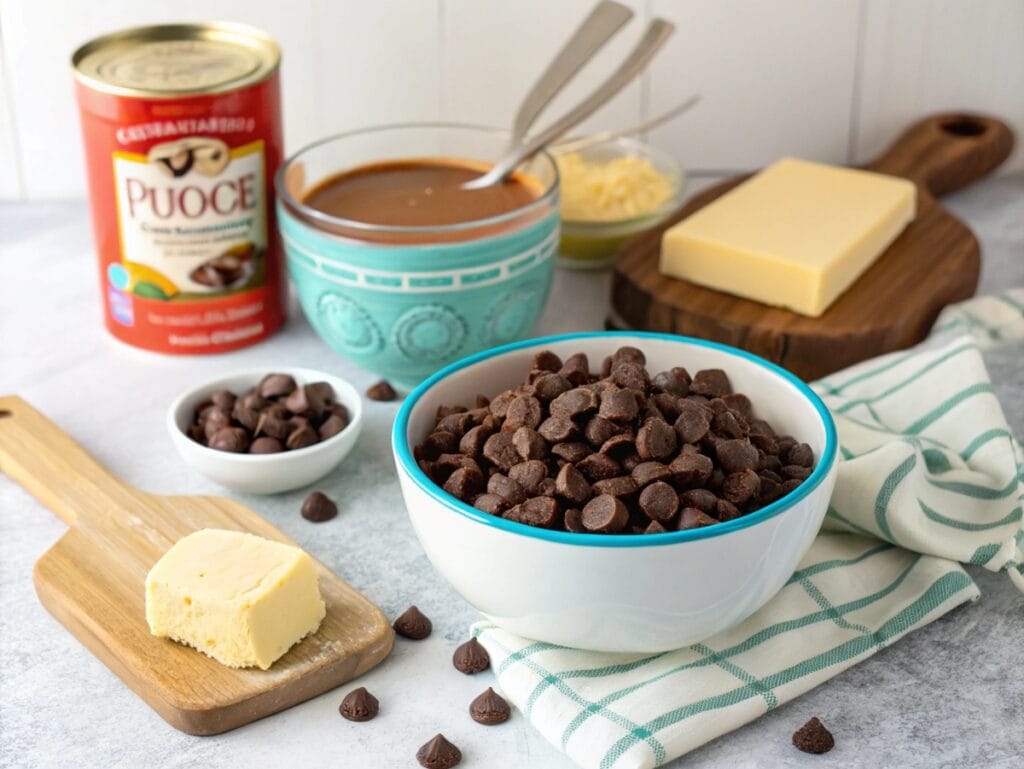
Making homemade fudge in just 5 minutes requires only a handful of basic ingredients, most of which you probably already have. The two primary ingredients are chocolate chips and sweetened condensed milk. The chocolate gives the fudge its rich, velvety texture, while the condensed milk binds everything together beautifully.
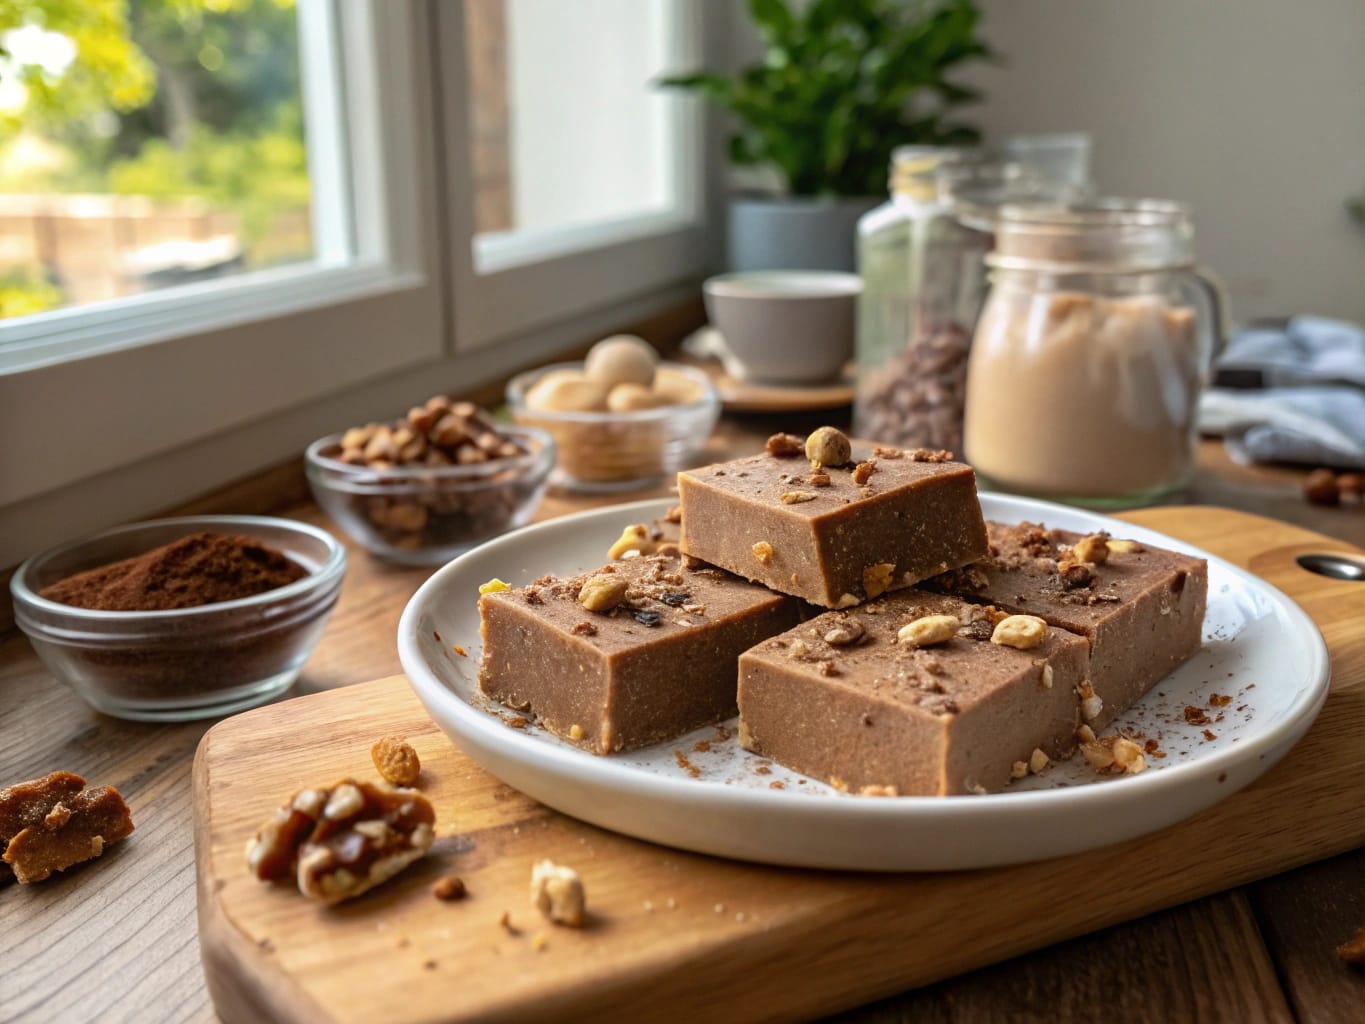
Other staples include a pinch of salt to enhance the flavors and a splash of vanilla extract for depth. If you’re a fan of nutty textures, toss in some chopped walnuts or almonds for a delightful crunch. For those with a penchant for sweeter notes, mini marshmallows or caramel bits make excellent additions.
Optional Additions for Variety
The magic of this recipe lies in its versatility. Want a holiday twist? Add a dash of peppermint extract or sprinkle crushed candy canes on top. For a tropical vibe, coconut flakes and macadamia nuts can work wonders. Craving something bold? A hint of espresso powder will intensify the chocolate flavor.
The ingredients in this recipe are simple, yet the possibilities for personalization are endless. You can make this quick fudge recipe entirely your own by experimenting with different combinations.
Step-by-Step Guide to Making Fudge in 5 Minutes
Preparation Tips and Tools
Before diving into the process, gather your equipment: a microwave-safe bowl or a medium saucepan, a spatula, and an 8×8-inch baking pan lined with parchment paper. Preparation is key for ensuring your homemade fudge sets perfectly.
The Simplified Cooking Process
- Melt the Ingredients
Combine the chocolate chips and sweetened condensed milk in your bowl or saucepan. If using a microwave, heat the mixture in 30-second intervals, stirring after each until smooth. For stovetop preparation, set the heat to low and stir constantly to avoid burning. - Add the Flavorings
Once melted, stir in the vanilla extract and any additional flavorings, such as peppermint or espresso powder. For an extra creamy texture, fold in a small pat of butter. - Pour and Spread
Pour the mixture into your prepared pan, spreading it evenly with a spatula. This ensures a consistent thickness for your fudge squares.
Cooling and Setting Your Fudge
After spreading, let the fudge cool to room temperature for about 10 minutes before transferring it to the refrigerator. Chill for at least two hours or until firm. When ready, lift the parchment paper out of the pan, and slice the fudge into bite-sized squares.
By following these steps, you’ll have a batch of homemade fudge that takes just 5 minutes to prepare, with minimal effort and maximum flavor.
If you’d like to explore more quick dessert ideas, check out how to make caramel brulee latte for a cozy pairing with your fudge!
Popular Variations of Quick Fudge
Classic Chocolate Fudge
The timeless choice for any occasion, classic chocolate fudge is the go-to for rich, indulgent sweetness. To prepare this crowd-pleaser, stick with the original recipe of chocolate chips, condensed milk, and a touch of vanilla extract. Want a glossy finish? Add a teaspoon of butter during the melting process.
For a festive twist, sprinkle flaky sea salt or drizzle melted white chocolate over the top once the fudge has set. This enhances the visual appeal and adds a subtle balance to the chocolate’s richness.
Peanut Butter Fudge
If you’re a peanut butter lover, this version will be your new favorite. Replace half the chocolate chips with peanut butter chips for a creamy, nutty flavor. Alternatively, swirl a generous spoonful of peanut butter into the chocolate mixture just before pouring it into the pan for a marbled effect.
This variation pairs wonderfully with crushed peanuts or chocolate chips sprinkled on top. Best of all, it still qualifies as homemade fudge that takes just 5 minutes to make.
Holiday-Inspired Fudge Recipes
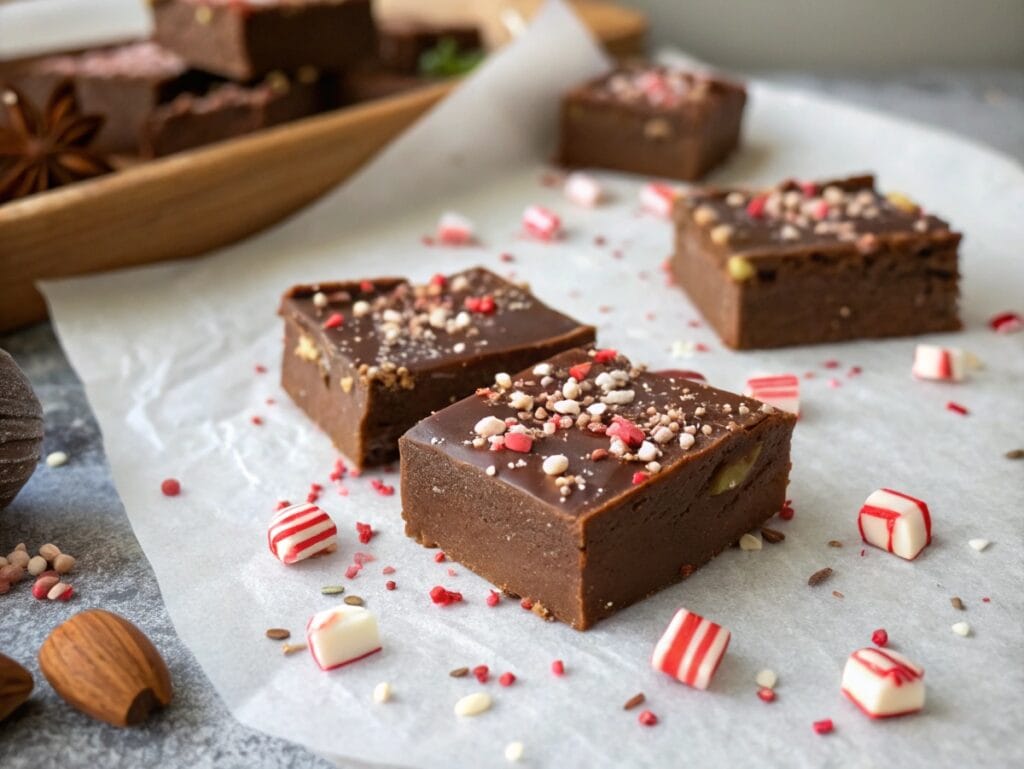
During the holiday season, festive flavors can make your fudge a memorable treat. Add peppermint extract to the base mixture and sprinkle crushed candy canes on top for a winter wonderland vibe. Pumpkin spice lovers can incorporate cinnamon, nutmeg, and clove for an autumn-inspired fudge.
For Valentine’s Day, mix in red food coloring and top with heart-shaped sprinkles. Each holiday brings its own opportunities to get creative with this versatile dessert.
Troubleshooting and Tips for Perfect Fudge Every Time
Common Mistakes and Fixes
Even with a recipe as simple as homemade fudge that takes just 5 minutes, things can sometimes go awry. If your fudge turns out grainy, it’s likely due to overcooking or improper mixing. To fix this, gently reheat the mixture and stir until smooth.
Is your fudge too soft to cut? This often happens when it hasn’t been chilled long enough. Pop it back in the fridge for another hour or two. If it’s still too gooey, the chocolate-to-condensed milk ratio may need adjusting—try adding a handful of extra chocolate chips.
Pro Tips for Enhanced Flavor
- Use high-quality chocolate: The better the chocolate, the richer the fudge.
- Experiment with toppings: Crushed cookies, pretzels, or dried fruits can elevate your fudge from simple to sensational.
- Layer flavors: Create a layered fudge by pouring two different mixtures—like chocolate and peanut butter—on top of each other.
With these tips in mind, you’ll be crafting perfect fudge every time.
For more dessert inspiration, consider exploring unique ideas like our ultimate cutout cookies for decoration. These pair wonderfully with any fudge for a sweet, celebratory spread.
Nutritional Insights and Storage Tips
Calorie Count and Serving Suggestions
Fudge may be a treat, but it doesn’t have to be overindulgent. A small square, typically about 1 inch, ranges between 70 to 120 calories, depending on the ingredients. For a lighter option, consider substituting part of the chocolate with dark chocolate or using reduced-fat sweetened condensed milk.
Serving size matters when enjoying homemade fudge that takes just 5 minutes. Pair a small piece with fresh fruit or a cup of tea for a balanced dessert. This approach satisfies your sweet tooth without overloading on sugar.
How to Store and Preserve Fudge
Proper storage is key to keeping your fudge fresh and delicious. Once it’s fully set, place the fudge in an airtight container, separating layers with parchment paper to prevent sticking. It will stay fresh for about two weeks in the refrigerator.
Want to enjoy it later? Freeze the fudge in a freezer-safe container for up to three months. Simply thaw it in the fridge overnight before serving. With these tips, you can savor the simplicity of homemade fudge long after you’ve made it.
Frequently Asked Questions
What’s the easiest way to make fudge set faster?
If you’re in a hurry, you can speed up the cooling process by placing your fudge in the freezer instead of the refrigerator. Just make sure to check it every 10 minutes to avoid over-chilling.
Can I make fudge without condensed milk?
Yes! Alternatives like heavy cream and sugar, or even coconut cream, can create similar results. However, condensed milk simplifies the process and ensures consistent texture—ideal for homemade fudge that takes just 5 minutes.
What are some vegan-friendly fudge alternatives?
Swap out dairy ingredients for plant-based options like coconut milk and vegan chocolate. These substitutions work beautifully and create a rich, creamy fudge suitable for everyone.
How long does homemade fudge last?
When stored properly in an airtight container, homemade fudge can last up to two weeks in the refrigerator. For longer storage, freezing is your best bet—it will maintain its quality for about three months.
With this comprehensive guide, you’re ready to create, customize, and perfect the ultimate quick fudge recipe. Whether it’s for a celebration, a gift, or a personal treat, homemade fudge delivers sweetness in no time!
Creative Ways to Present and Gift Homemade Fudge
Perfect Presentation Tips
Presentation adds a touch of charm to your homemade fudge that takes just 5 minutes. For a professional look, cut your fudge into neat, even squares using a sharp knife warmed under hot water. This trick ensures clean edges without crumbling.
Layer your fudge pieces on a decorative plate or tray, separating layers with parchment paper for a polished touch. Garnish with a dusting of cocoa powder, a sprinkle of powdered sugar, or even edible gold flakes to elevate the visual appeal.
Gift Ideas for Fudge Lovers
Homemade fudge makes an ideal gift for holidays, birthdays, or any special occasion. Package the squares in decorative tins, mason jars, or treat boxes lined with wax paper. Add a handwritten label or tag with the flavor and date of preparation for a personal touch.
To take it up a notch, create a “fudge sampler” by including multiple flavors in one gift box. Pair traditional chocolate fudge with holiday-inspired variations like peppermint or peanut butter. Not only is this thoughtful, but it’s also sure to impress anyone who receives it.
With just a little effort, you can turn this quick dessert into a heartfelt gesture that friends and family will cherish.
Why Homemade Fudge Is the Perfect 5-Minute Dessert
Convenience Meets Quality
Homemade fudge that takes just 5 minutes offers an unbeatable combination of speed, simplicity, and taste. It’s a lifesaver for busy schedules or last-minute gatherings when you need a crowd-pleasing dessert in a flash. The recipe requires minimal equipment, just a few ingredients, and almost no cleanup.
Unlike store-bought alternatives, homemade fudge allows you to control the quality of ingredients and customize flavors to suit your preferences. It’s a foolproof way to create something decadent with minimal effort.
A Treat for Every Occasion
Fudge’s versatility makes it suitable for countless occasions. Whether it’s a comforting treat on a cold evening, a festive addition to a holiday spread, or a sweet gift for a loved one, fudge fits the bill. Plus, with so many variations, you’ll never run out of ideas to keep things fresh and exciting.
Ultimately, this quick and easy recipe transforms a classic dessert into a stress-free experience. In just minutes, you can whip up a batch of rich, creamy fudge that looks and tastes like it took hours. Why wait? Dive into the world of homemade fudge and let this simple treat brighten your day!